
A good trigger job improves the feel, break, and accuracy of any firearm. Unfortunately, stoning at the wrong angle or removing too much material can be a costly and dangerous mistake. The precision lockup between the parts of the firing mechanism is crucial, and the slightest misalignment may damage those parts, result in hammer follow, or lead to an accidental discharge. In this review I will be sharing my thoughts on the Power Custom Power Series I Stoning Fixture, and how it worked out during a trigger job on a S&W 686P (L frame).
-DISCLAIMER-
“Modifying the manufacture’s design of a firearm may void your warranty. This article is for informational purposes only, and is not meant to be a how-to guide. The purpose of this article is to review a specific product, and to show what may be involved during installation and function. You (the reader) are responsible for the safe handling, operation, and function of your firearm. You are also liable for any damage, injury, or accidental death that may result from incorrect work you may perform. WeLikeShooting.com, its writers, and staff recommend consulting a competent gunsmith or armorer prior to working on your own firearm.”
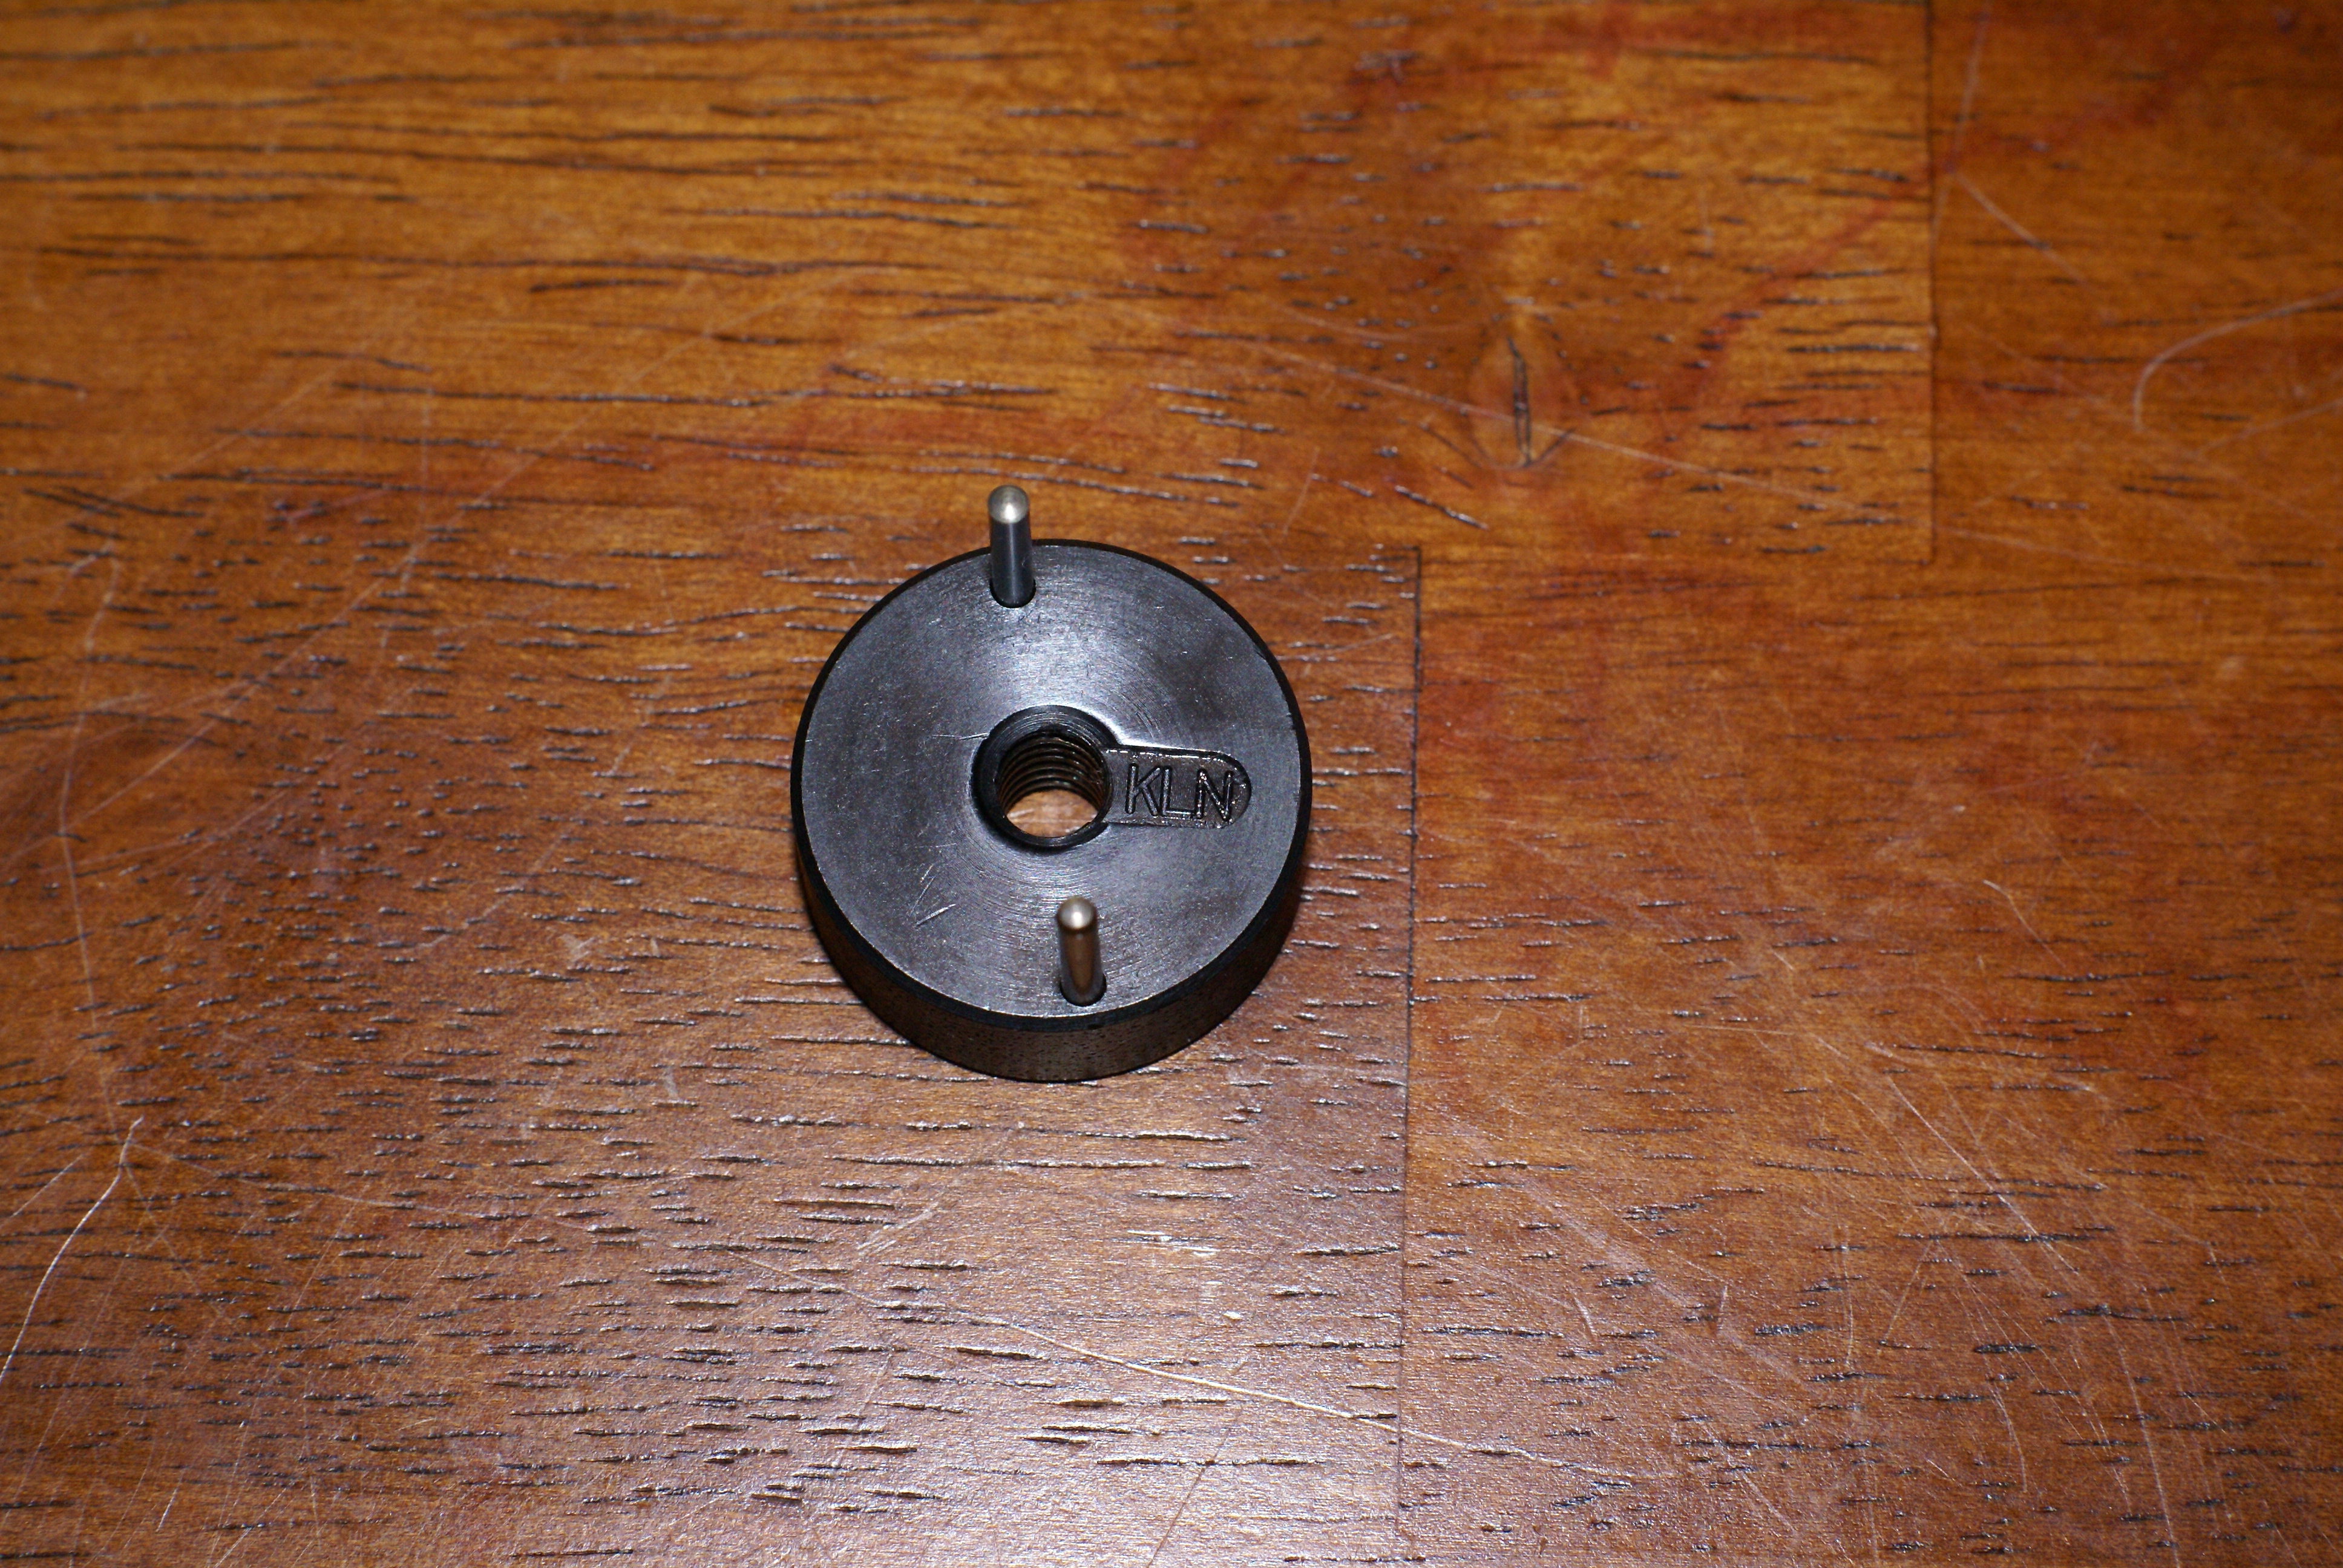
In the past, I have always stoned trigger group parts by hand without a fixture or jig. With practice I would consider myself to be proficient in this manner, but it is extremely time-consuming as the fit of the parts needs to be checked constantly. Recently I have had the opportunity to try the Power Custom Power Series I Stoning Fixture. This product is available for $159.99, and includes one adapter (listed by firearm manufacturer and model) for stoning hammers and/or sears. Power custom does offer a number of additional adapters for $25.99. The fixture works by allowing the angle of the stoning to be set by the user, and is also able to repeat the same angles with different stones by locking down the elevation adjustment. Power Custom (and I) recommend that for best results; a machinist clamp (not included) is used to secure the firearm part to the adapter. Another recommendation from the manufacturer is that you use a 6″x.5″x.5″ India Stone from Brownells. They work well but I do prefer to use a 6″x.5″x.5″ hard Arkansas Stone after to polish the parts, remove any burrs, and to remove the micro serrations that India stones may leave behind. Both work well in the stoning fixture.
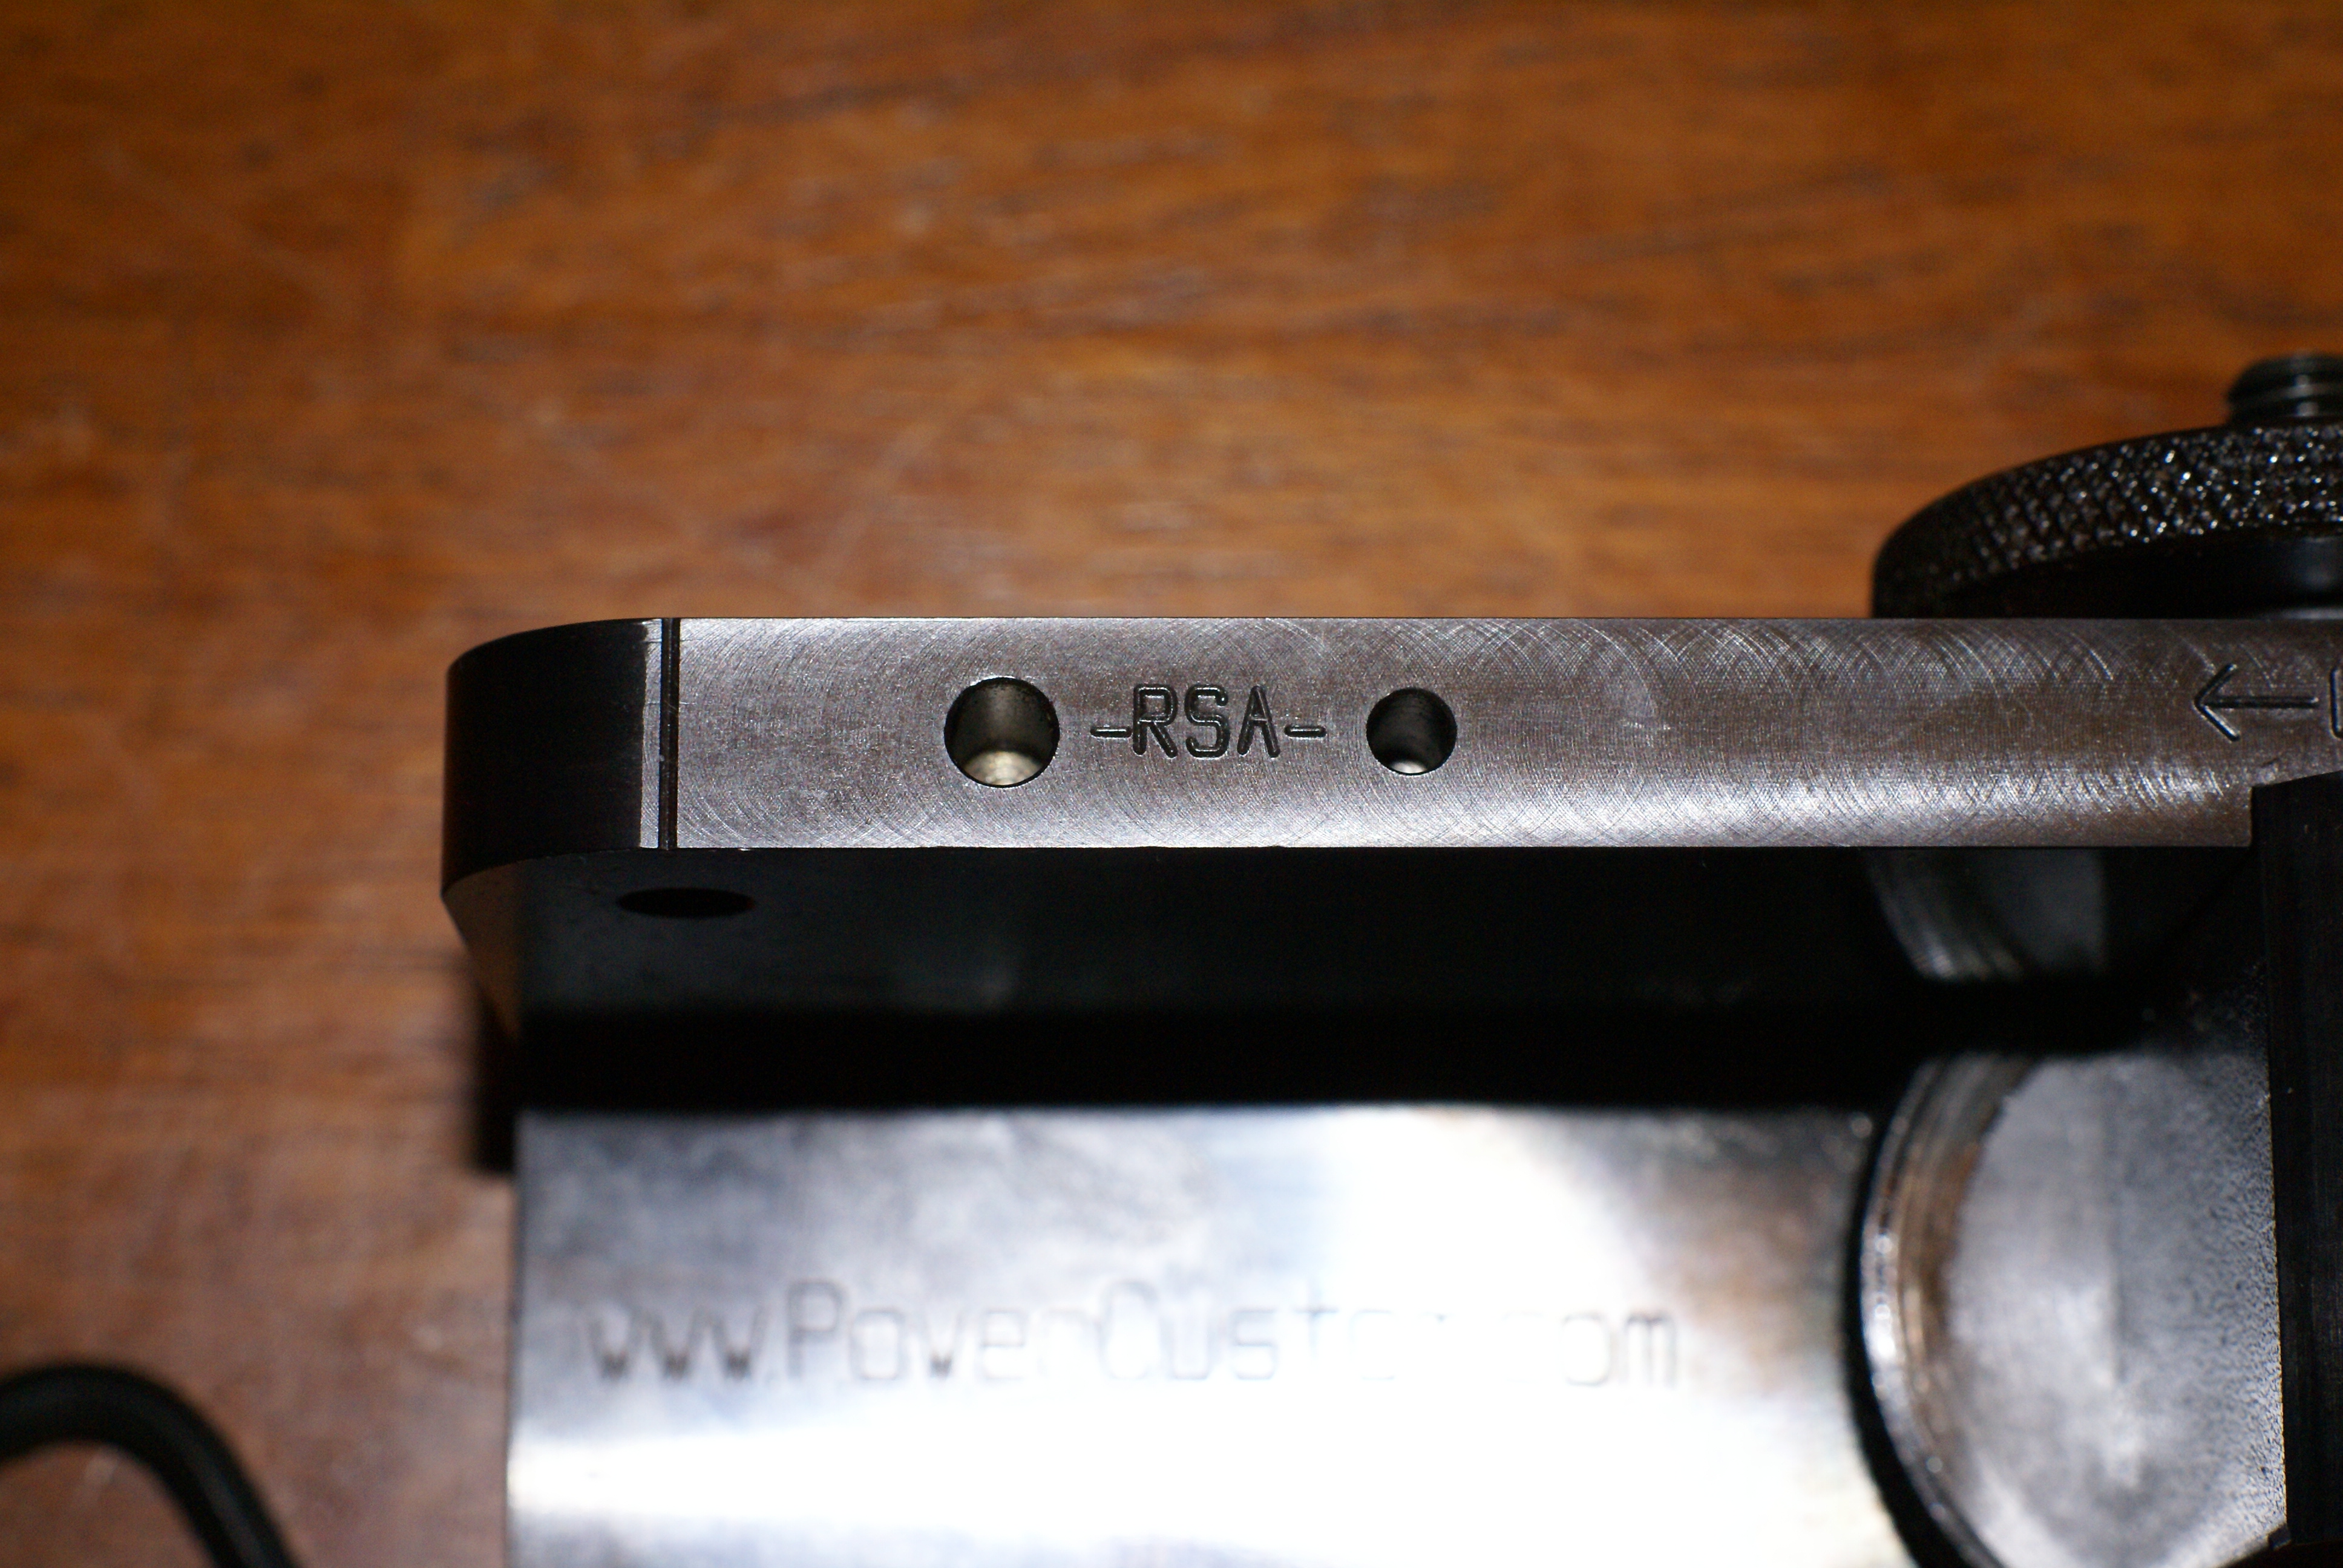
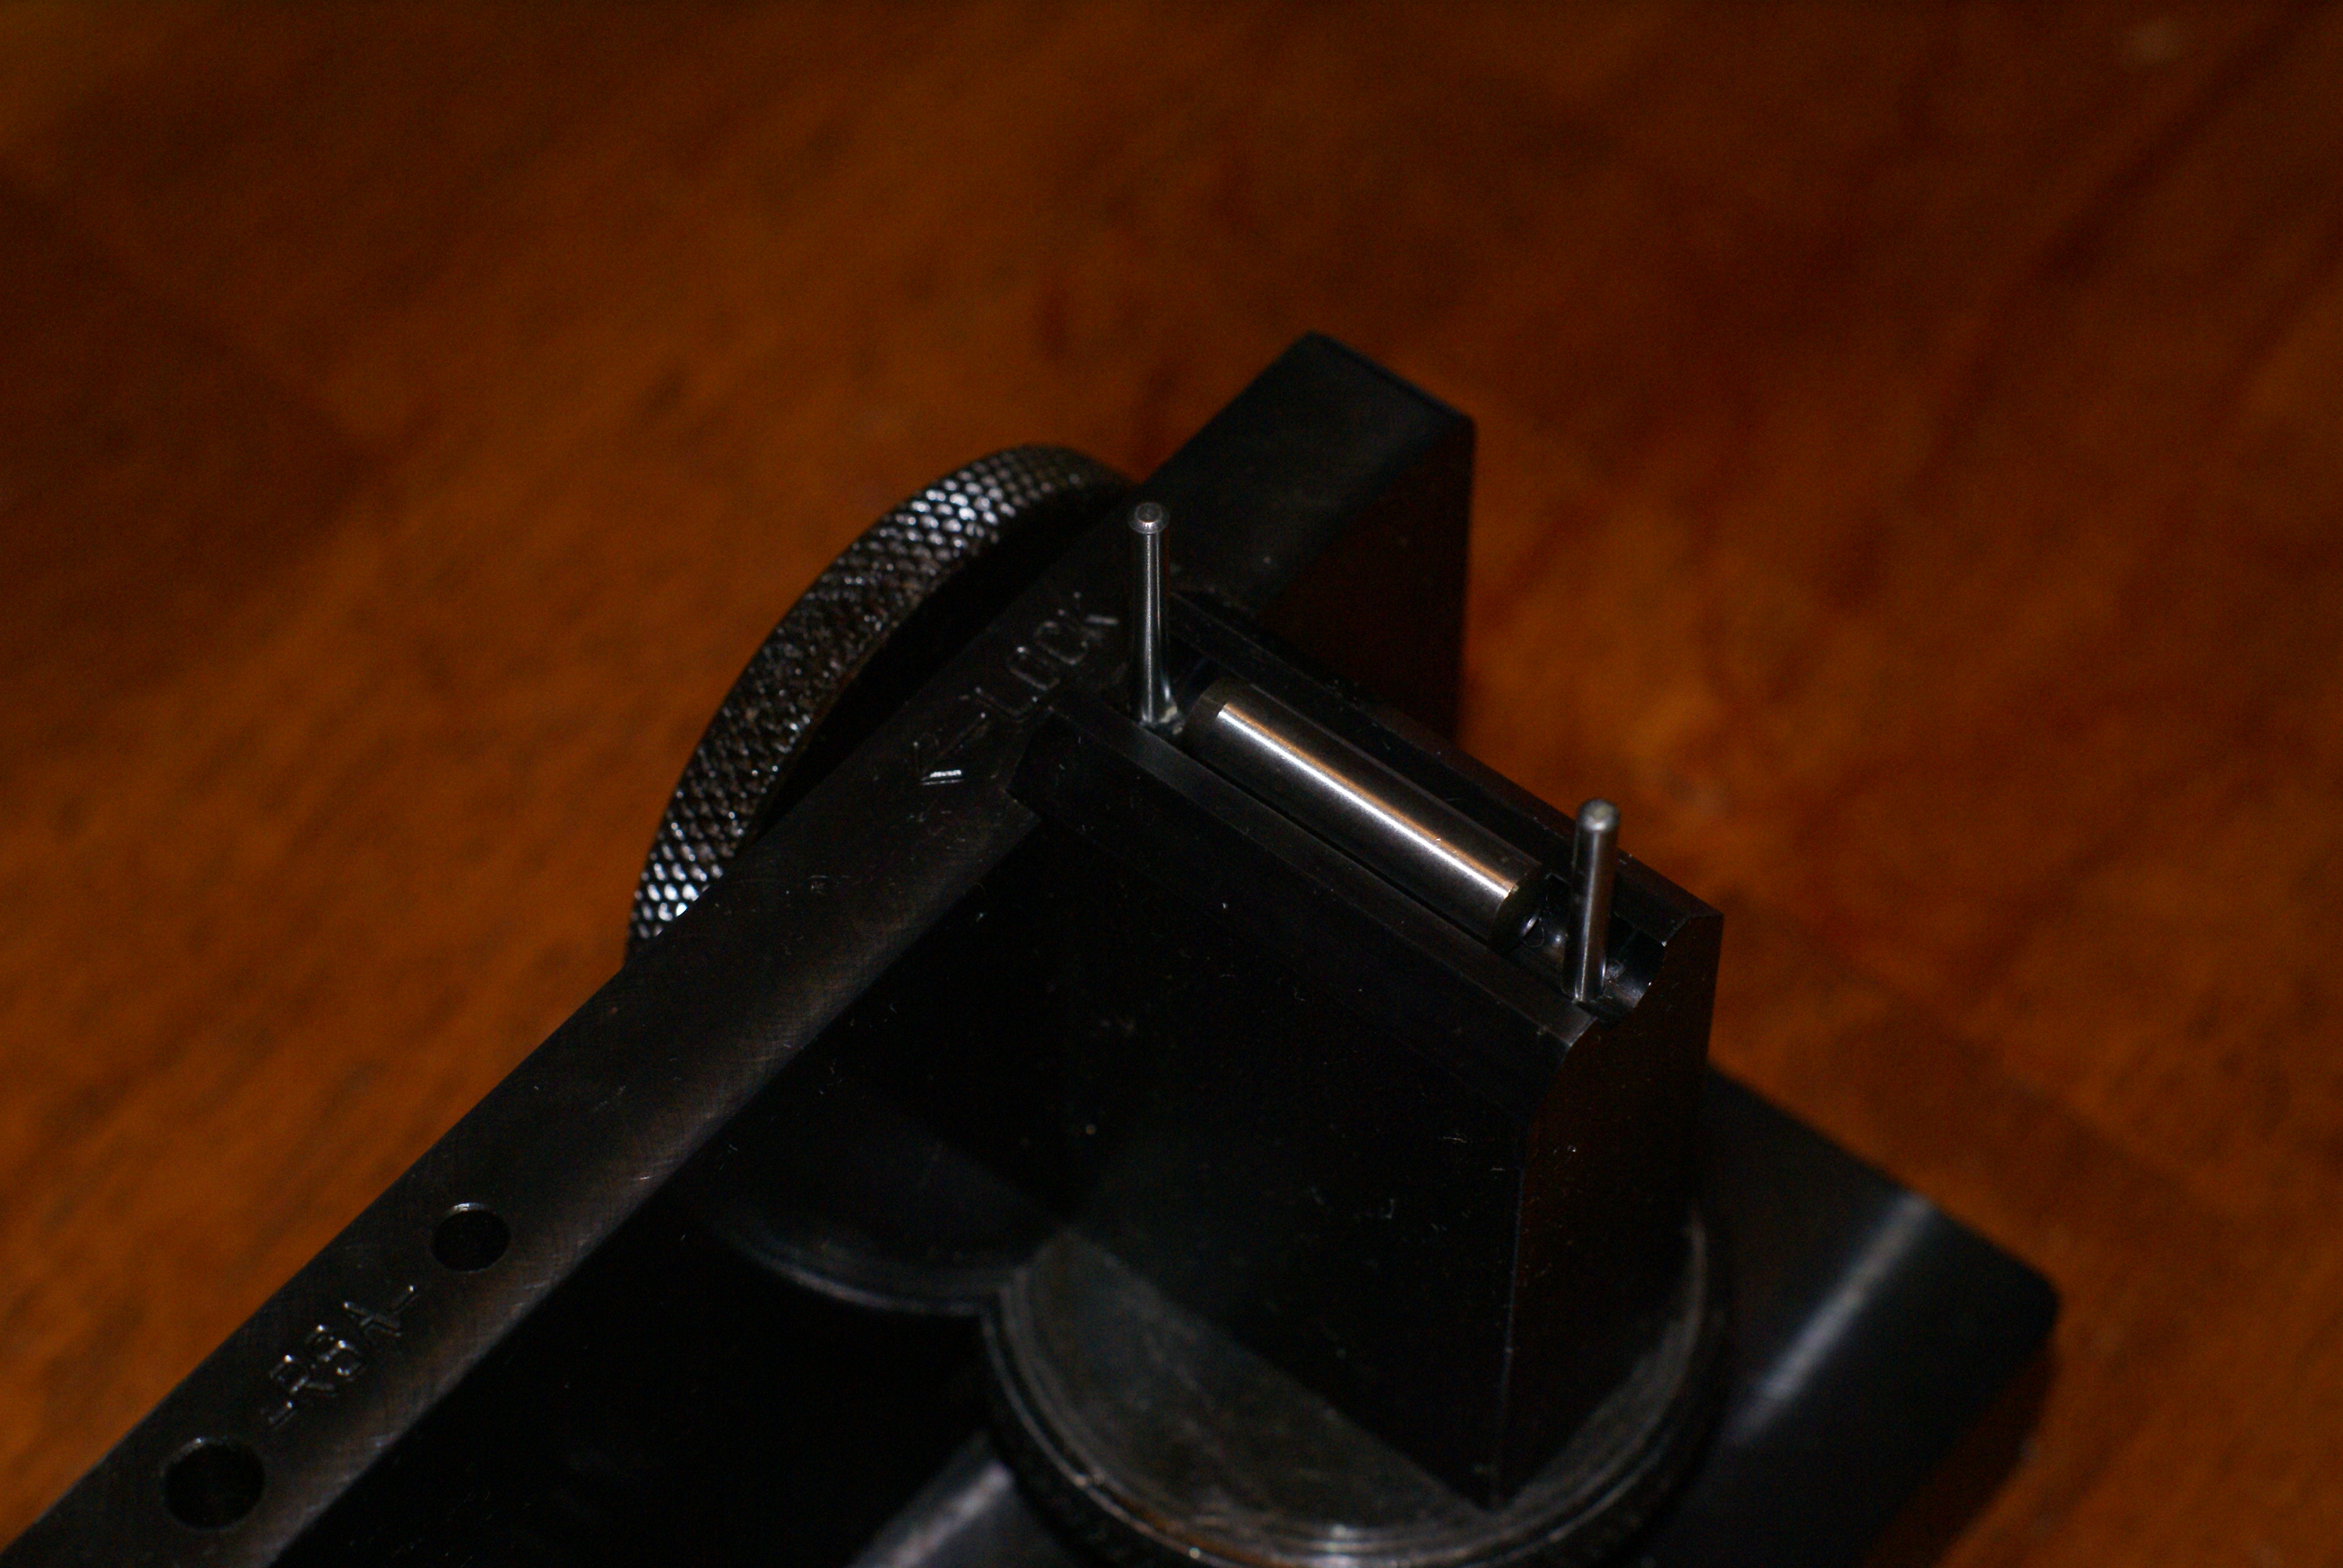
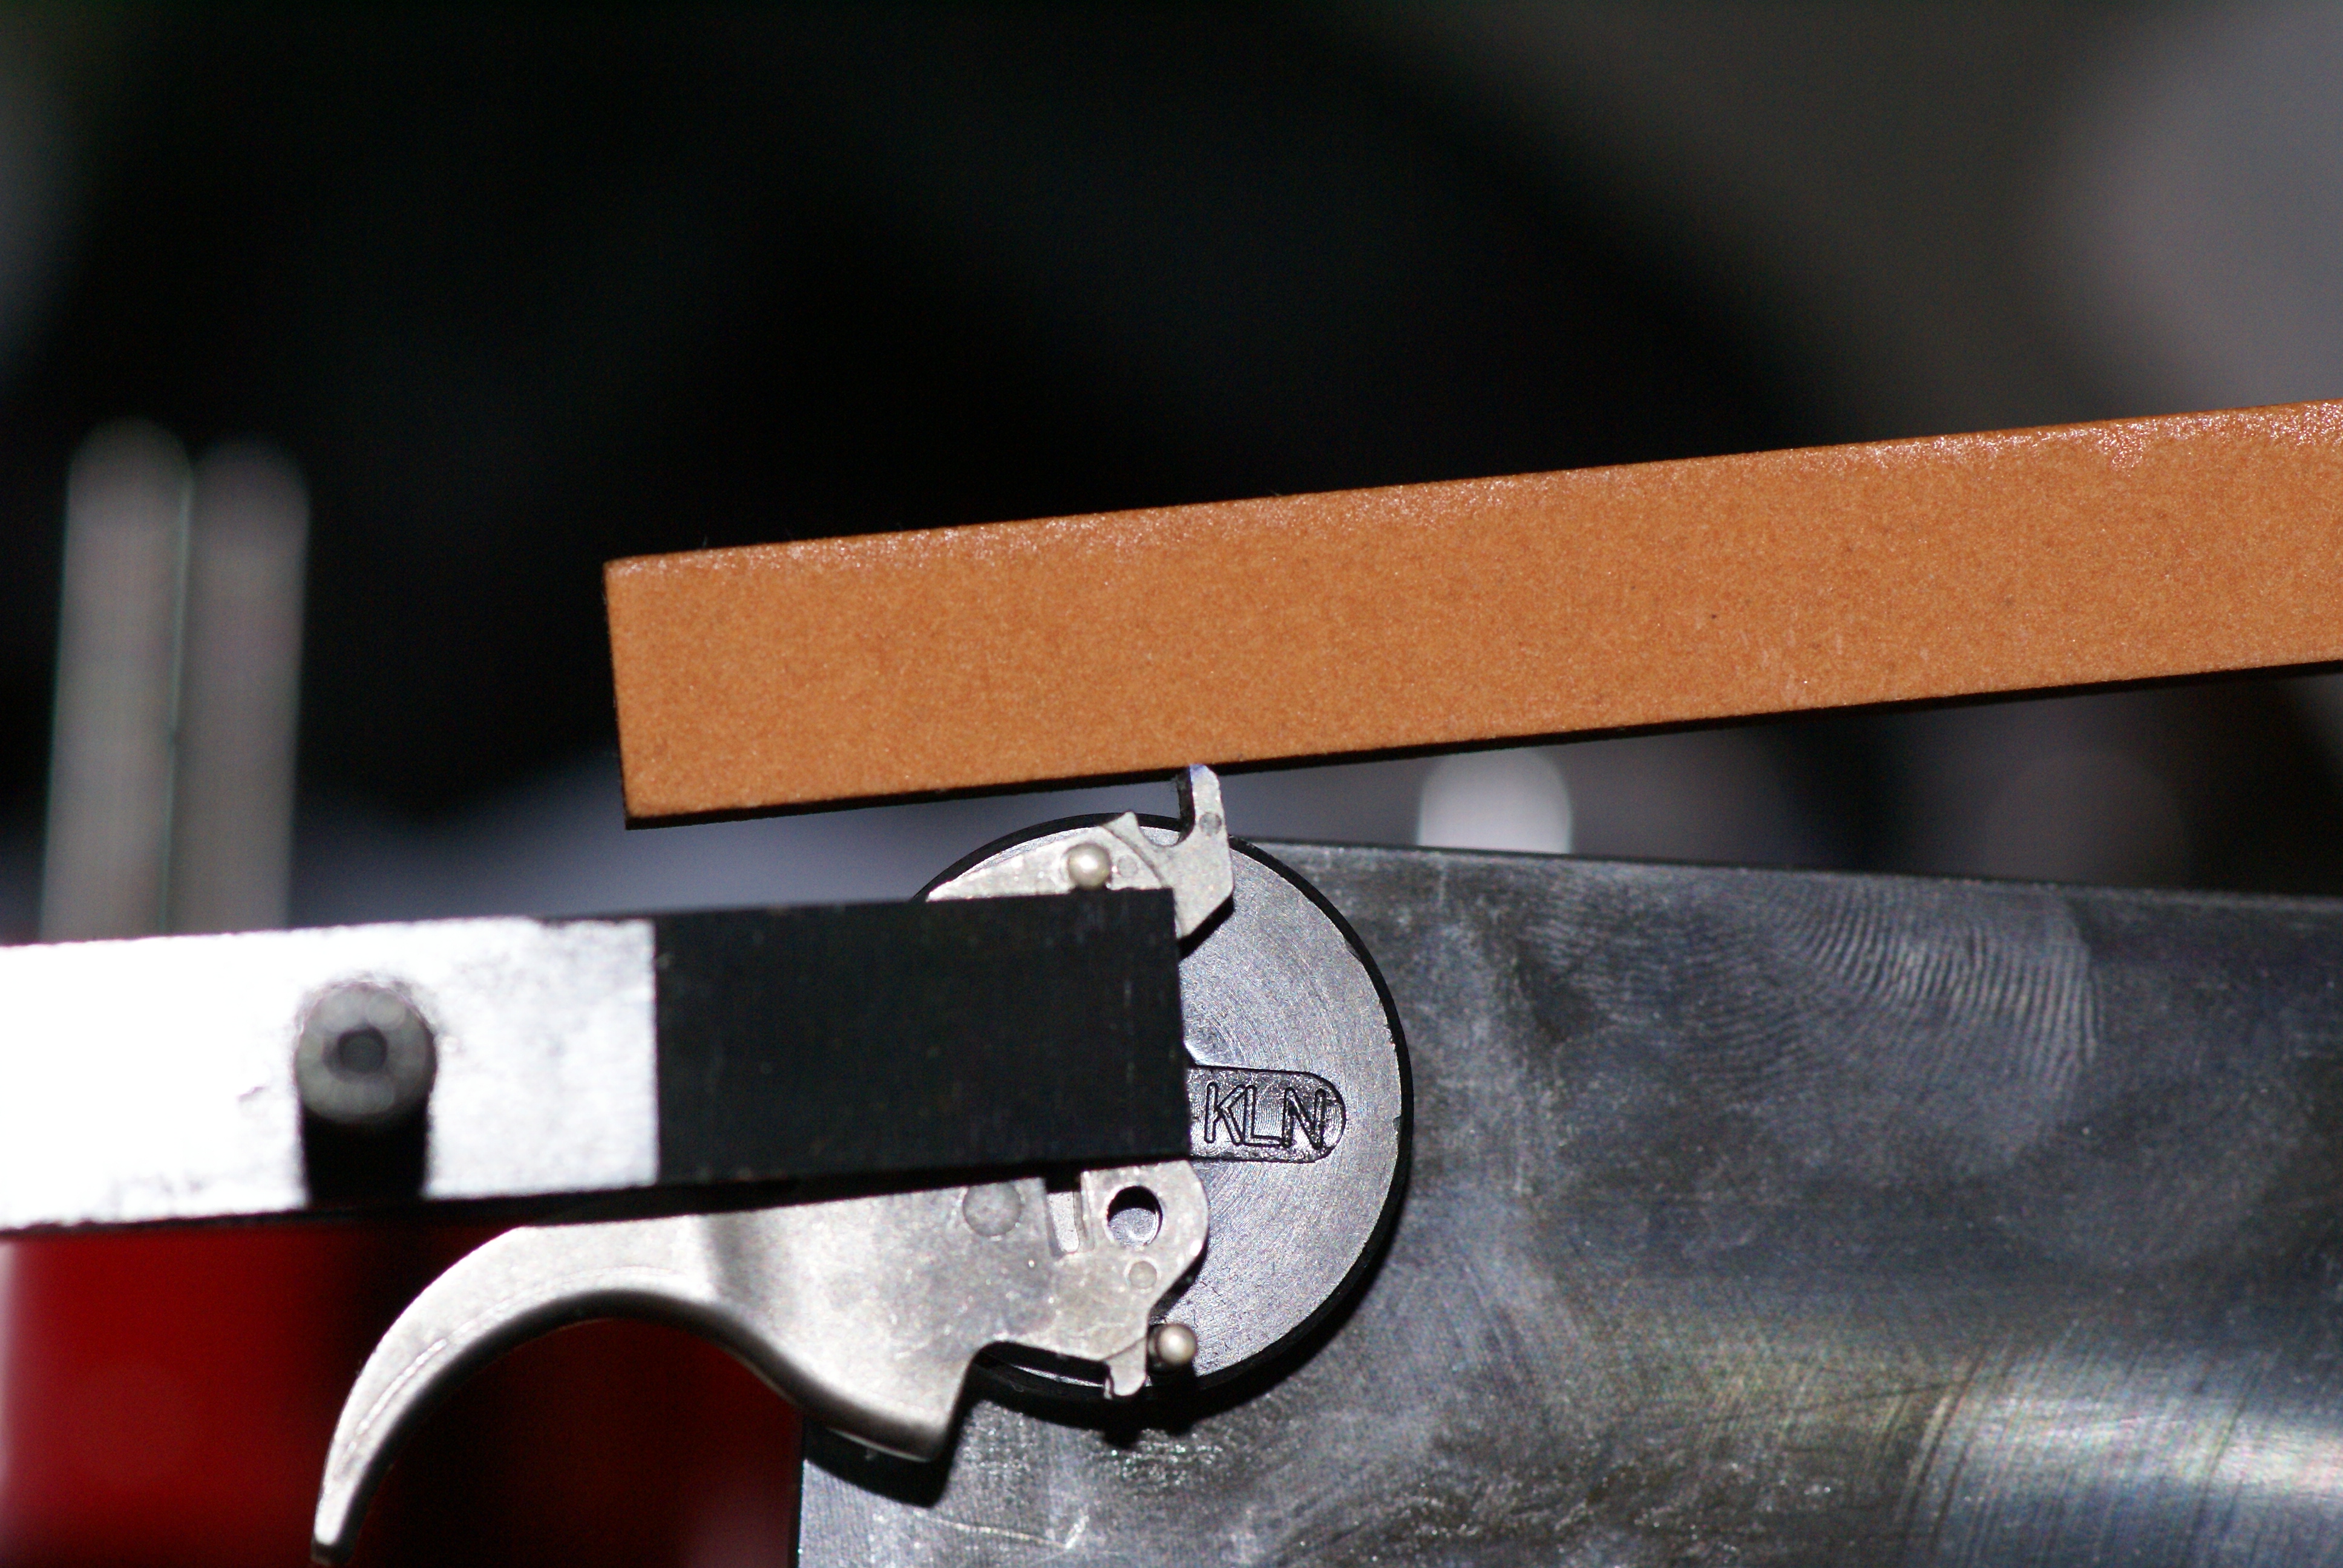
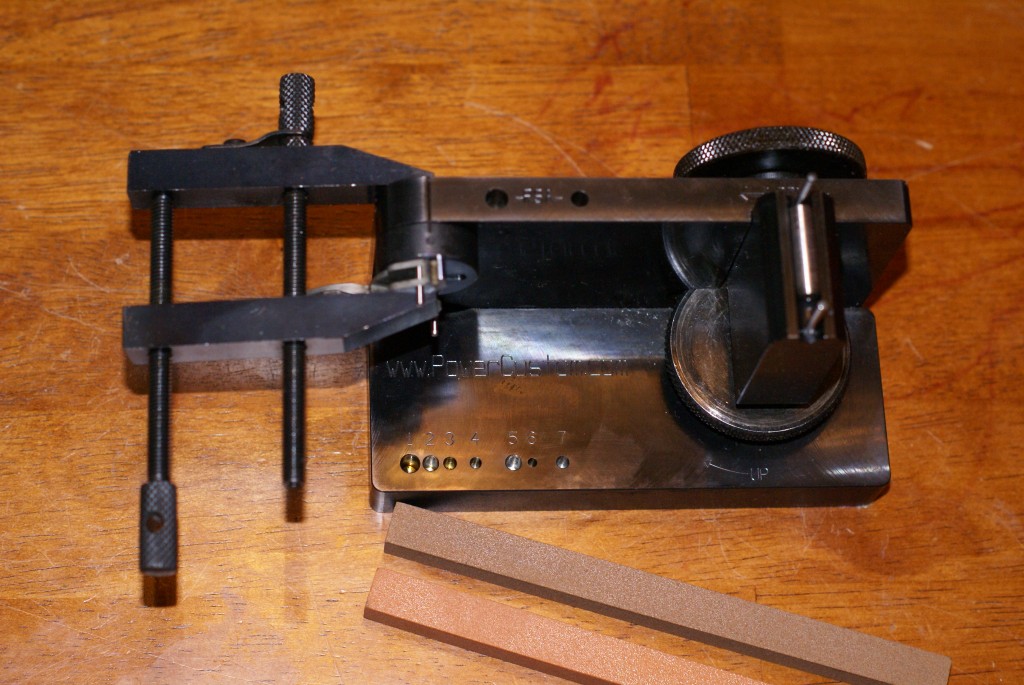
To set the fixture up you will need; the correct adapter for the model firearm you will be working on, stone(s), and the other parts shown in the photograph below that come with the fixture. Start by installing the two guide pins and the roller. Next, secure the adapter with the included hex head bolt and wrench (included) ensuring that the reference marks line up. The elevation wheel is turned to raise the roller up twenty clicks (depending on firearm model) from being bottomed out, and is locked into place by the wheel on the back of the fixture. Now that it’s set up, let’s take a closer look at the components and the features.


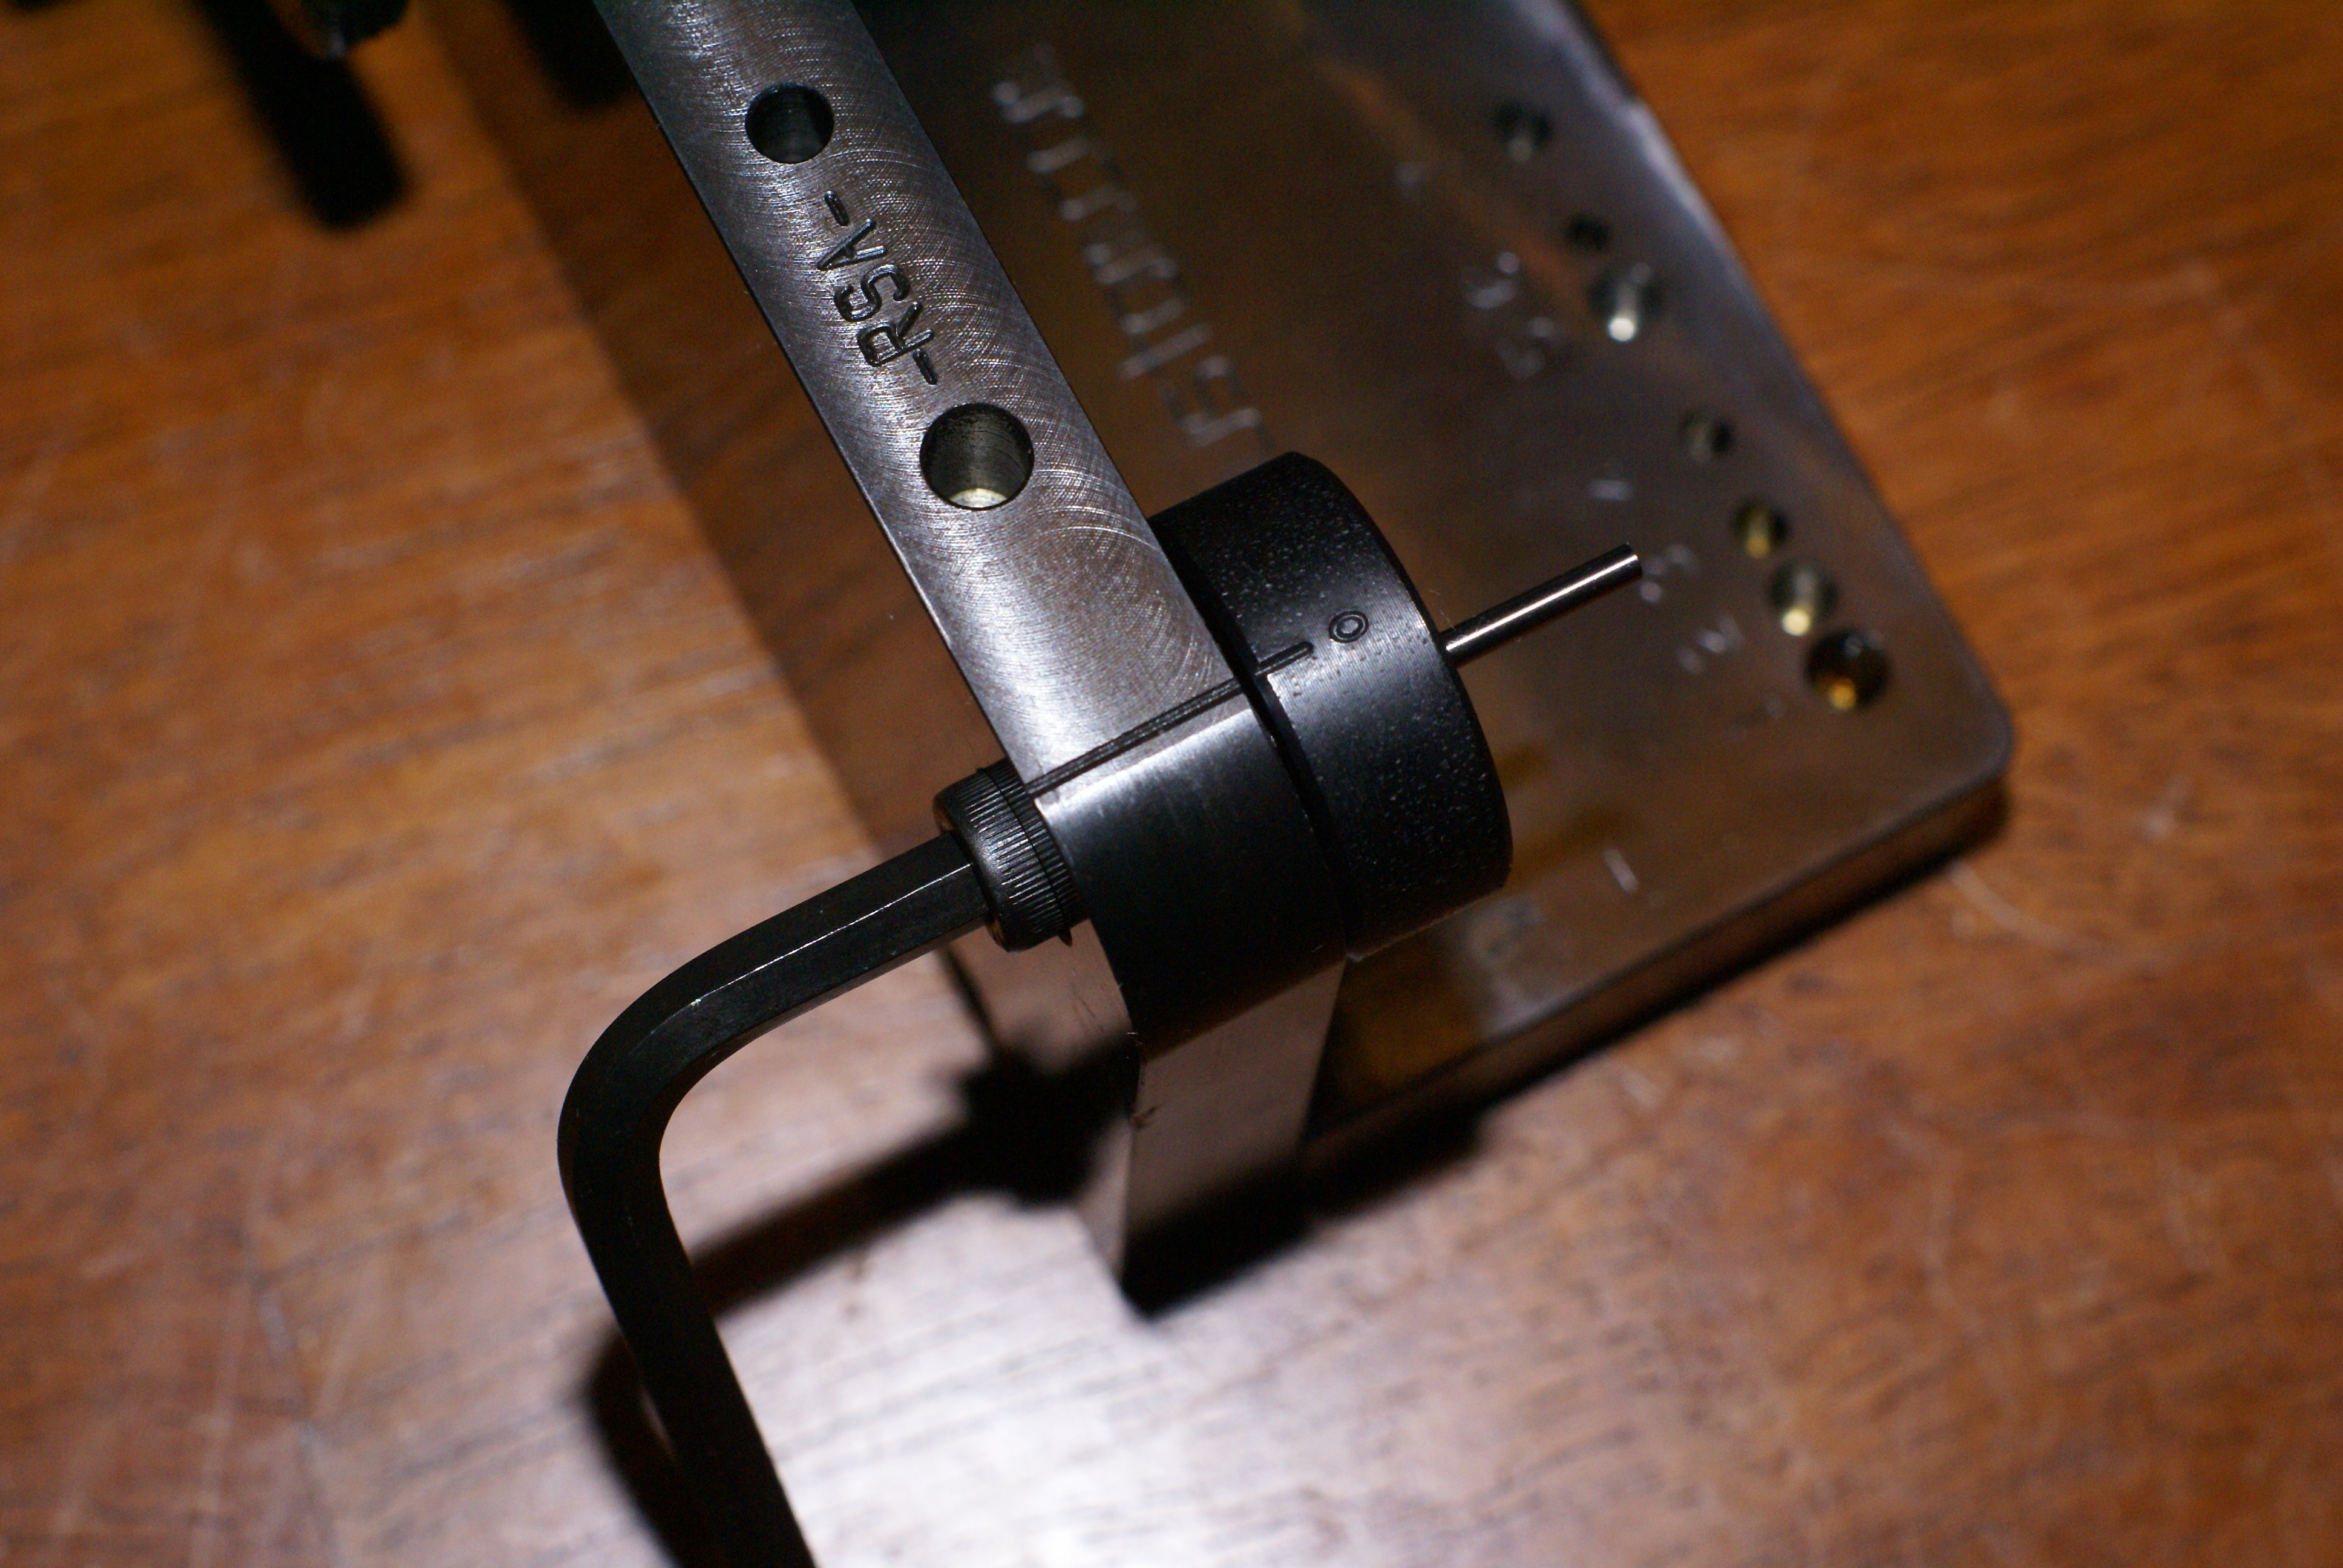
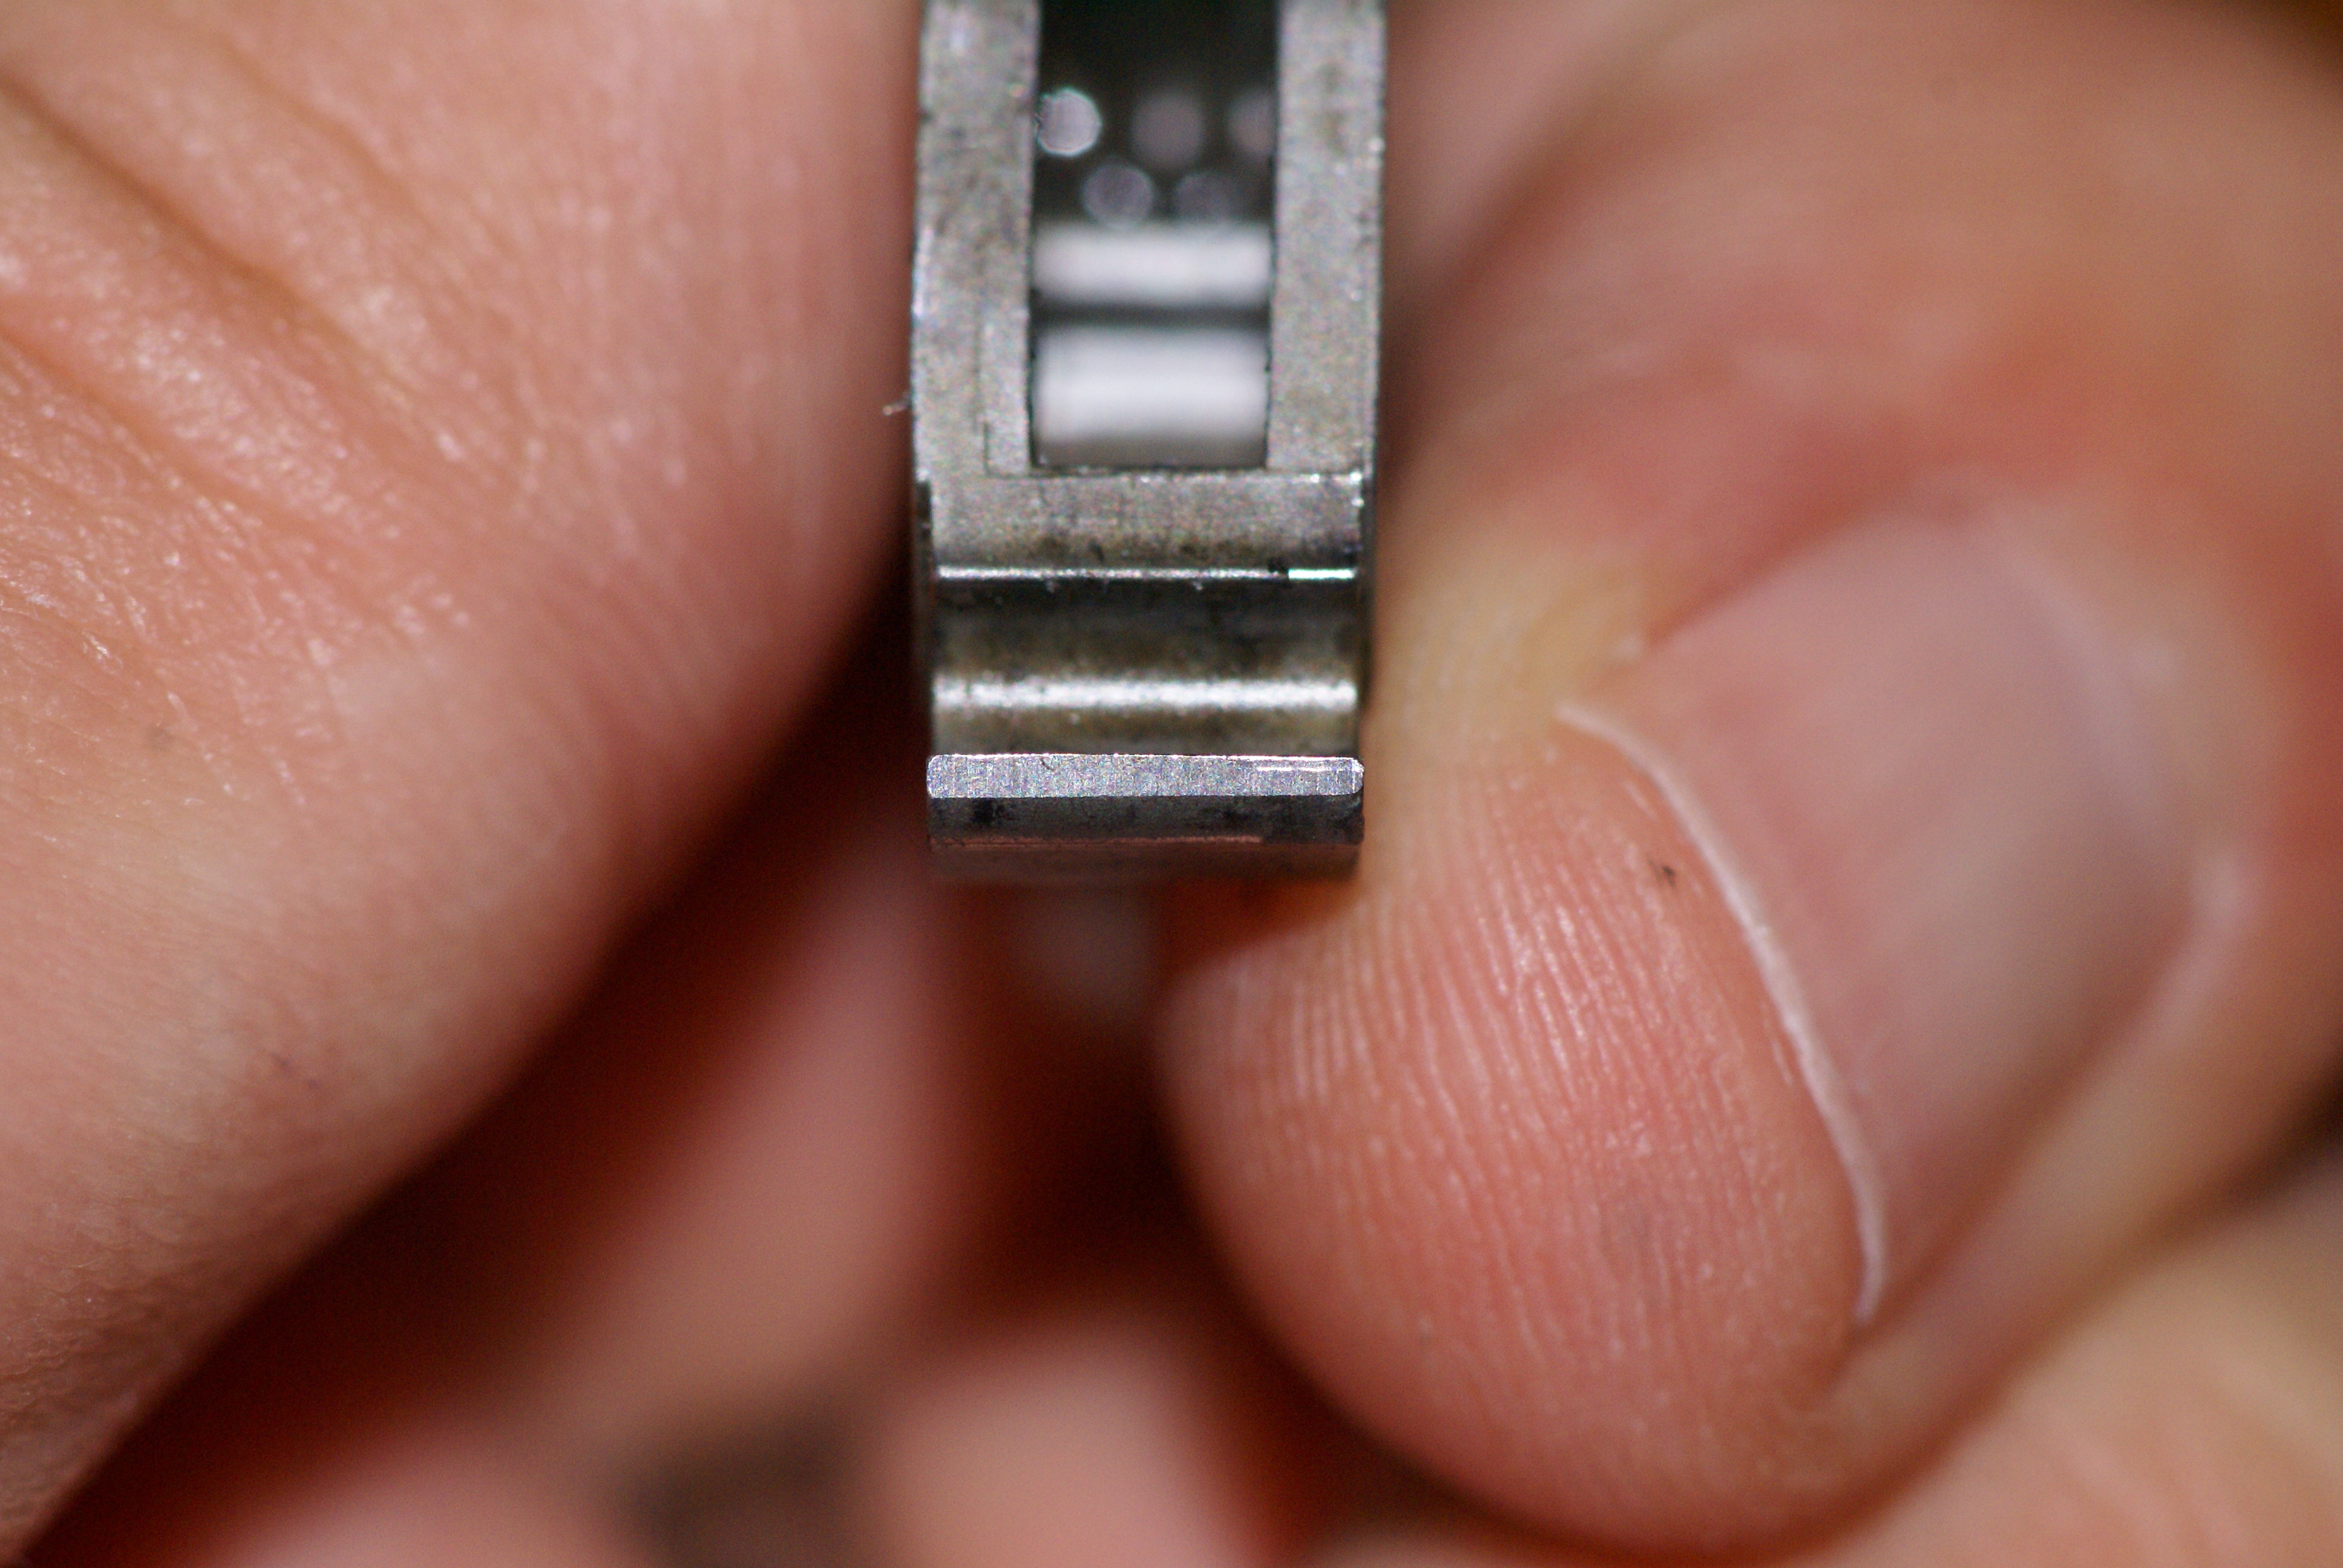
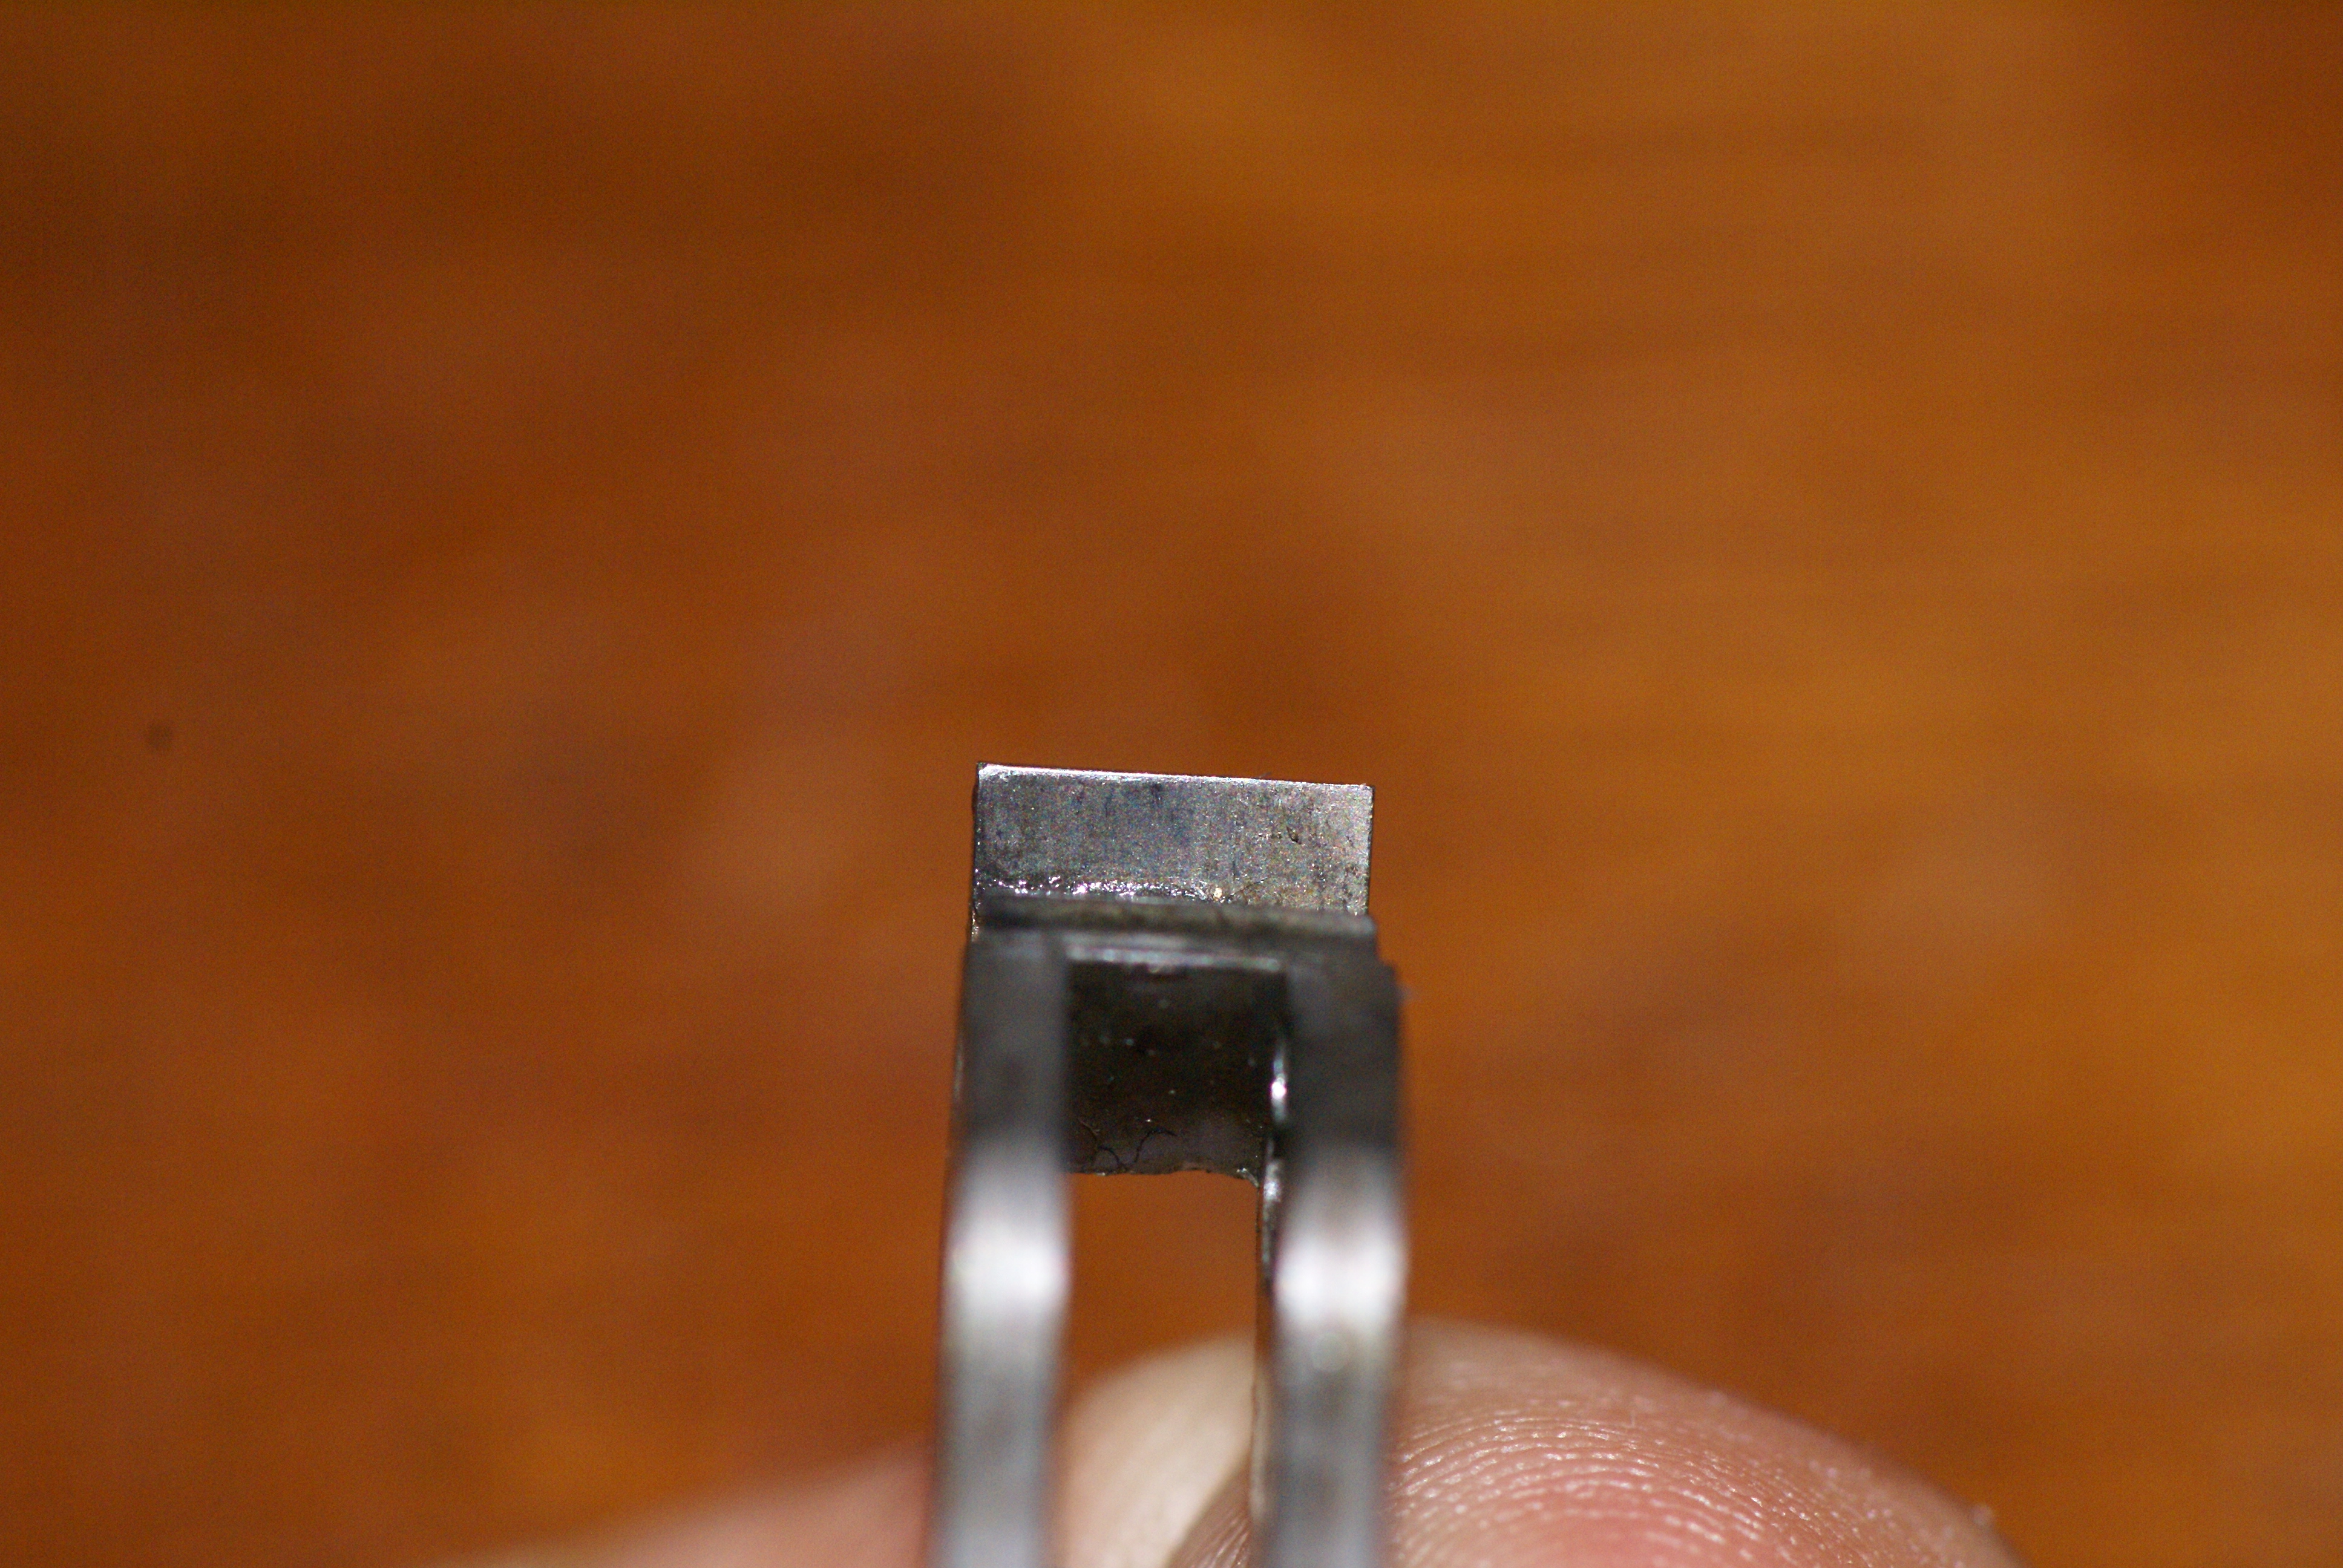
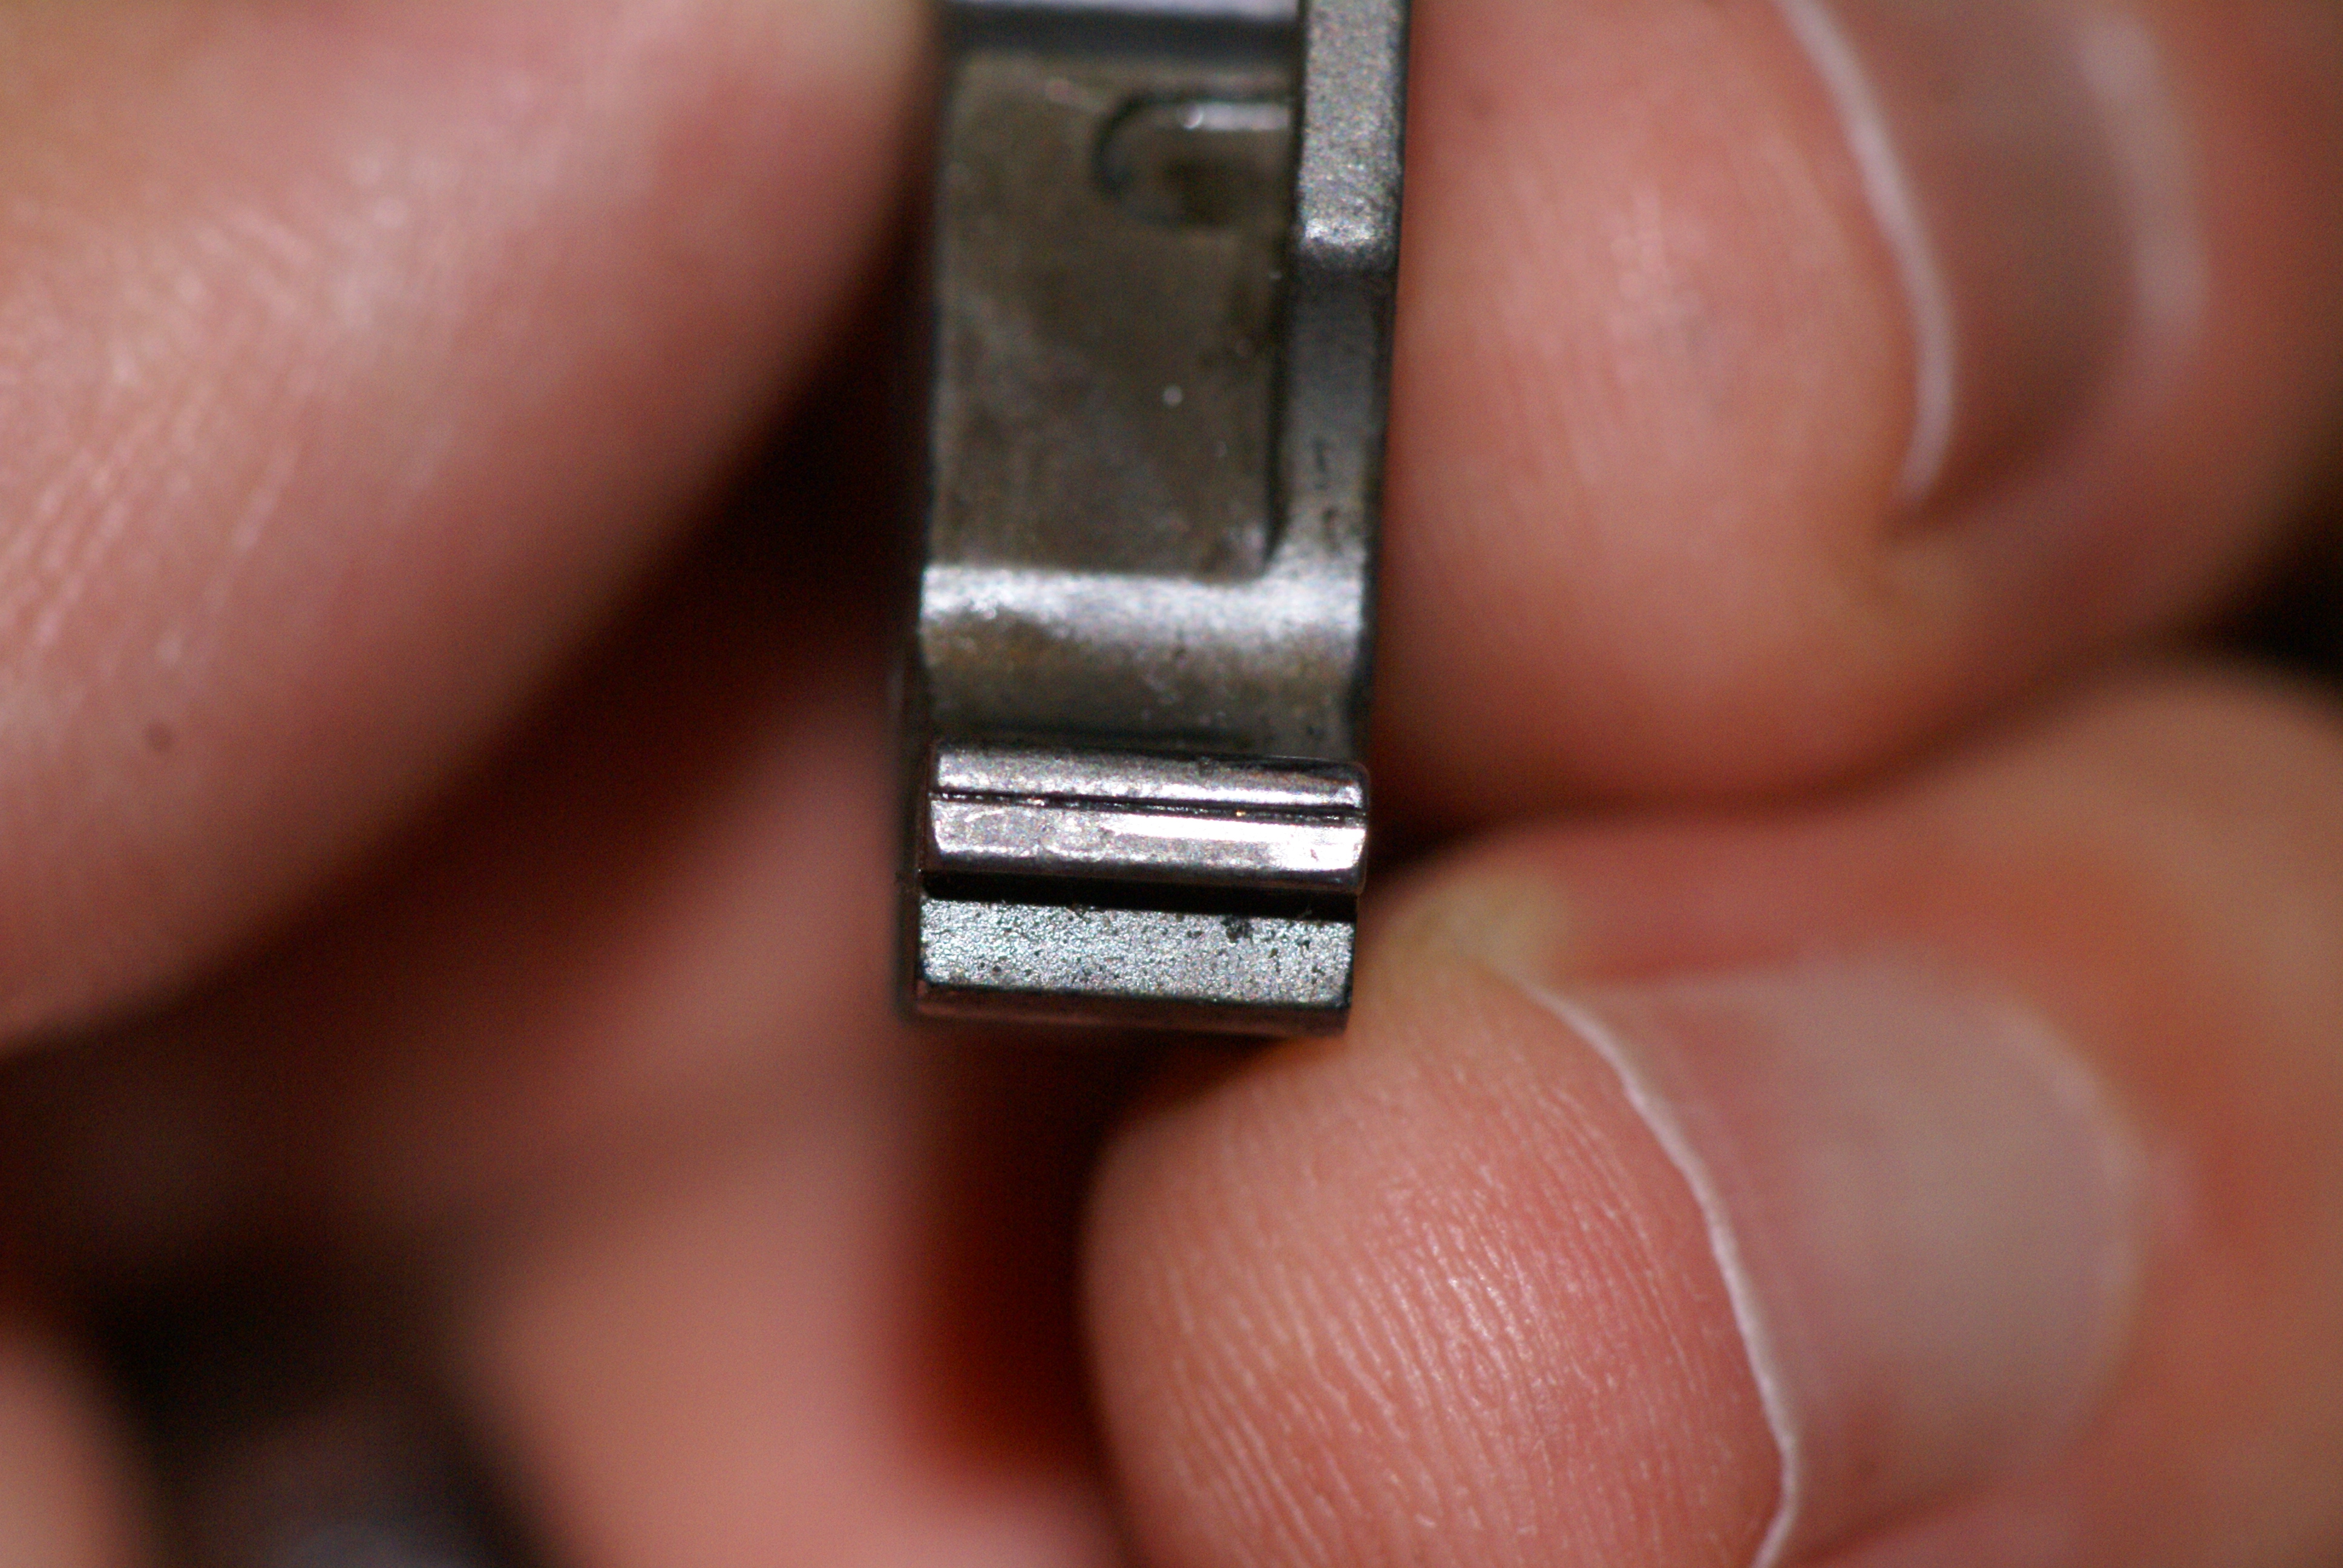
The included instructions not only cover the initial setup, but also clearly show how to position various parts on the adapter prior to clamping and working on them. I found them easy to understand and follow. Stoning the trigger sear from a S&W 686P took less time to complete (approx. 5 min. vs 20 min.), and the correct angle was stoned every time. I started with a fine india stone, and finished with a hard Arkansas. The stones ride on the roller between the guide pins, and on the surface that is being worked on. During the process I used Dykem to help show the imperfections on the sear. A Sharpie marker may be used as a substitute, and the stoning is complete when all of the coloring is gone. Light even pressure with one inch strokes is all that’s needed to complete the task. This only took a couple of passes. After unclamping the part, I immediately noticed an improvement on the engagement surface both in uniformity, and surface condition. The next step I took was a fitting test. With all of the parts out of the revolver’s frame, I was able to drop the trigger and hammer into place and check the tolerances. I do want to briefly mention that Power Custom does manufacture hammer and sear fitting blocks that make this process easier for firearms that don’t match the previously mentioned fitting holes that are machined into the fixture.


The Power Custom Series I Universal Stoning Fixture produces excellent results in a fraction of the time it had taken me in the past by hand. Not only was the stoned surface uniform, but I am able to adjust the fixture to produce a lighter or heavier trigger pull by changing the stoning angle. My S&W 686P has a Wolff spring kit in it, and the trigger pulls measured in at 6 lb., 10 oz. for the double action pull, and 3 lb., 4 oz. for the single action. Since the sear for the double action was untouched, there was no change in the pull weight. The new single action pull weight came in at 2 lb., 12 oz.! That’s a reduction of 8 oz. (.5 of a pound). After reinstalling all of the components and reassembling the firearm, I tested out the trigger (in single action) to see how the difference felt. The trigger broke like a glass rod. No grit, no take up, and no hammer follow (hammer falls when depressed from the back side).
In my opinion, this fixture is worth the investment if you plan to do multiple trigger jobs. It provides accurate stoning results, and the adapters also provide spot-on tolerances. To say that this product saves some time and aggravation is an understatement. It saves a lot. I’ve completed a few trigger jobs with the Series I Universal Stoning Fixture, and I am impressed with the quality results it provides. My recommendation is to purchase it, and any other adapters and fitting blocks that you may need…. especially if you are looking for professional results.
Thanks for reading,
-Rhody
You must be logged in to post a comment.