
-DISCLAIMER-
“Modifying the manufacture’s design of a firearm may void your warranty. This article is for informational purposes only, and is not meant to be a how-to guide. The purpose of this article is to review a specific product, and to show what may be involved during installation and function. You (the reader) are responsible for the safe handling, operation, and function of your firearm. You are also liable for any damage, injury, or accidental death that may result from incorrect work you may perform. WeLikeShooting.com, its writers, and staff recommend consulting a competent gunsmith or armorer prior to working on your own firearm.”
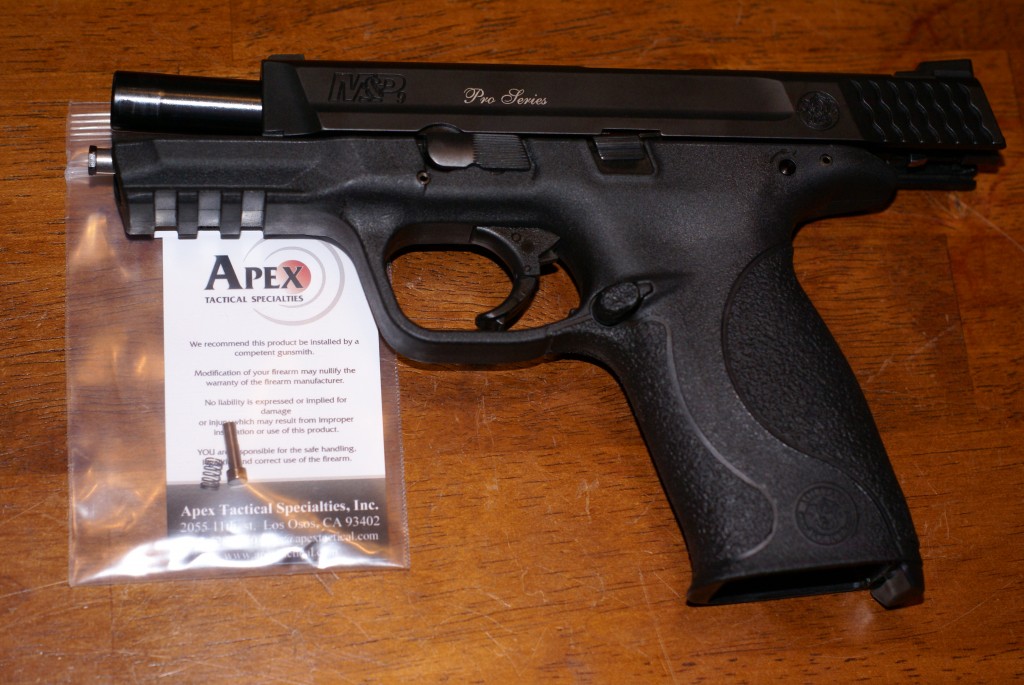
The Smith and Wesson M&P pistol line has become my favorite choice for a sidearm. The M&P9 Pro that I own handles well and has good accuracy at 25 yards. However as with any firearm, there is always something that can be improved. In my opinion (as well as many other M&P pistol owners) a more pronounced tactile trigger reset is one such improvement that would make a big difference, allowing for faster follow-up shots and knowing when the shot is going to break by reducing the amount of reset travel by the shooter (since you will know when the reset occurs). Apex Tactical Specialties manufactures a Reset Assist Mechanism (RAM) that gives you this benefit plus another (more on this later). They also have full instructional videos available that show installation and function, and also answer most of the common questions about products.
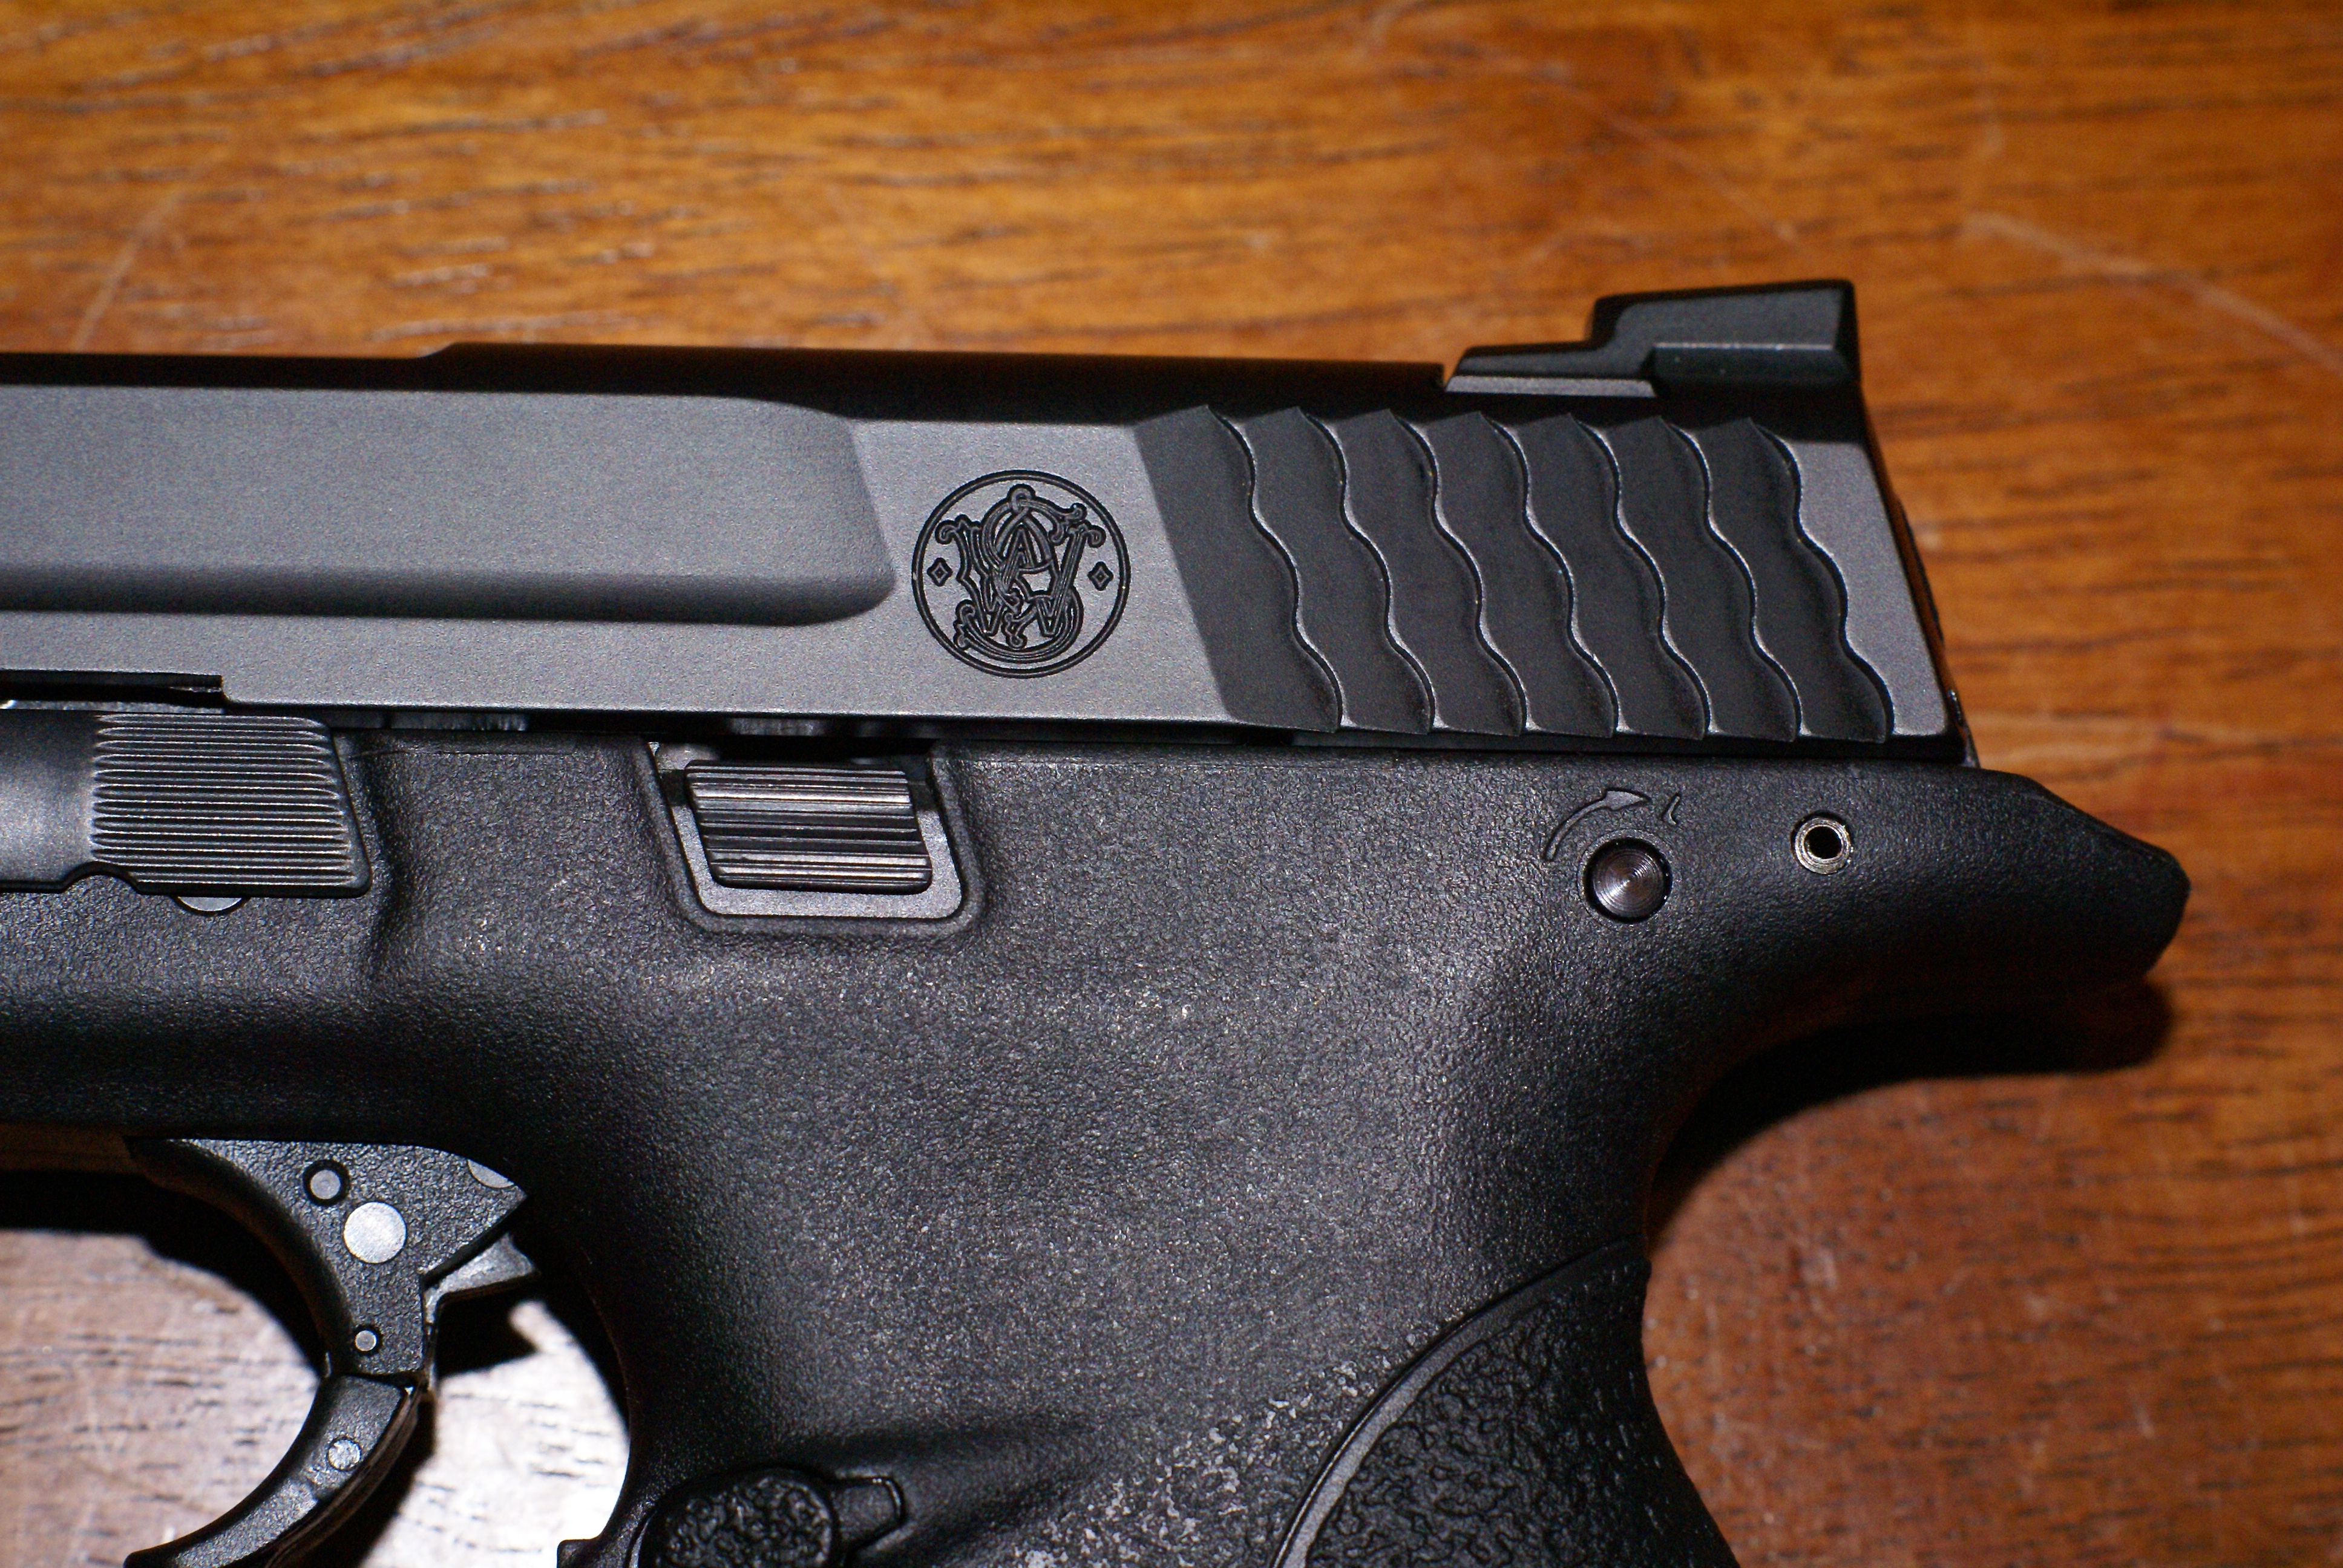
Before you consider this product, there are some requirements that need to be met to ensure proper fit and function. The RAM is designed to fit the M&P 9mm, .40S&W, and .357 SIG frames. However, it will not fit the VTAC and some of the newer models due to a design change in the sear housing block. To check your M&P pistol to see if it’s compatible, look at the left side of the frame. If you have the integral (internal) locking system (ILS) and/or a thumb safety, the RAM is incompatible. If the M&P doesn’t have the ILS, you will see a black aluminum plug in its place. If you have a model with a magazine disconnect safety feature, ATS has a RAM available for it.
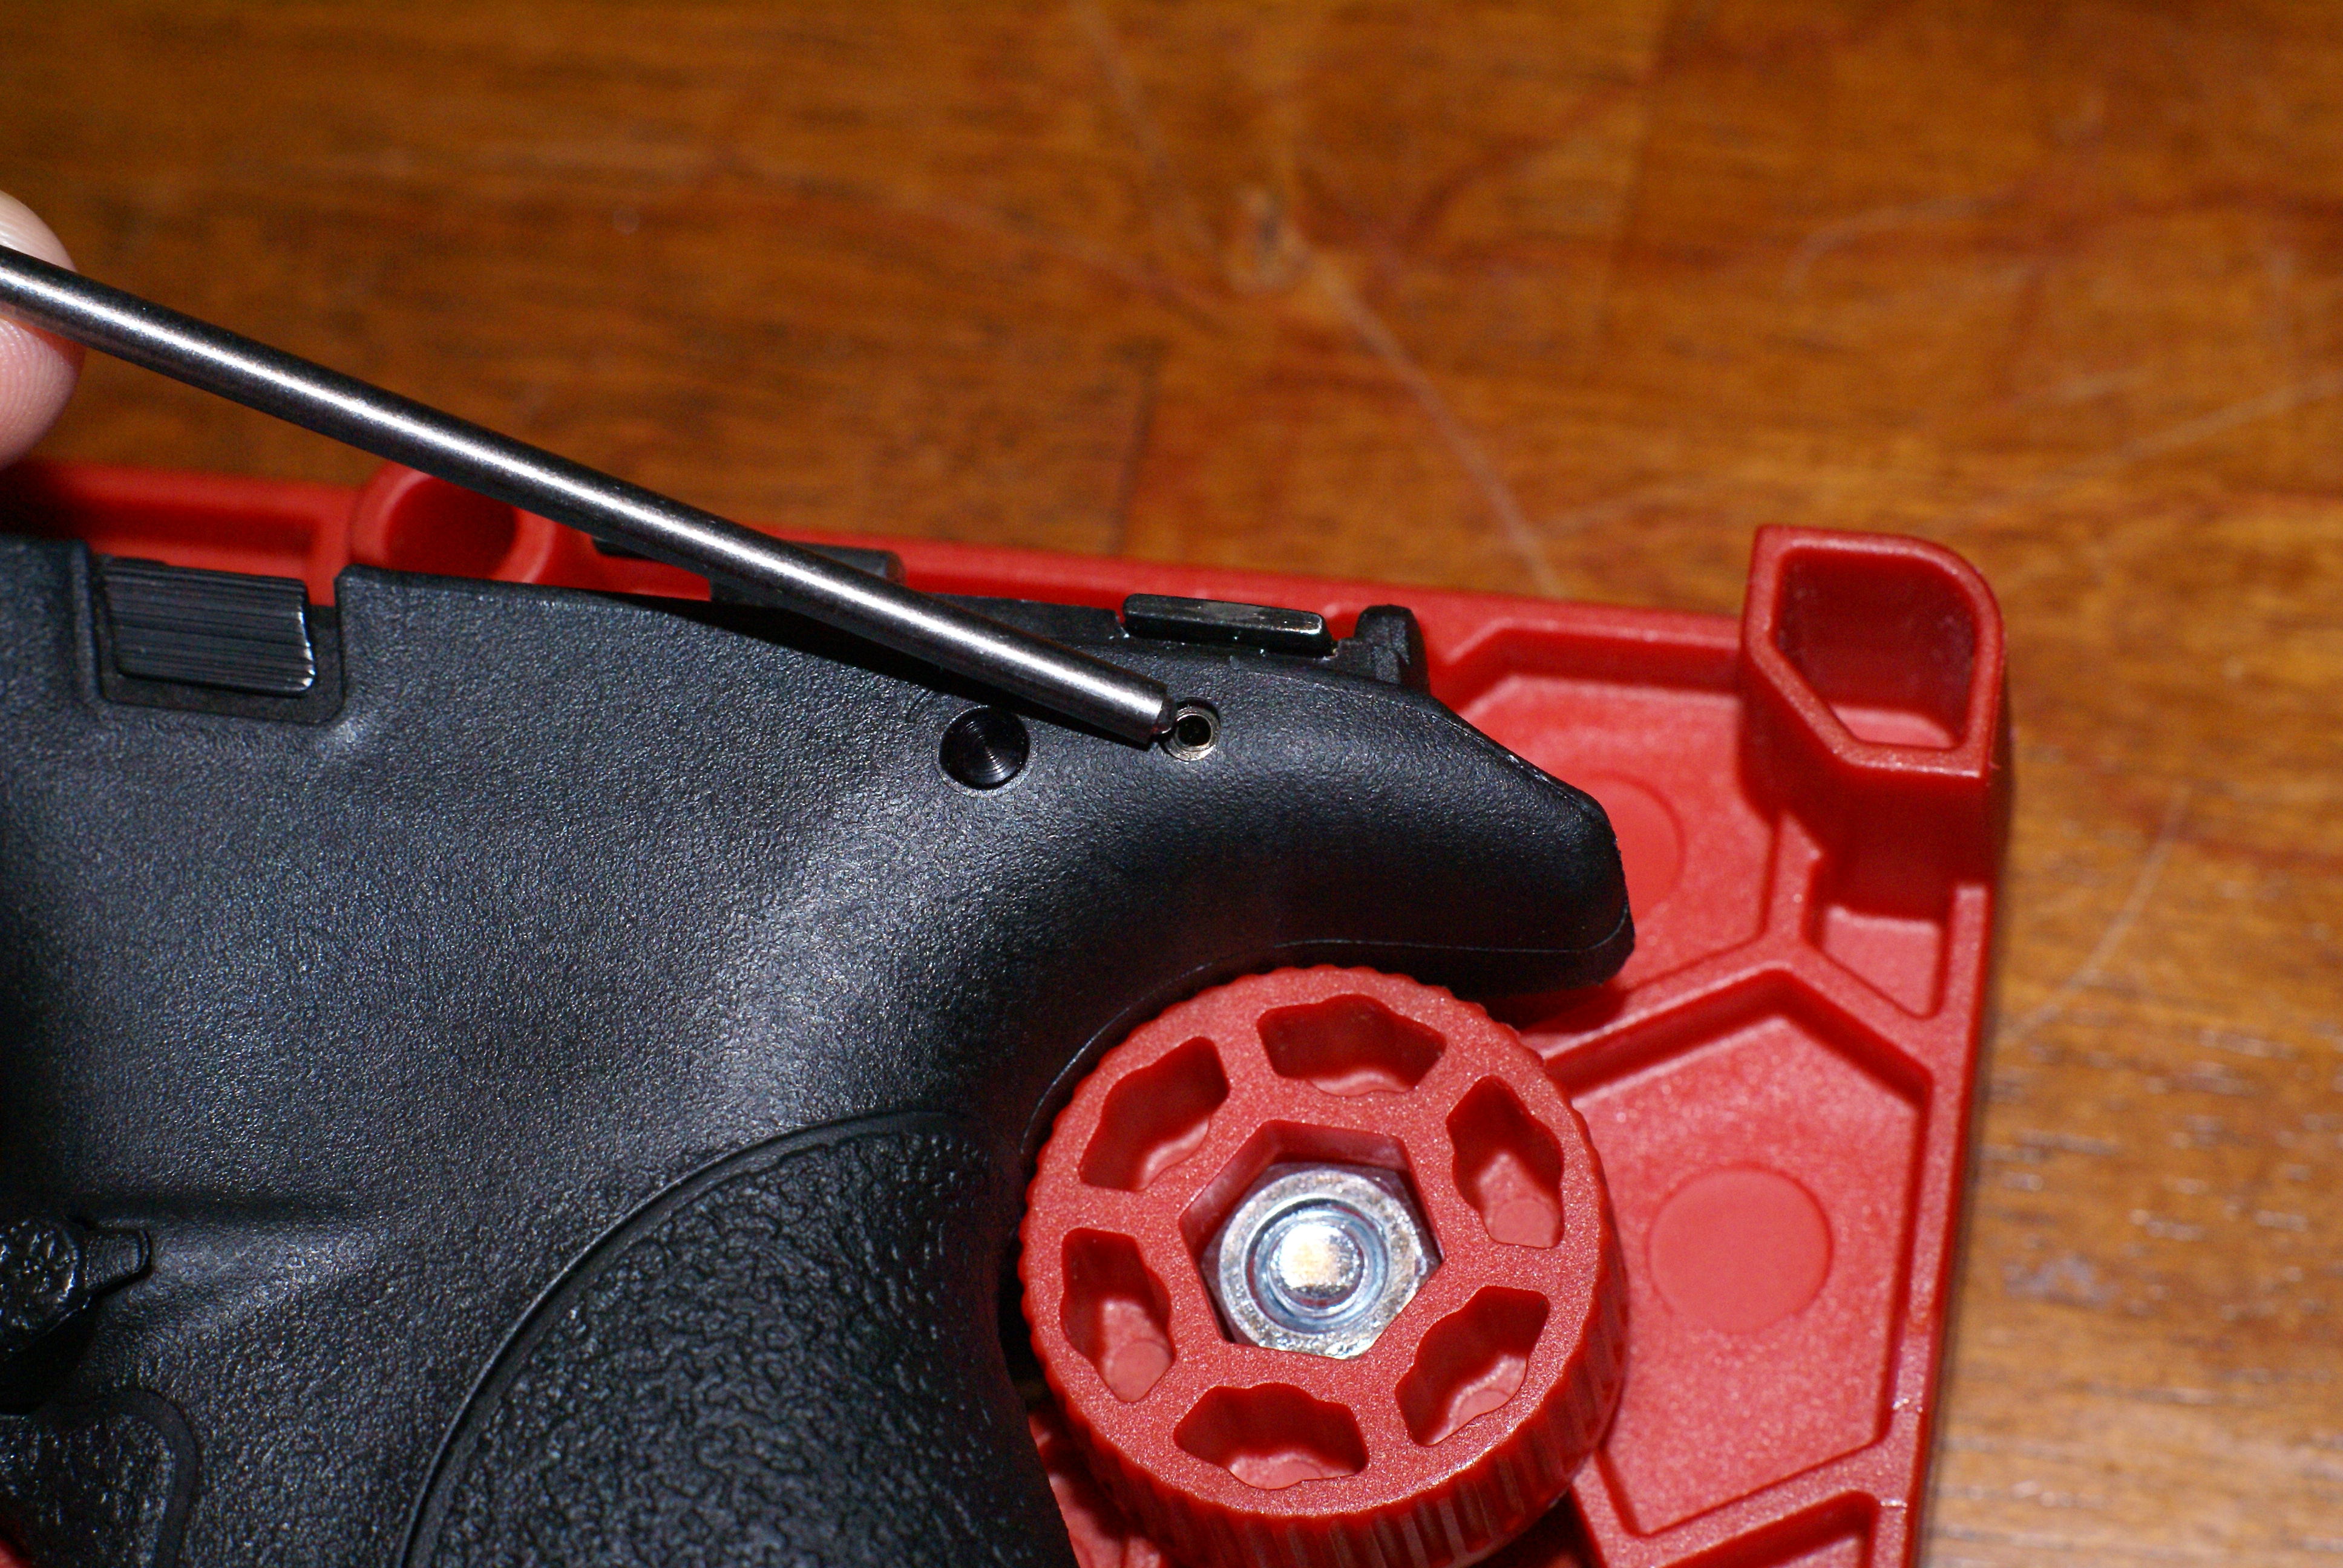
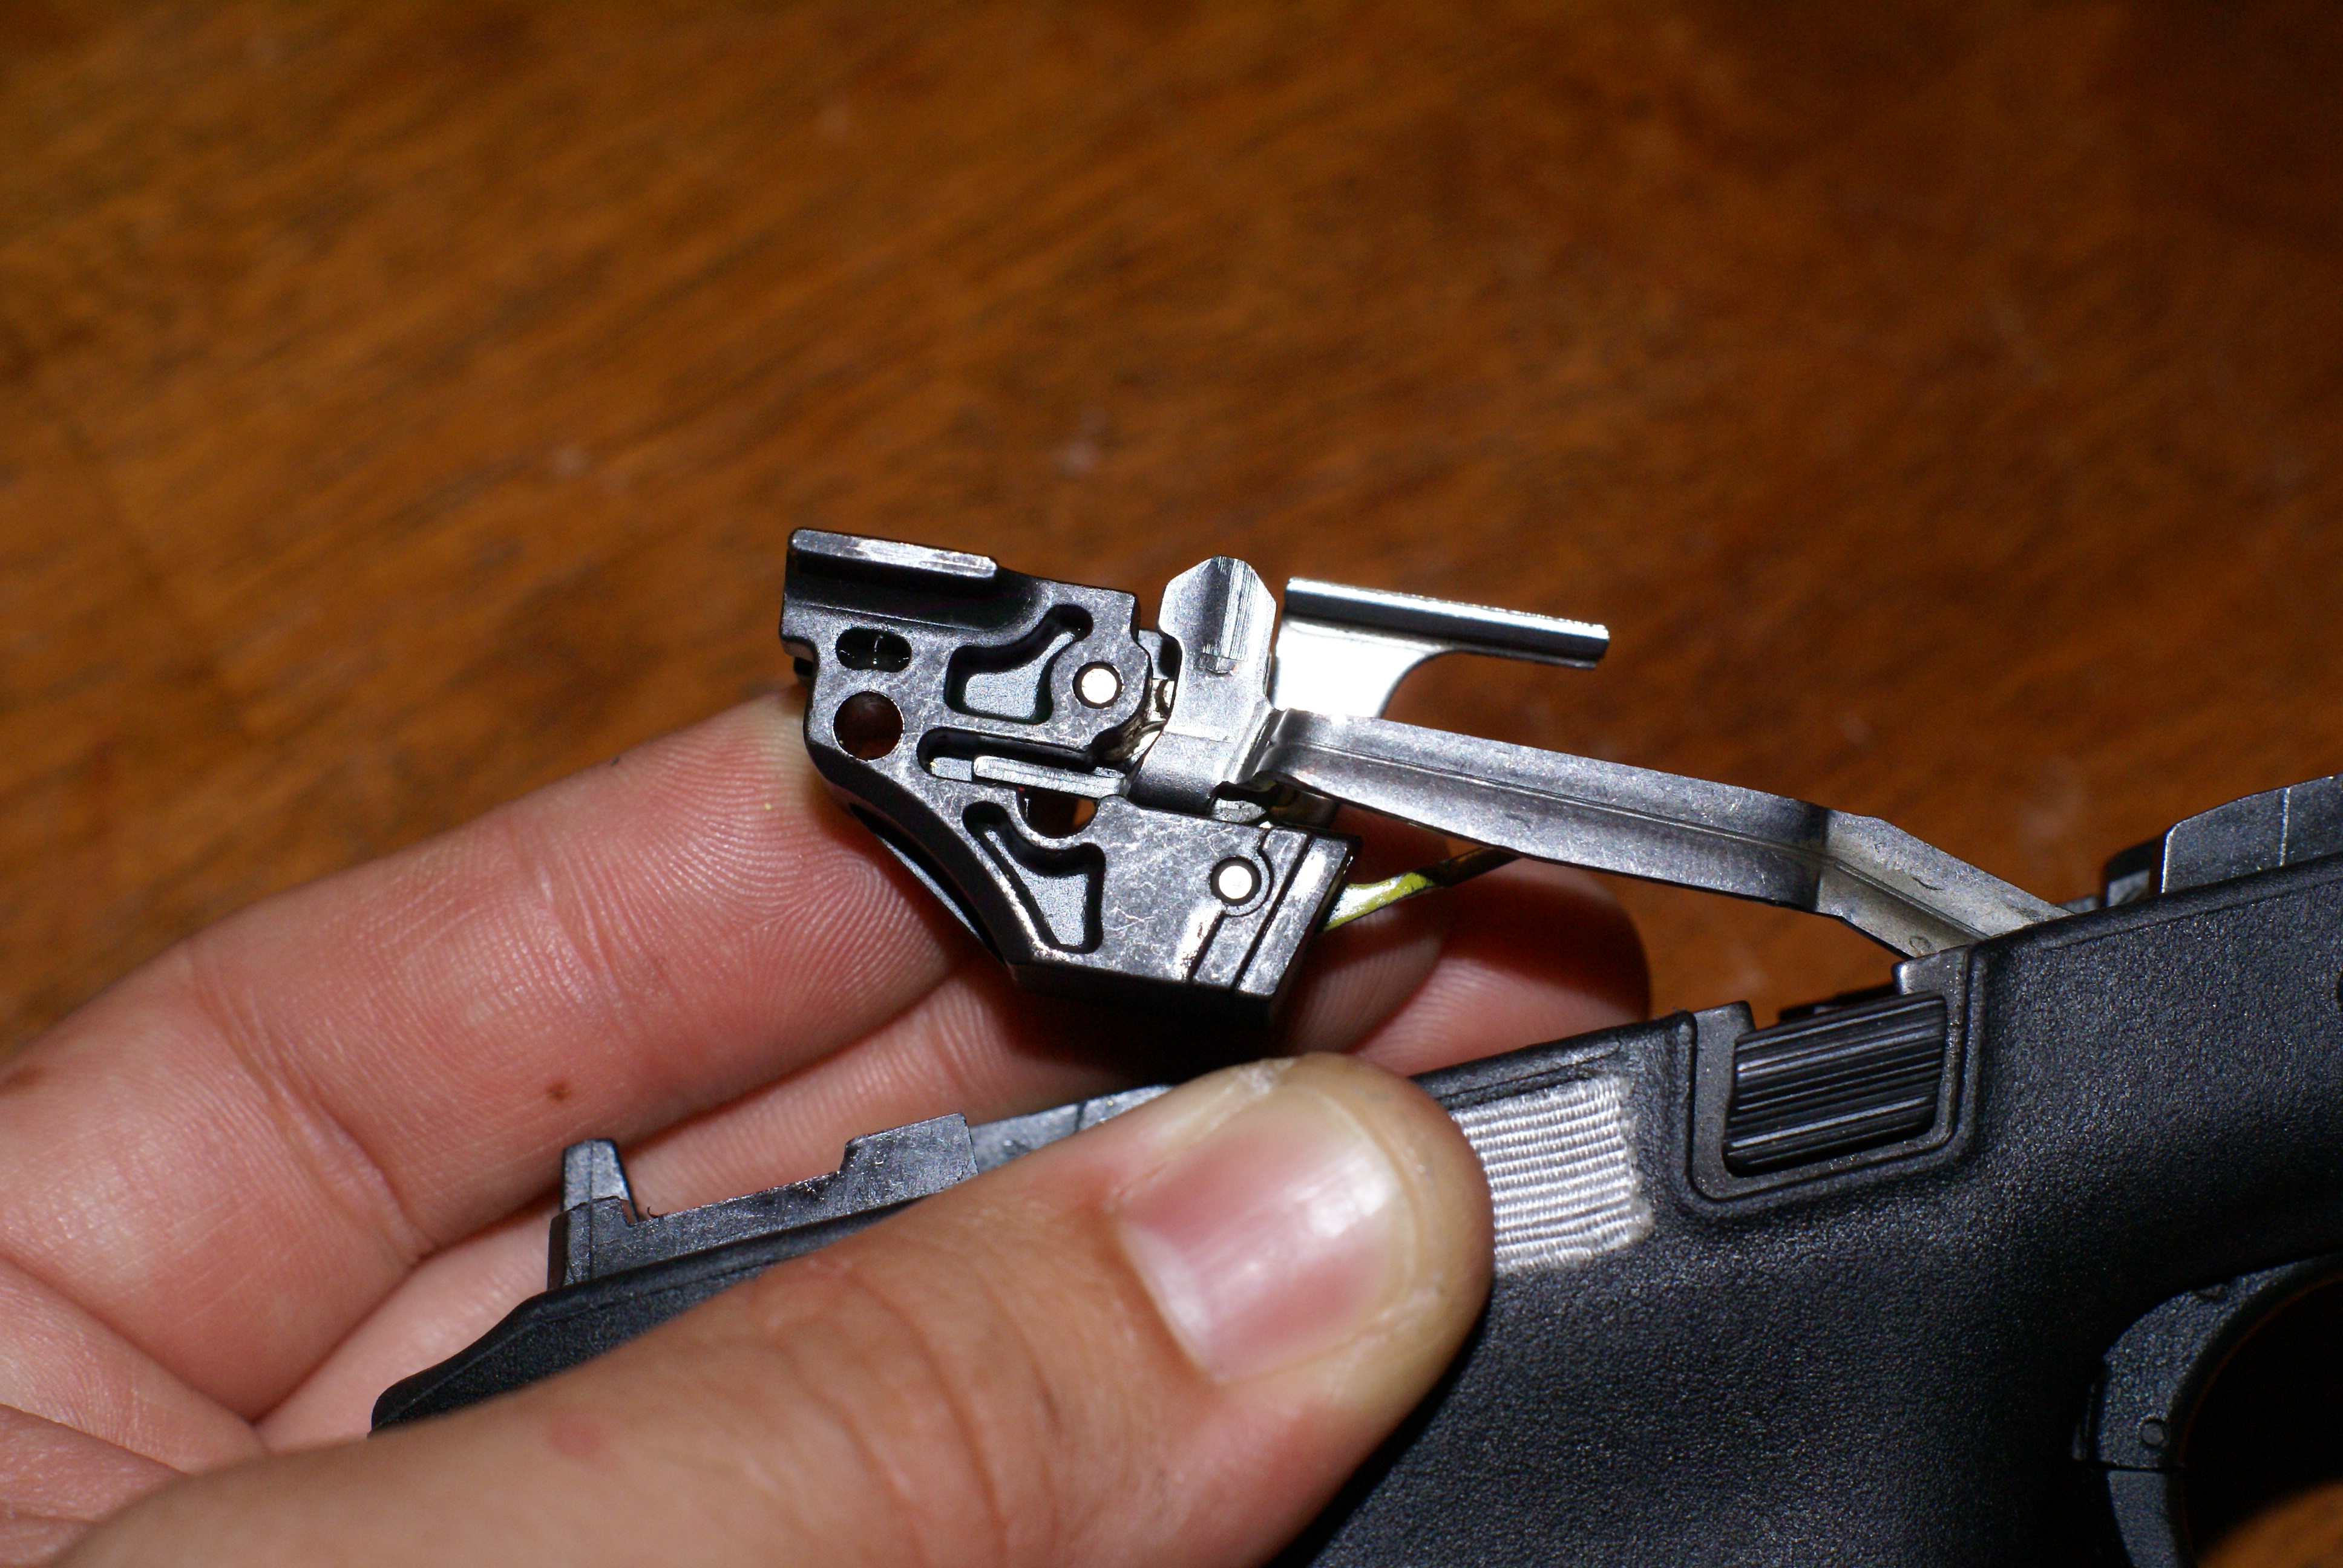
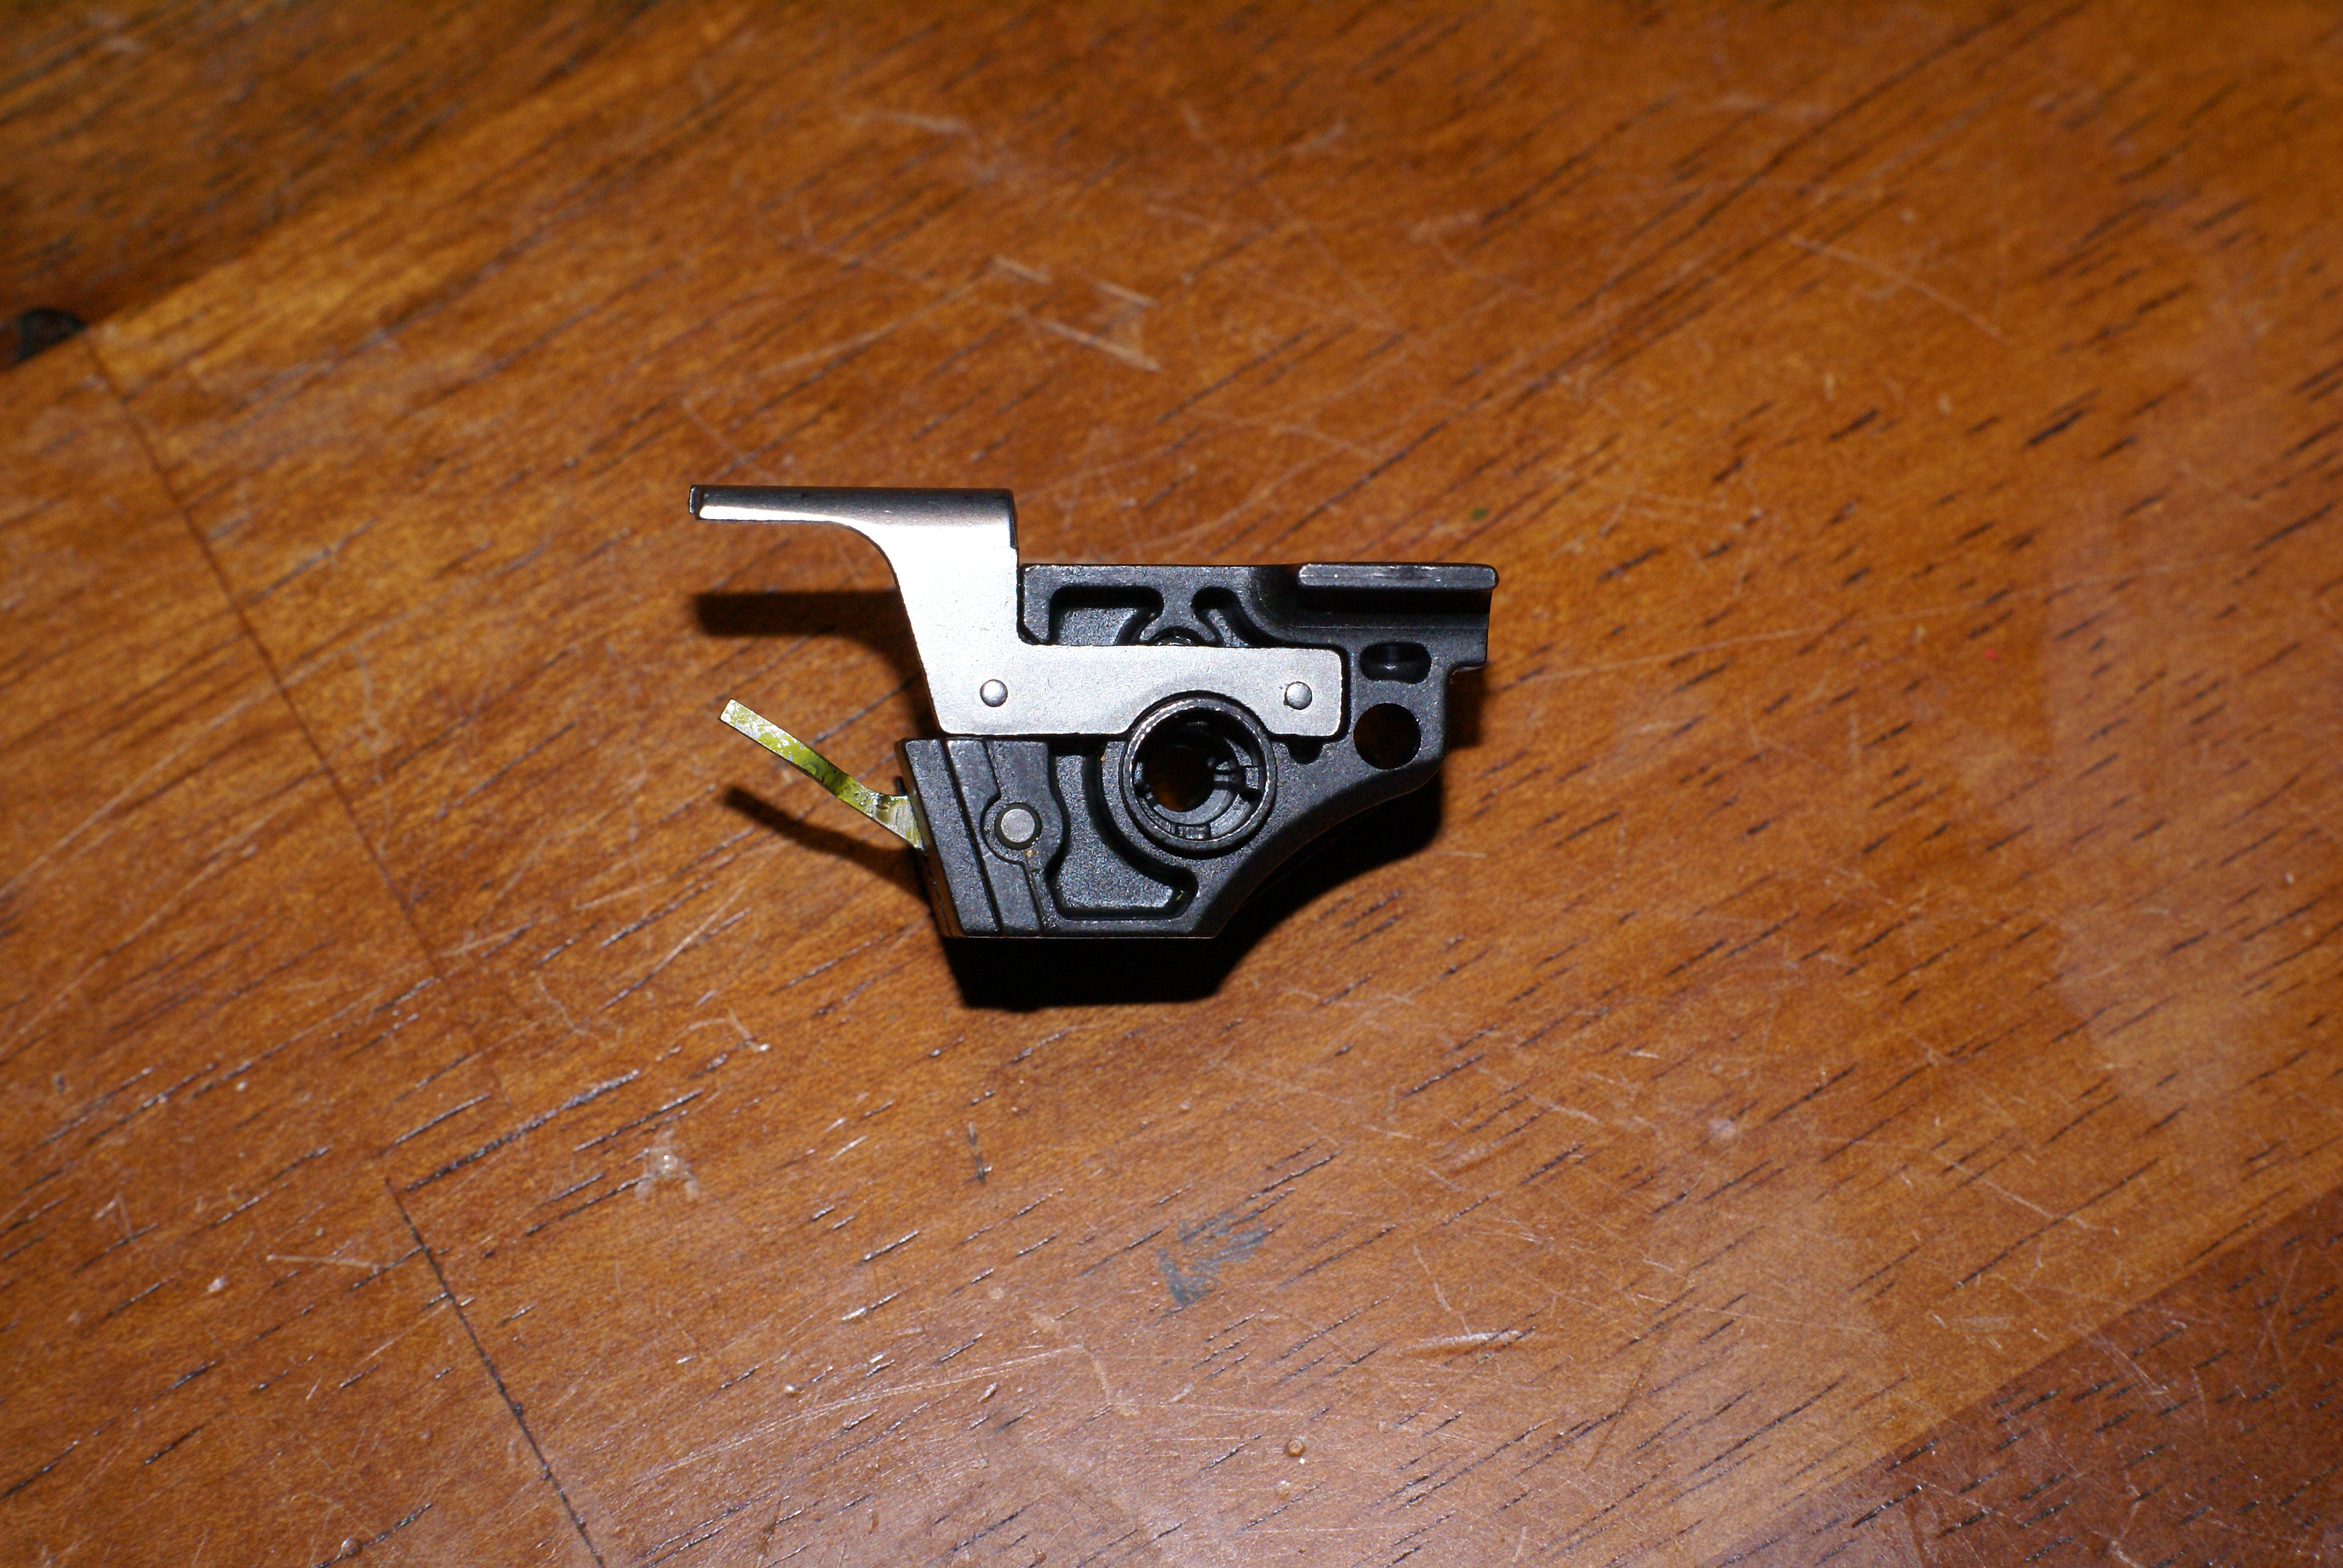
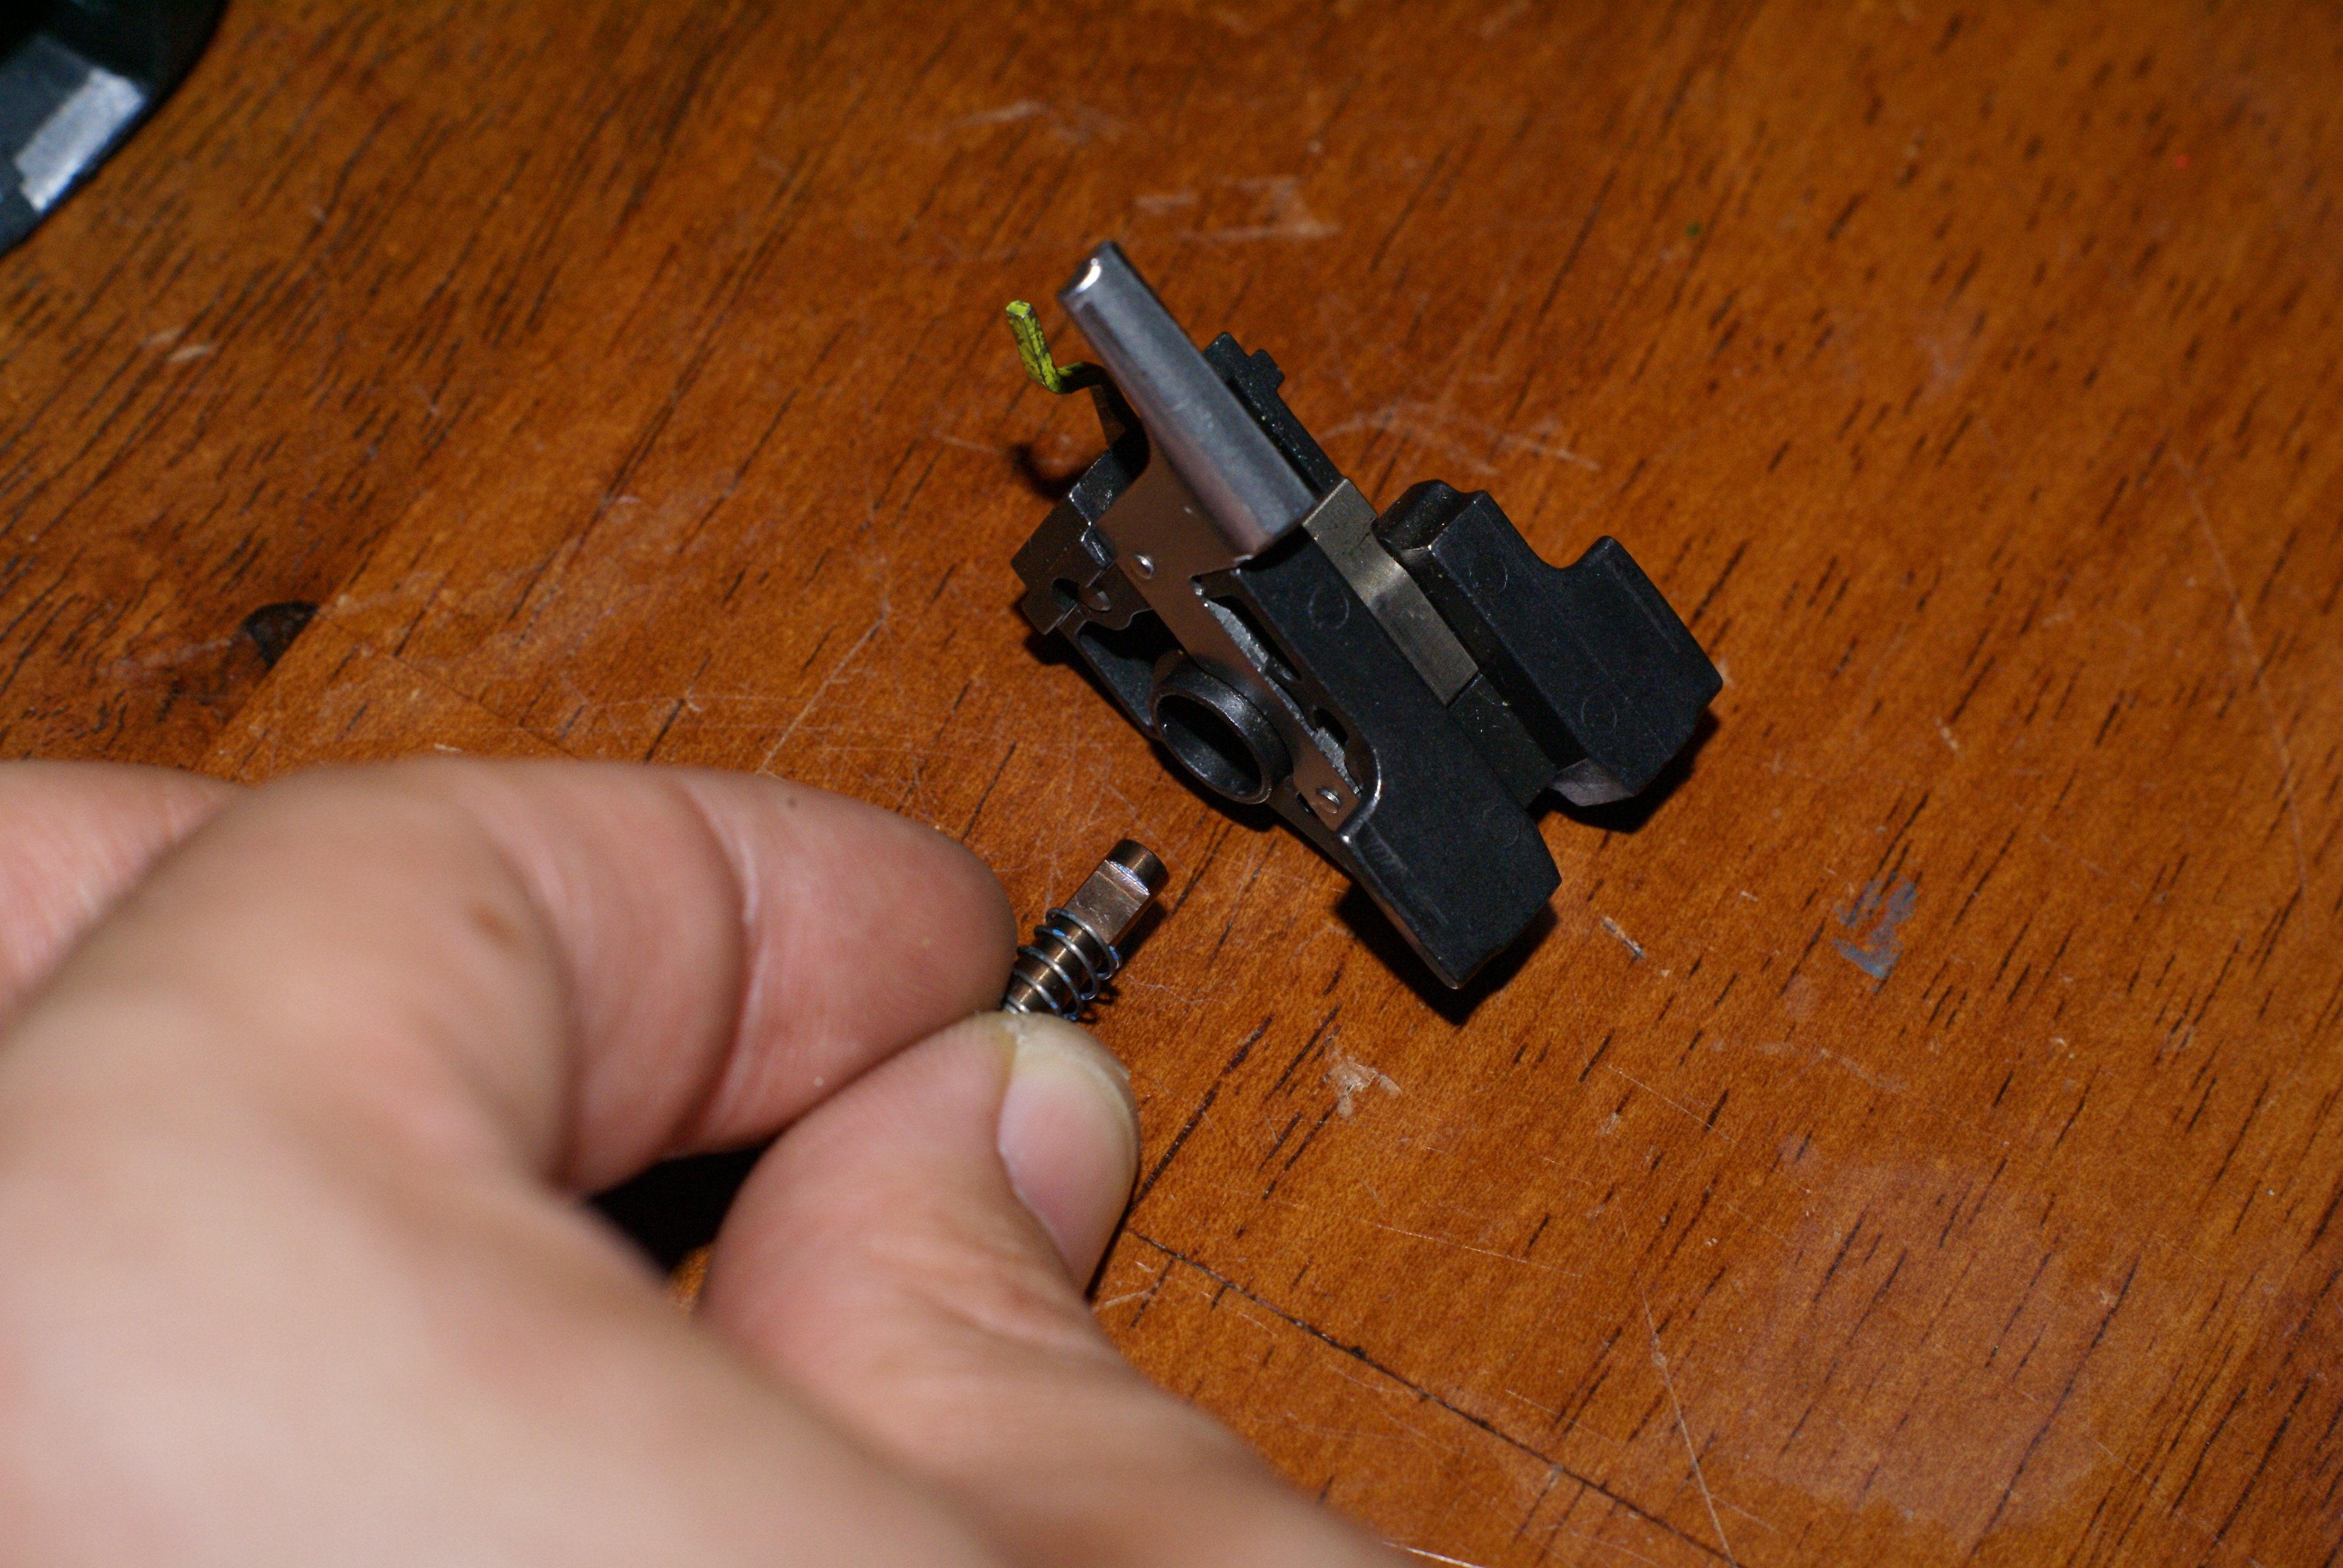
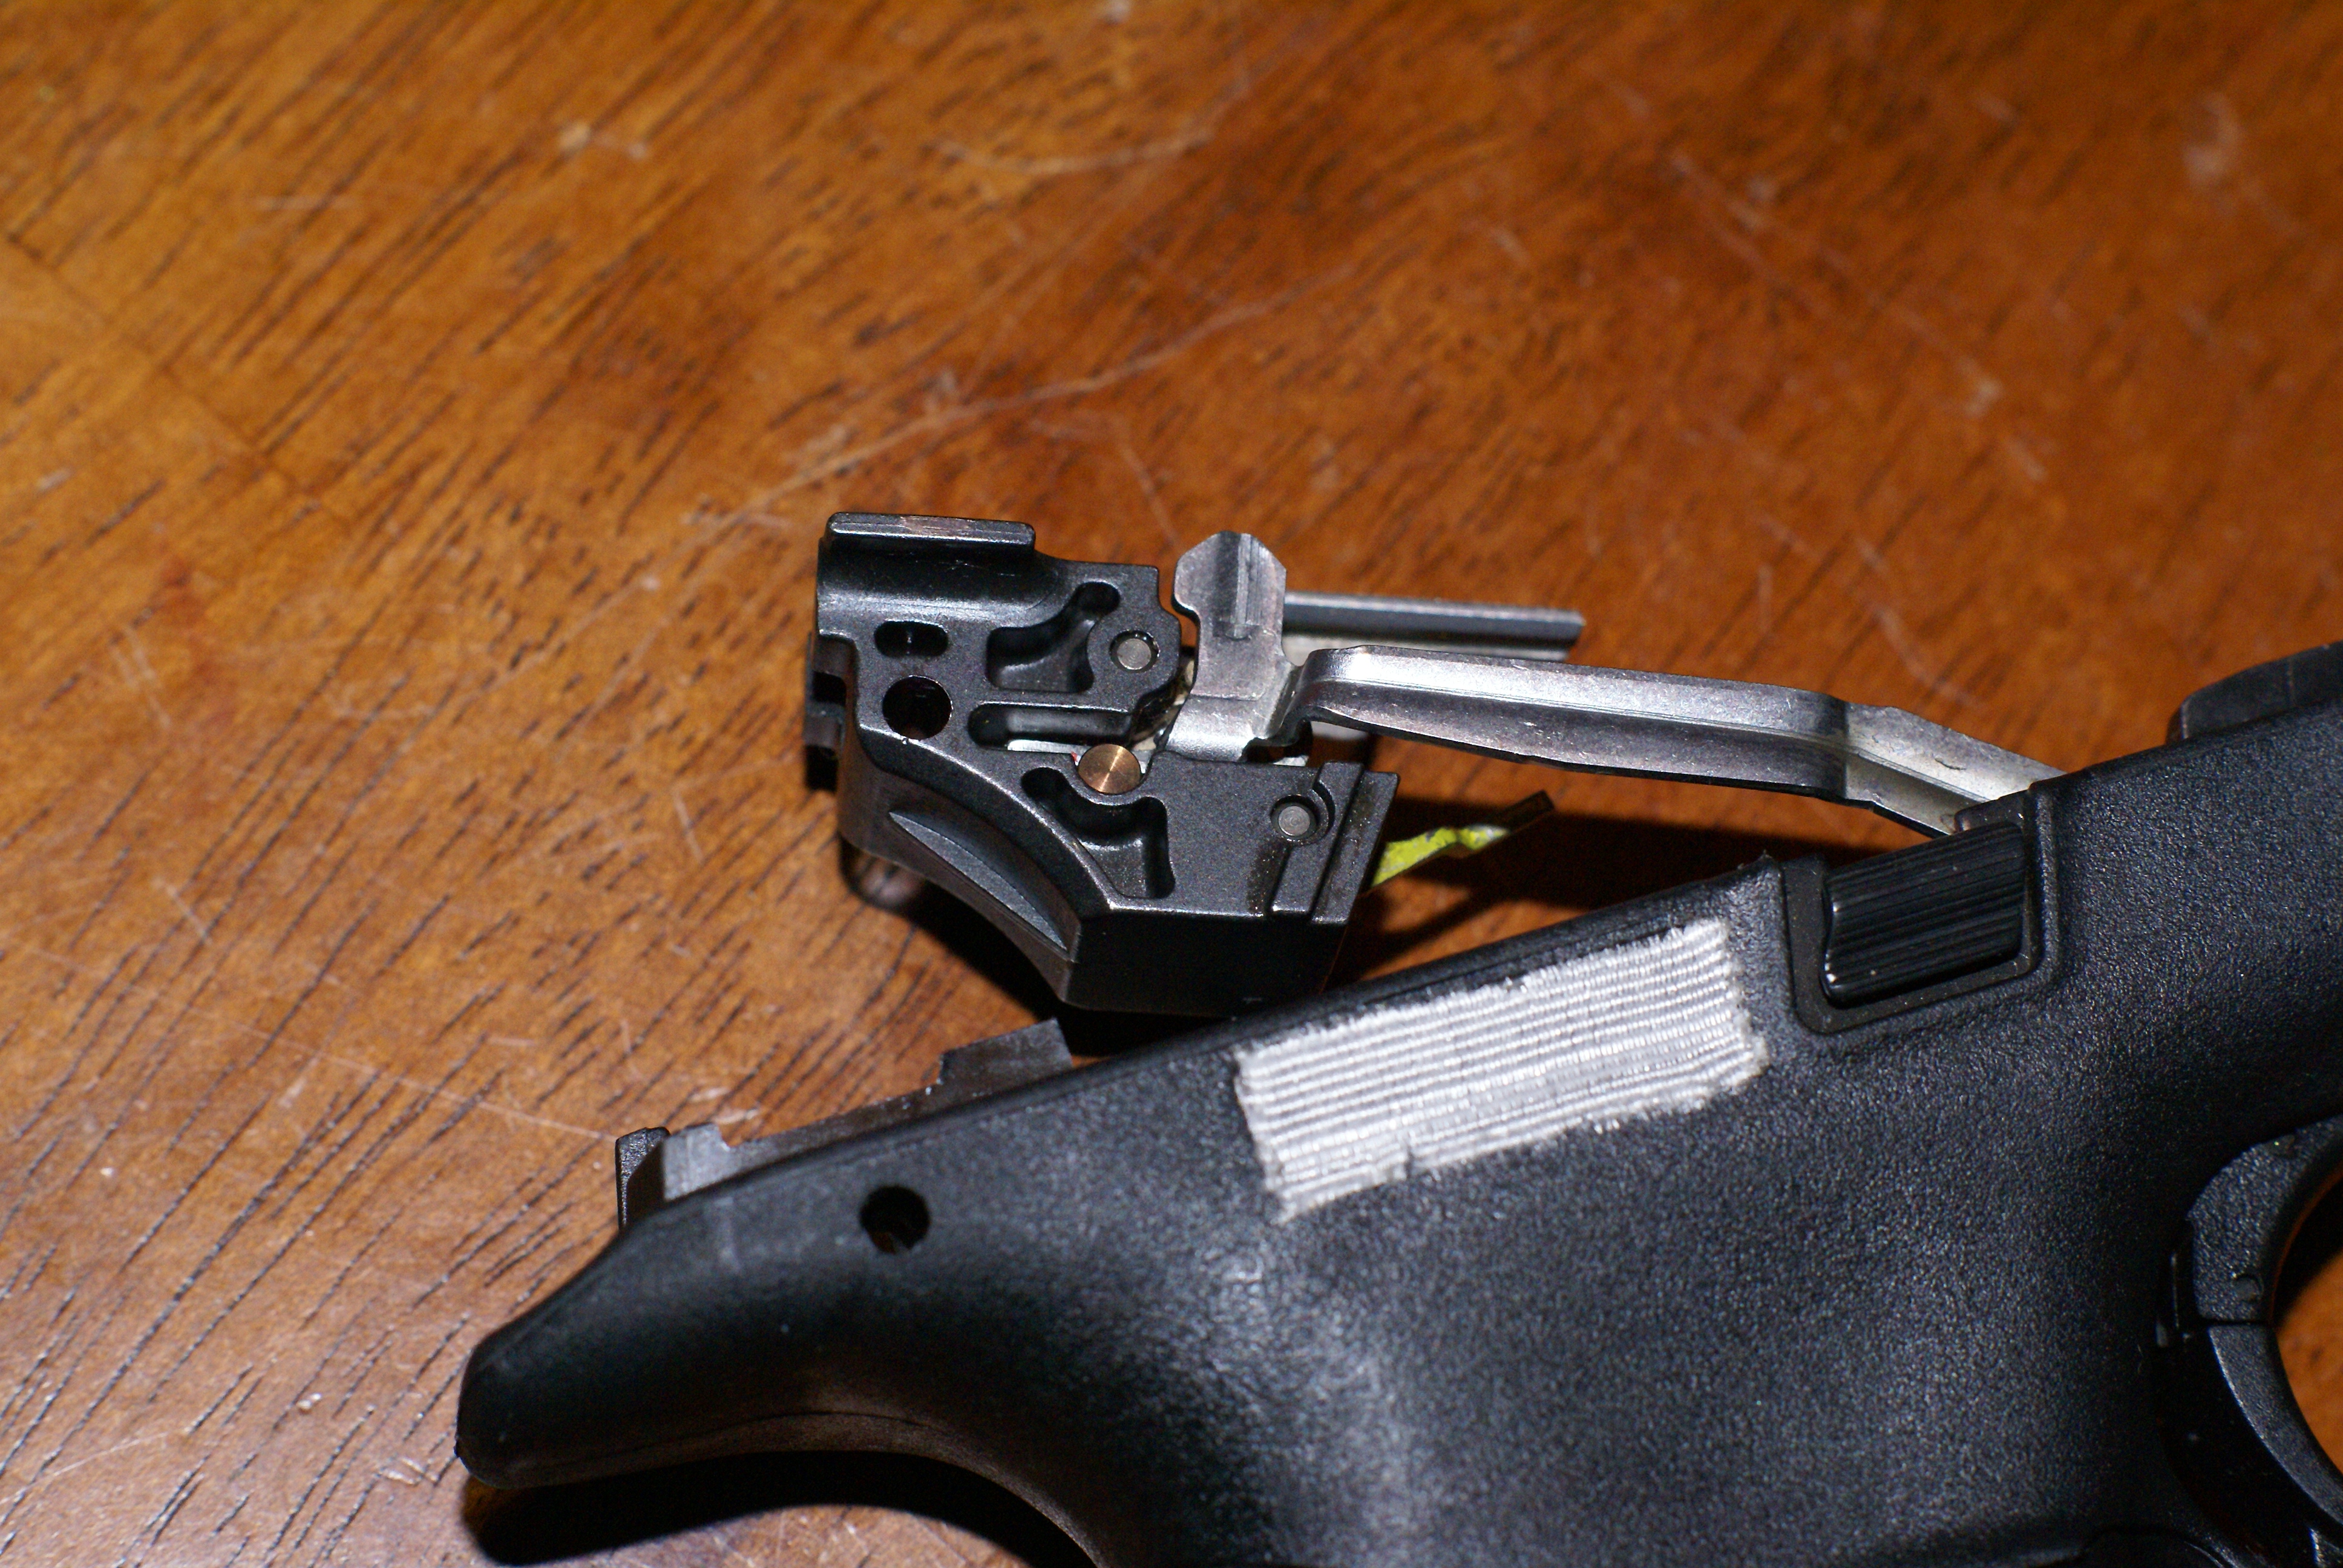
The RAM is made up of two parts and is fairly easy to install, and the price point is affordable at $23.95. In the package you will receive a spring and what looks like a pin with a positive head and a notch cut out. ENSURE THAT YOUR FIREARM IS UNLOADED! Begin by field stripping the slide assembly off of the frame. To install, you will need to remove the roll pin that holds in the sear housing block (from left to right). To do this, I used a 1/8″ roll pin punch, a 4oz. hammer, and the Armorer Block that ATS manufacturers. After the pin was removed I used the punch to help pry the housing block up and out, while pulling the trigger to allow the connector bar to swing out of the frame. Next, the housing block was removed from the connector bar to ease installation. The RAM is assembled (spring over the pin) and inserted from the left side of the block with the positive head facing the left, and the notch facing upwards. The block was then replaced back on to the connector bar, with the tab resting inside of the notch in the RAM pin. After that, the block was pressed back into the frame while pulling the trigger to fully seat it. The roll pin was then reinstalled (right to left) so that it sat just below the surface of the frame on both sides.


After installation, I checked for proper function prior to firing. I immediately noticed a more audible and felt trigger reset, and was impressed by how much of a difference the RAM kit made. The primary function works flawlessly. I also noticed a crisper trigger break. The secondary function that the RAM provides a fail-safe that truly makes the M&P pistol a highly reliable sidearm. If the connector bar or trigger return spring malfunctions in a striker fired pistol, you are left with a dead trigger that will not return to the firing position, or enable the firing of a follow-up shot. The added benefit of the RAM is; if this happens to your M&P pistol, you can manually push the trigger forward with your trigger finger, it will reset, and you can fire a follow-up shot. This process works until your magazine is empty. Reload and repeat. To me, this fail-safe is a must have for law enforcement, military, and private firearm owners who expect their M&P to be able to fire under all conditions. I would highly recommend this product to all M&P pistol owners, and to any armorers who will be working on this line of firearms.
Thanks for reading,
-Rhody
You must be logged in to post a comment.