
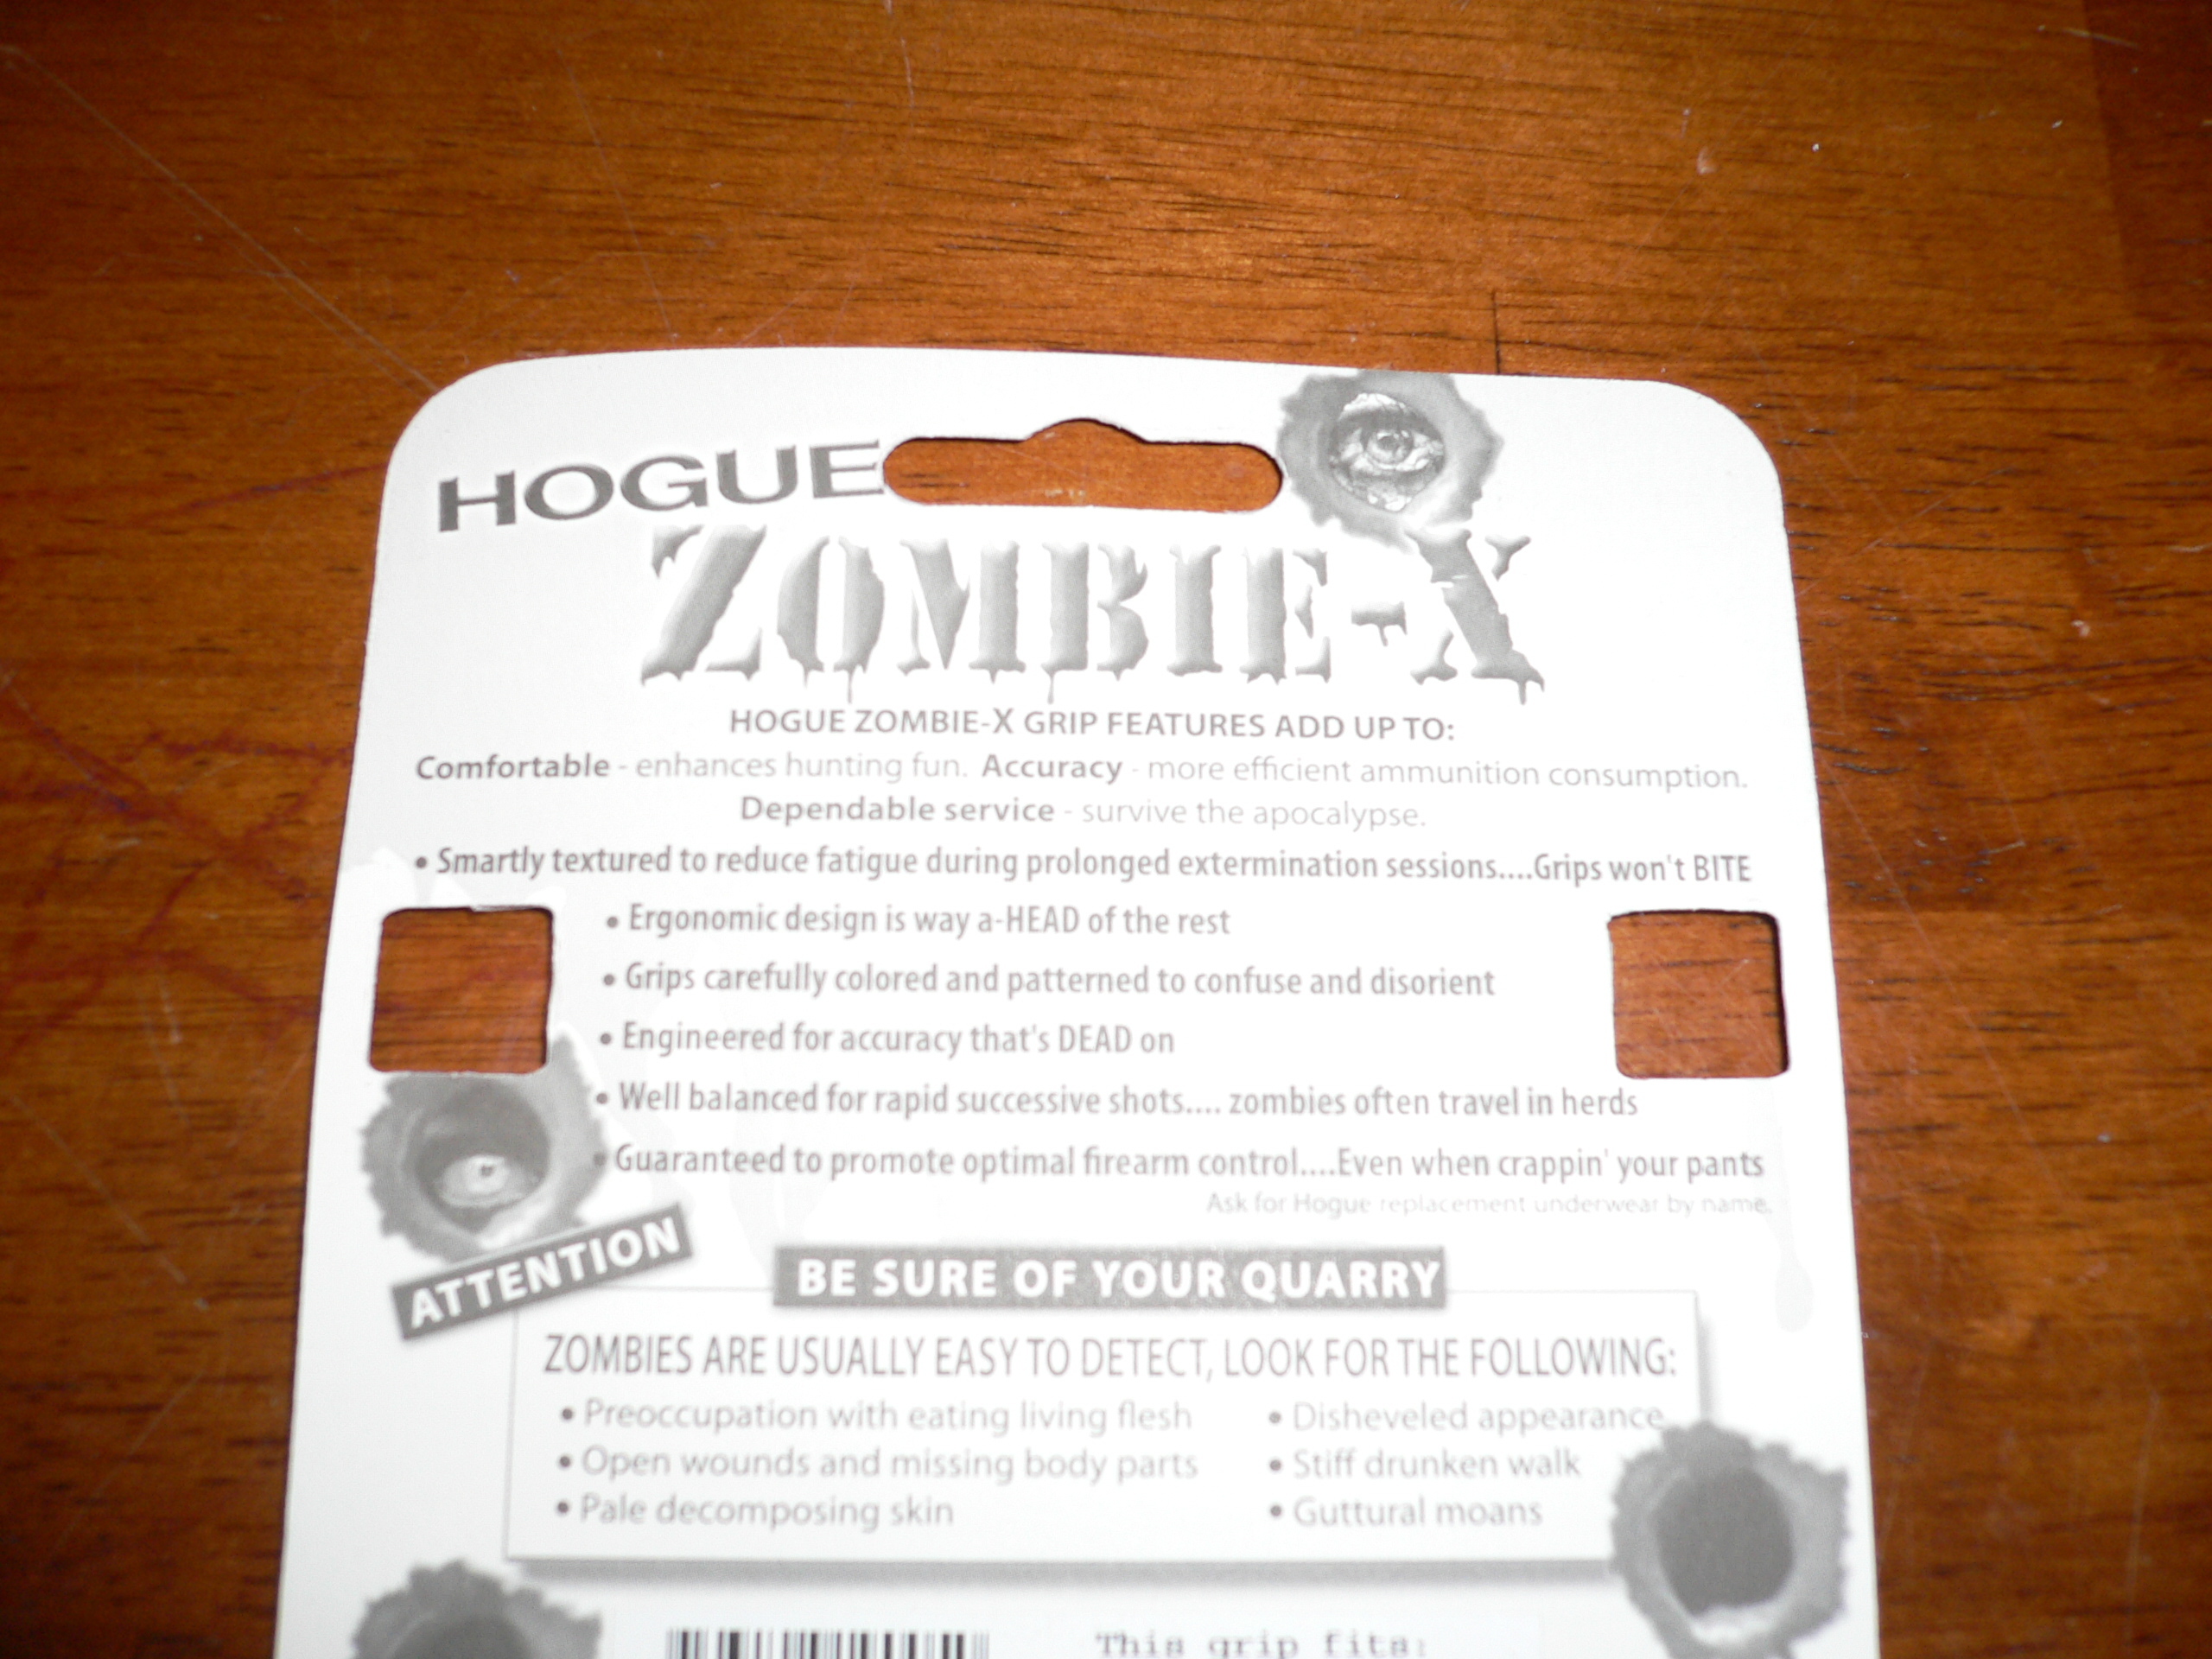
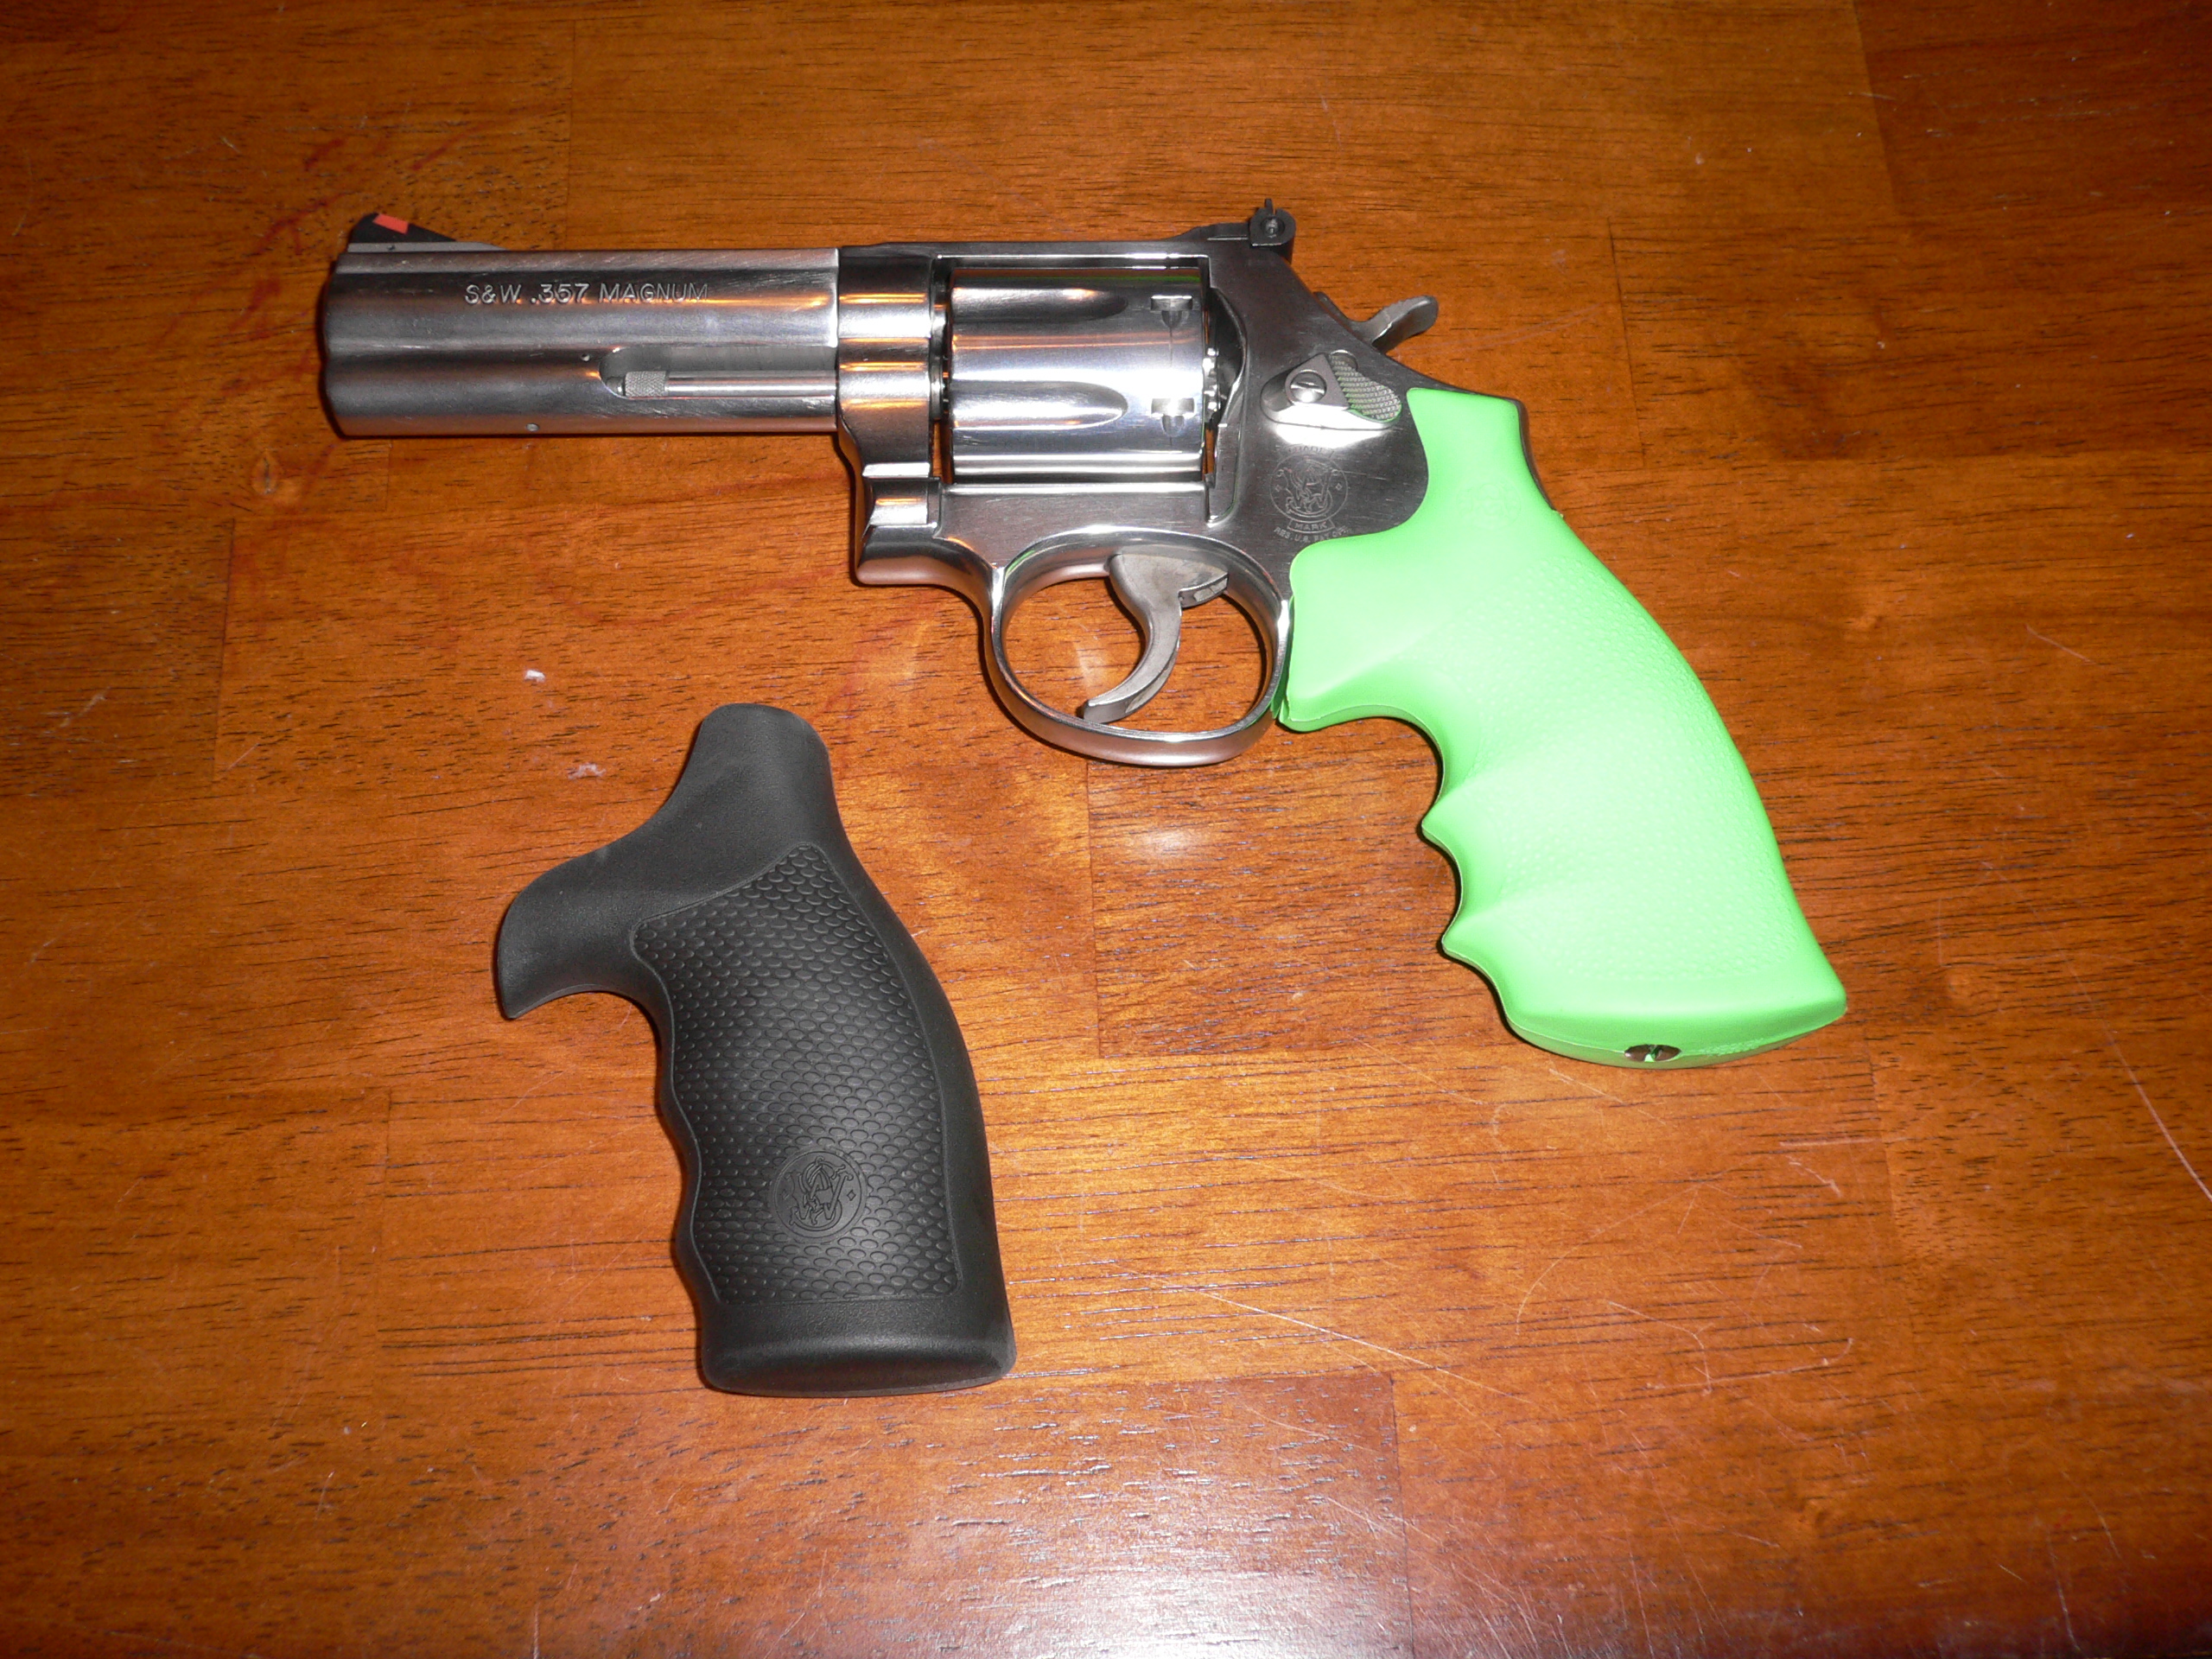
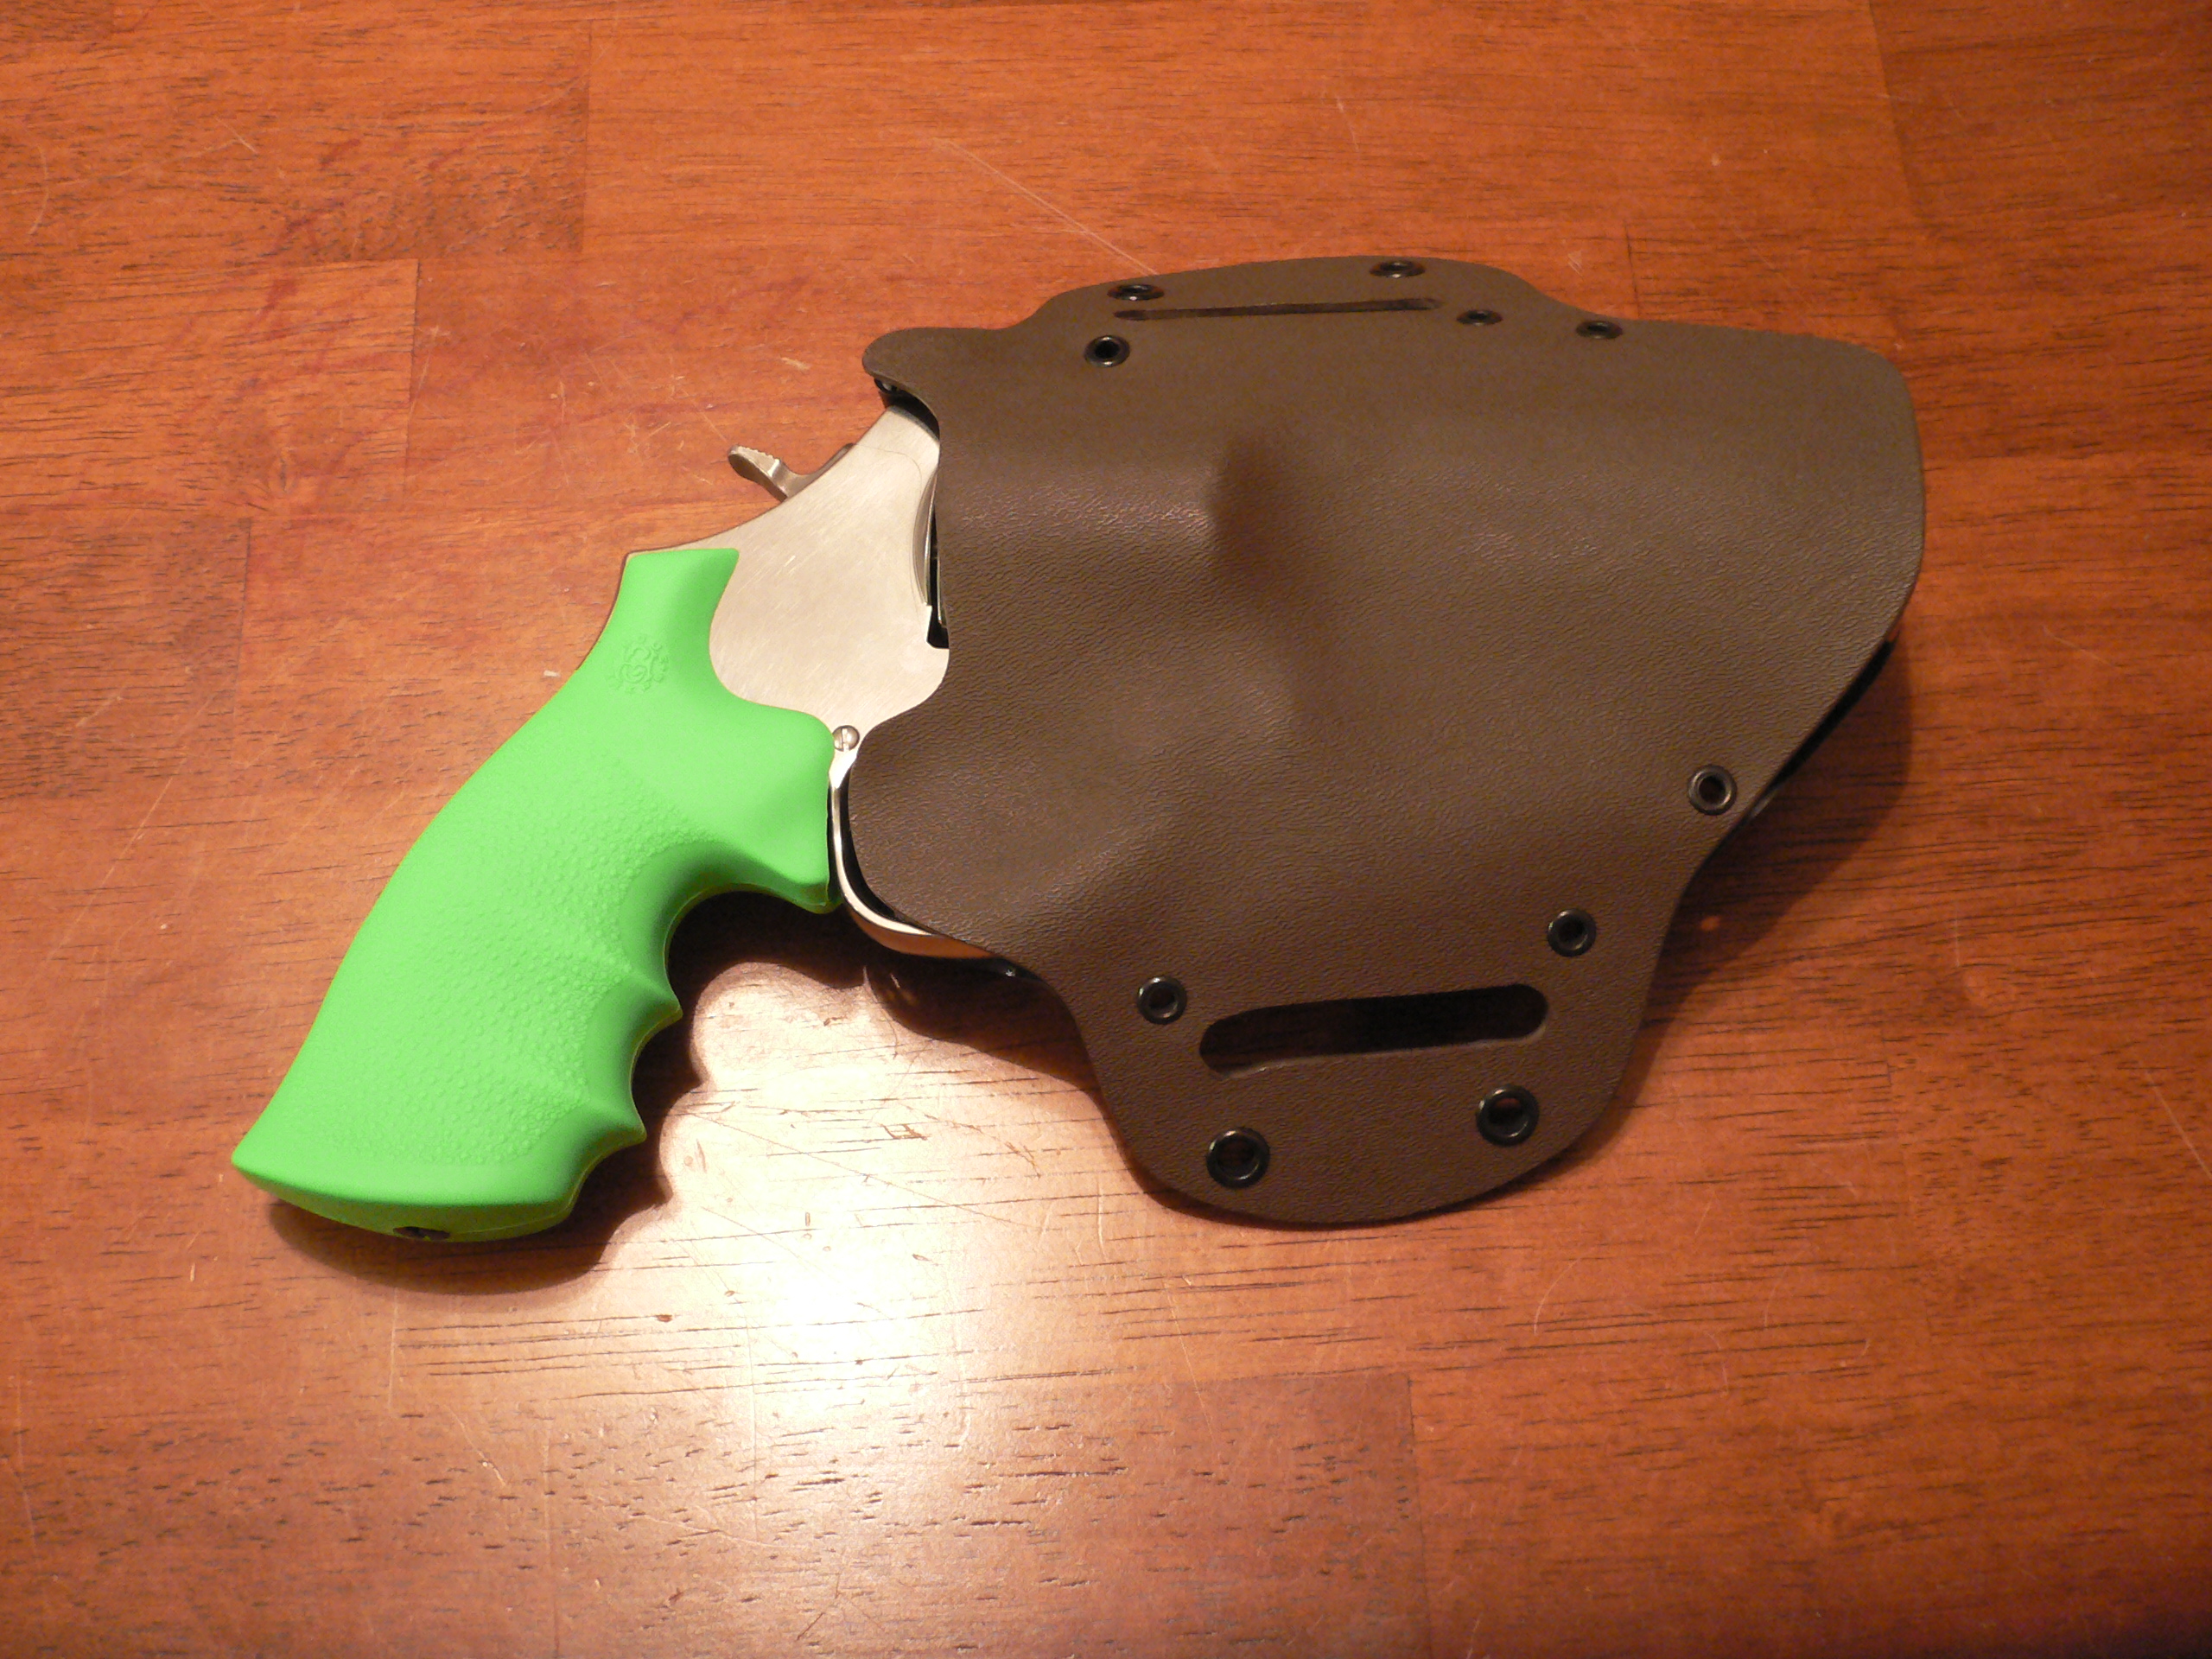
I’m not a big fan of the stock grip that Smith and Wesson installs on their revolvers (round butt design). My preference is the larger grips that came on the older square butt frames, and Hogue Inc. makes a conversion grip to do just that, the Hogue Zombie-X Monogrip. I was going to purchase Hogue’s standard Monogrip (black), but something else caught my eye….. it was available in Zombie Green. Different and unique, I figured “I’m really not into the zombie culture, but it will set my 686P apart from the others”. If you’re interested in finding a similar product for your rifle, shotgun, or sidearm, Hogue offers a line of Zombie-X products for multiple makes and models of firearms.
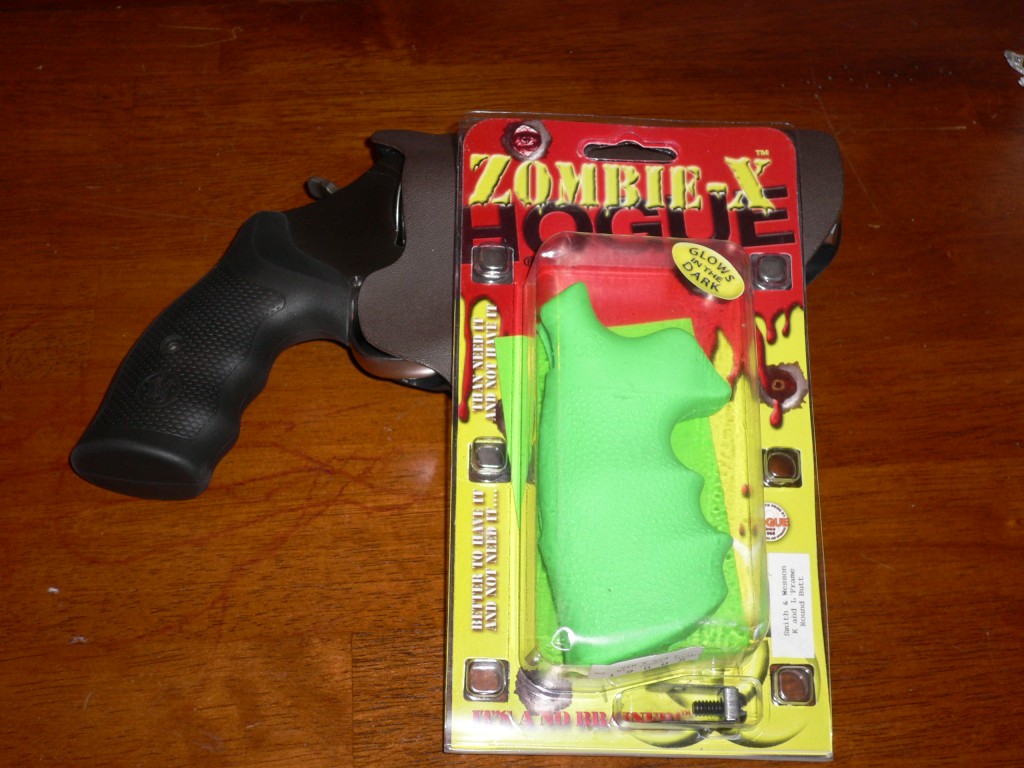
The model number 19005 fits S&W’s K and L frames, lists for $29.95 from Hogue, and provides exactly what I’m looking for. When it came in, I found the packaging amusing. The Zombie-X grip also has a bonus feature. This bad-Larry glows in the dark! A nice feature for finding it quickly in a no-light situation. This is definitely intended for a target consumer group, but it fits the bill nicely for me. The installation (very simple) is straight forward, and is clearly shown in the included instructions. There are three parts in the package; the grip, stirrup, and a screw. For this project, I’m using a S&W 686P-6. It’s a L frame revolver with a four-inch barrel, a 7 round capacity, and is chambered in .357 magnum. Let’s get started…..
Hogue Zombie-X Monogrip

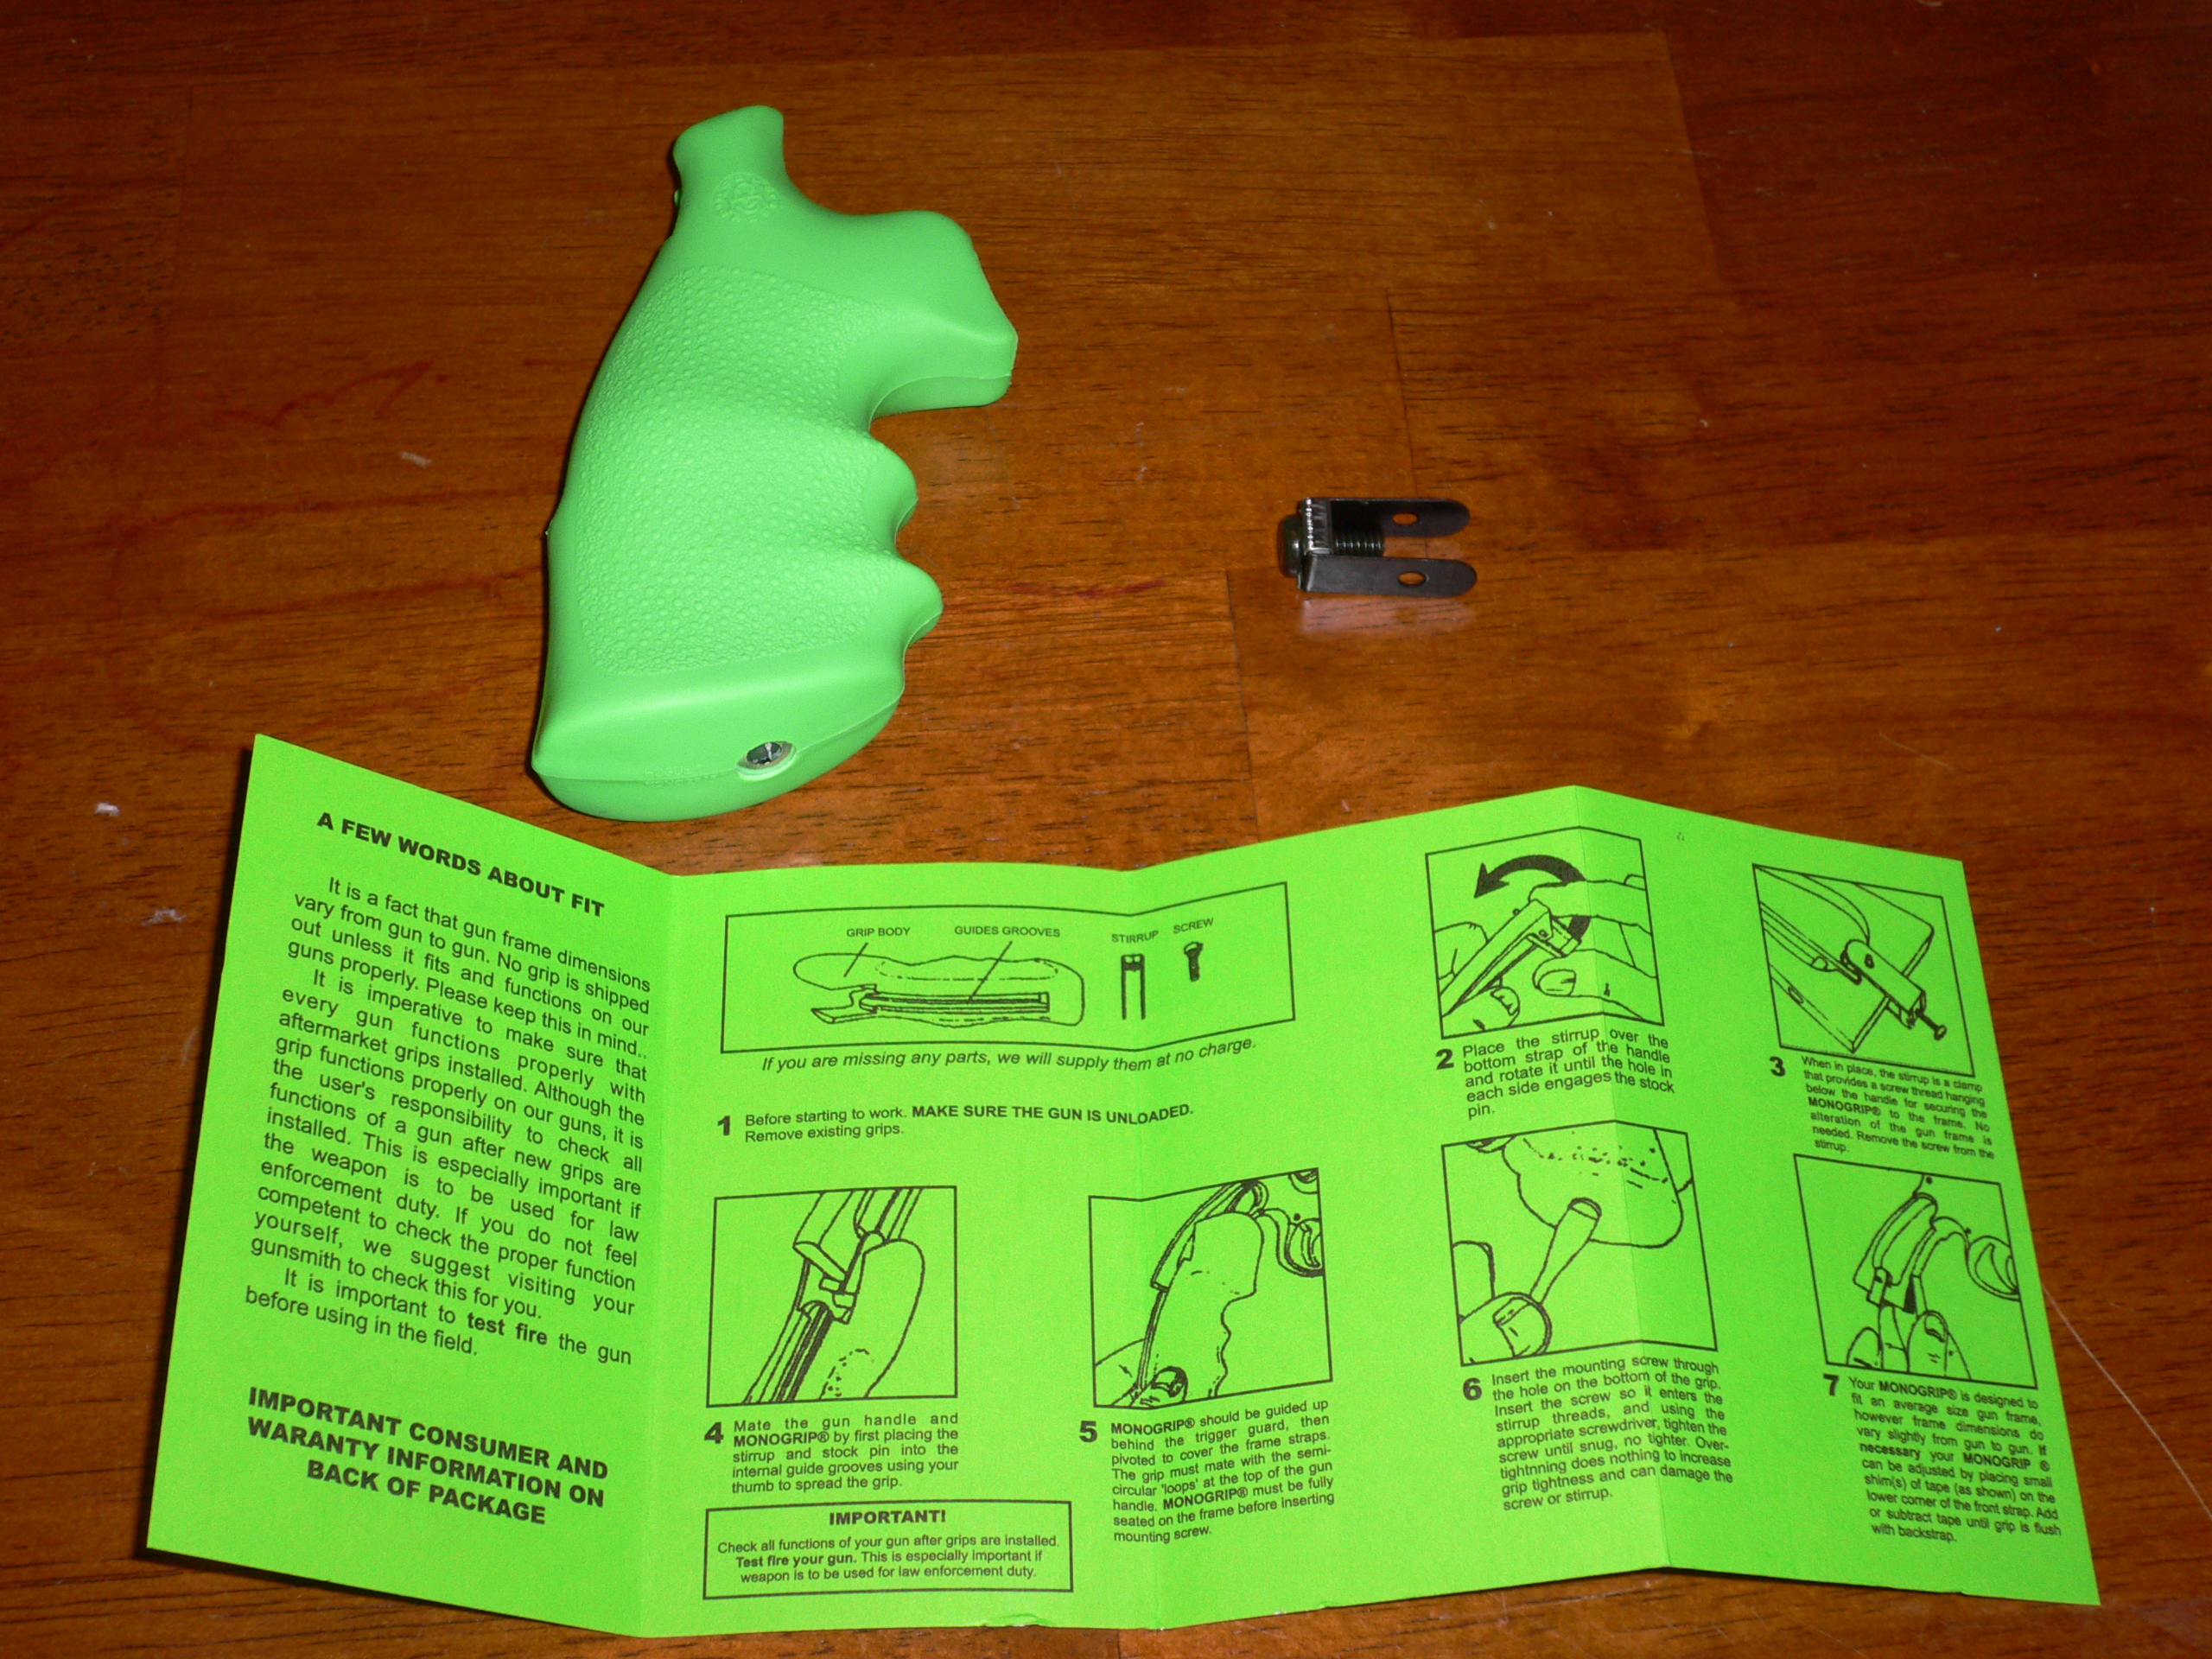
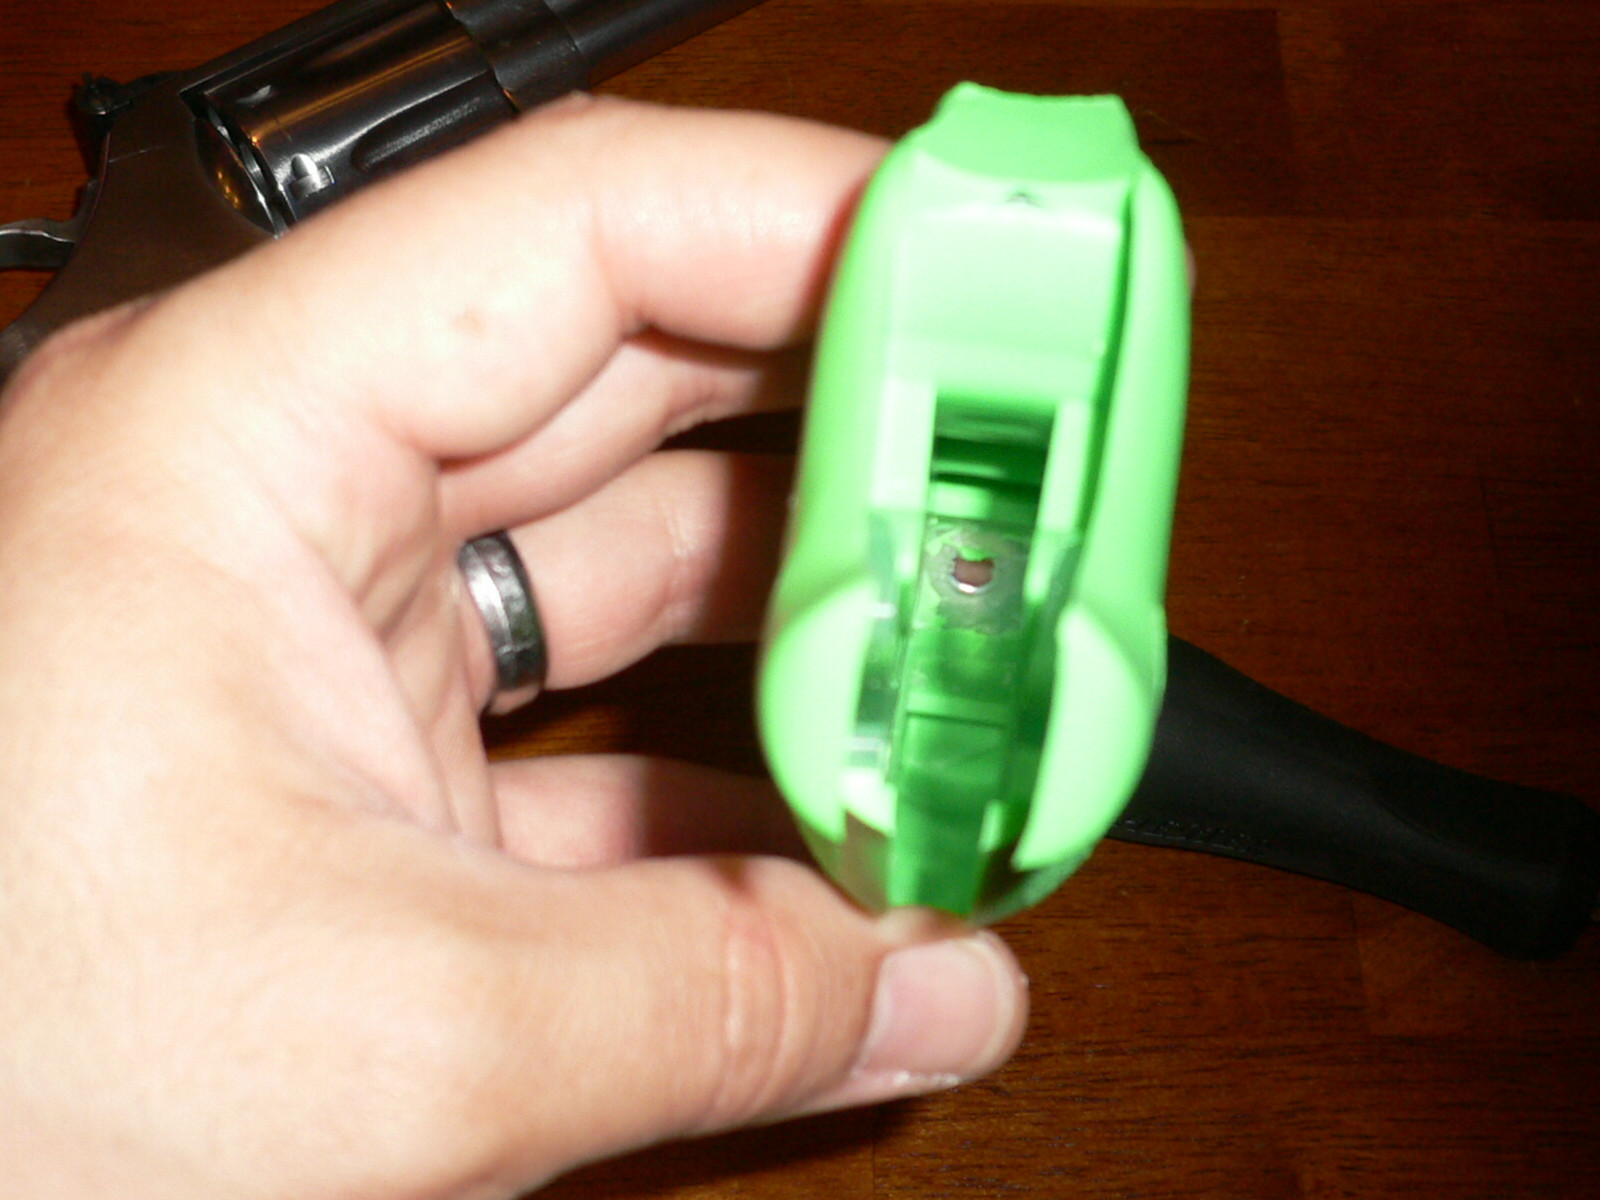
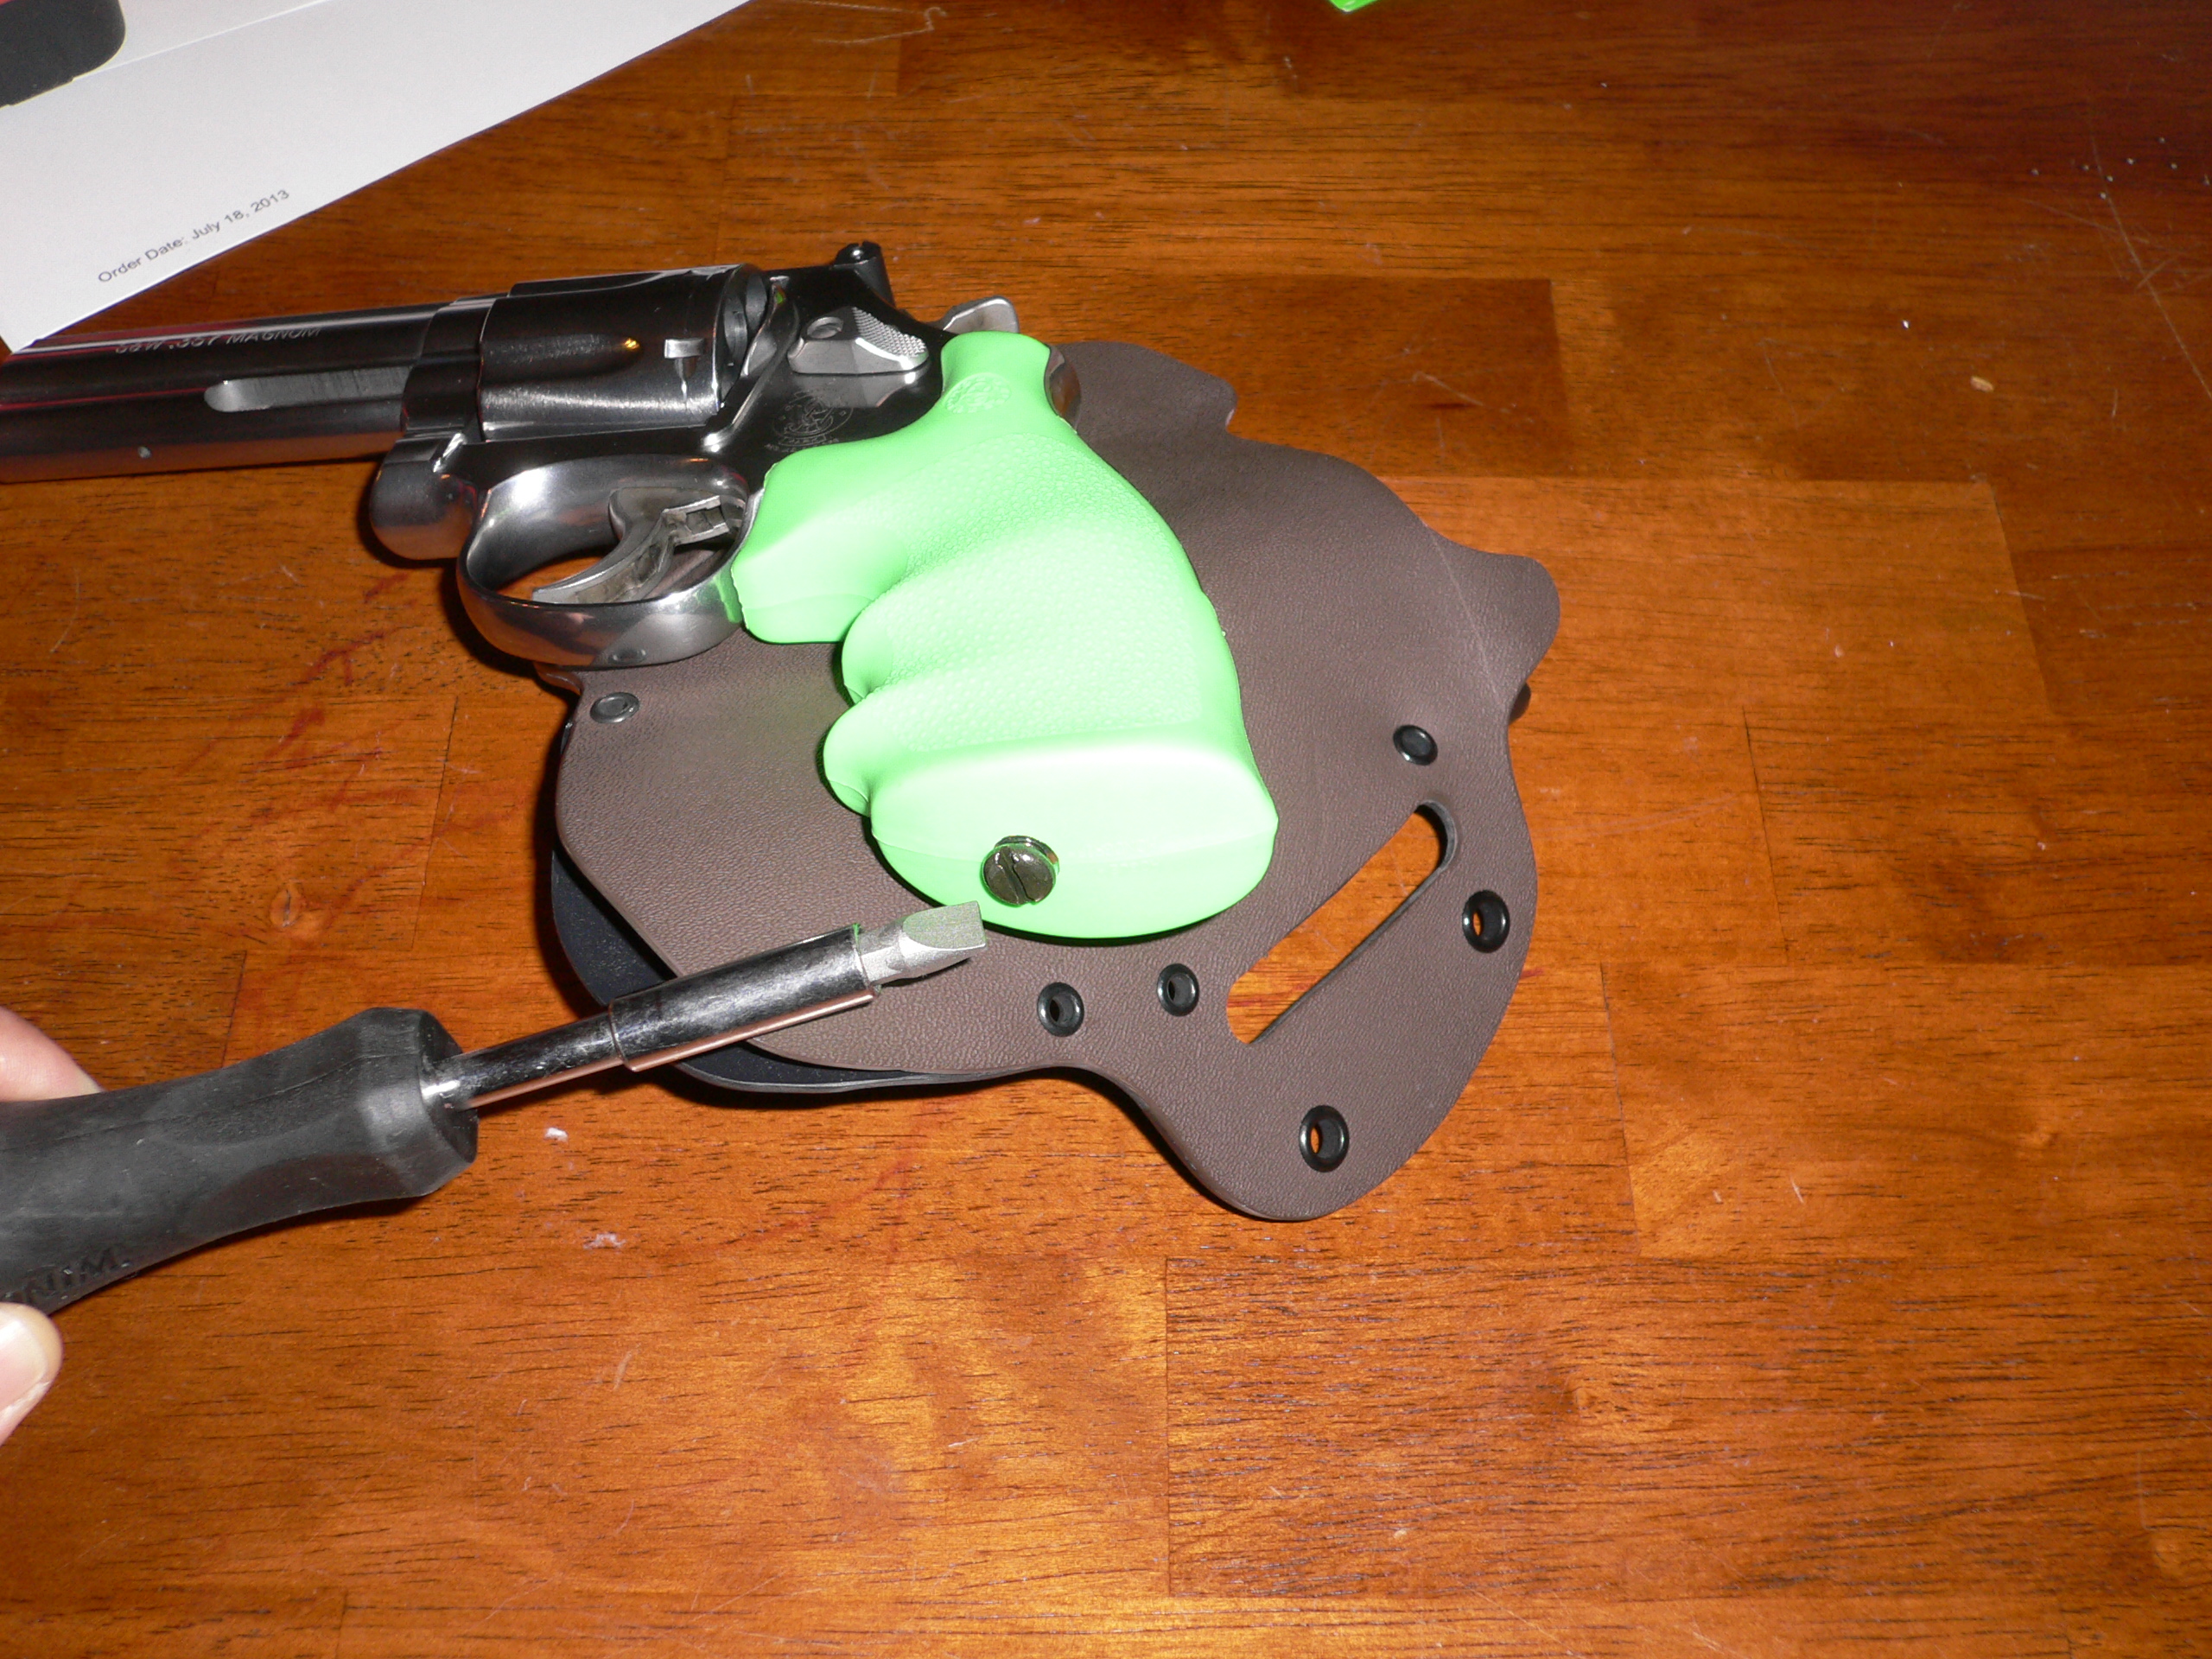
To begin, follow the manufacturer’s instructions, and you will need the correct fitting driver(s) or bits. The sizes are; 3/32″ Allen (factory grip screw), and a 5/16″ flat head (Hogue grip screw). ENSURE THE FIREARM IS UNLOADED! Remove the factory Allen screw, and remove the two grip panels. Chances are they will be a tight fit, and won’t pull off easily. Don’t pry the panels off, as it will mar the frame. Instead, re-insert the grip screw two turns, and use the handle of the driver (rubber or wood) to lightly tap the bit in the head of the screw. After the panels are removed, clean and lubricate the frame and mainspring. Next, remove the screw from the stirrup that came with the Hogue grip. With the frame lying flat, insert the stirrup over the bottom strap of the frame with the screw hole facing you. Rotate downward until the stock pin is set into the holes in the stirrup. Line up the stirrup and stock pin with the groves of the new grip, and push up from the bottom to seat it.

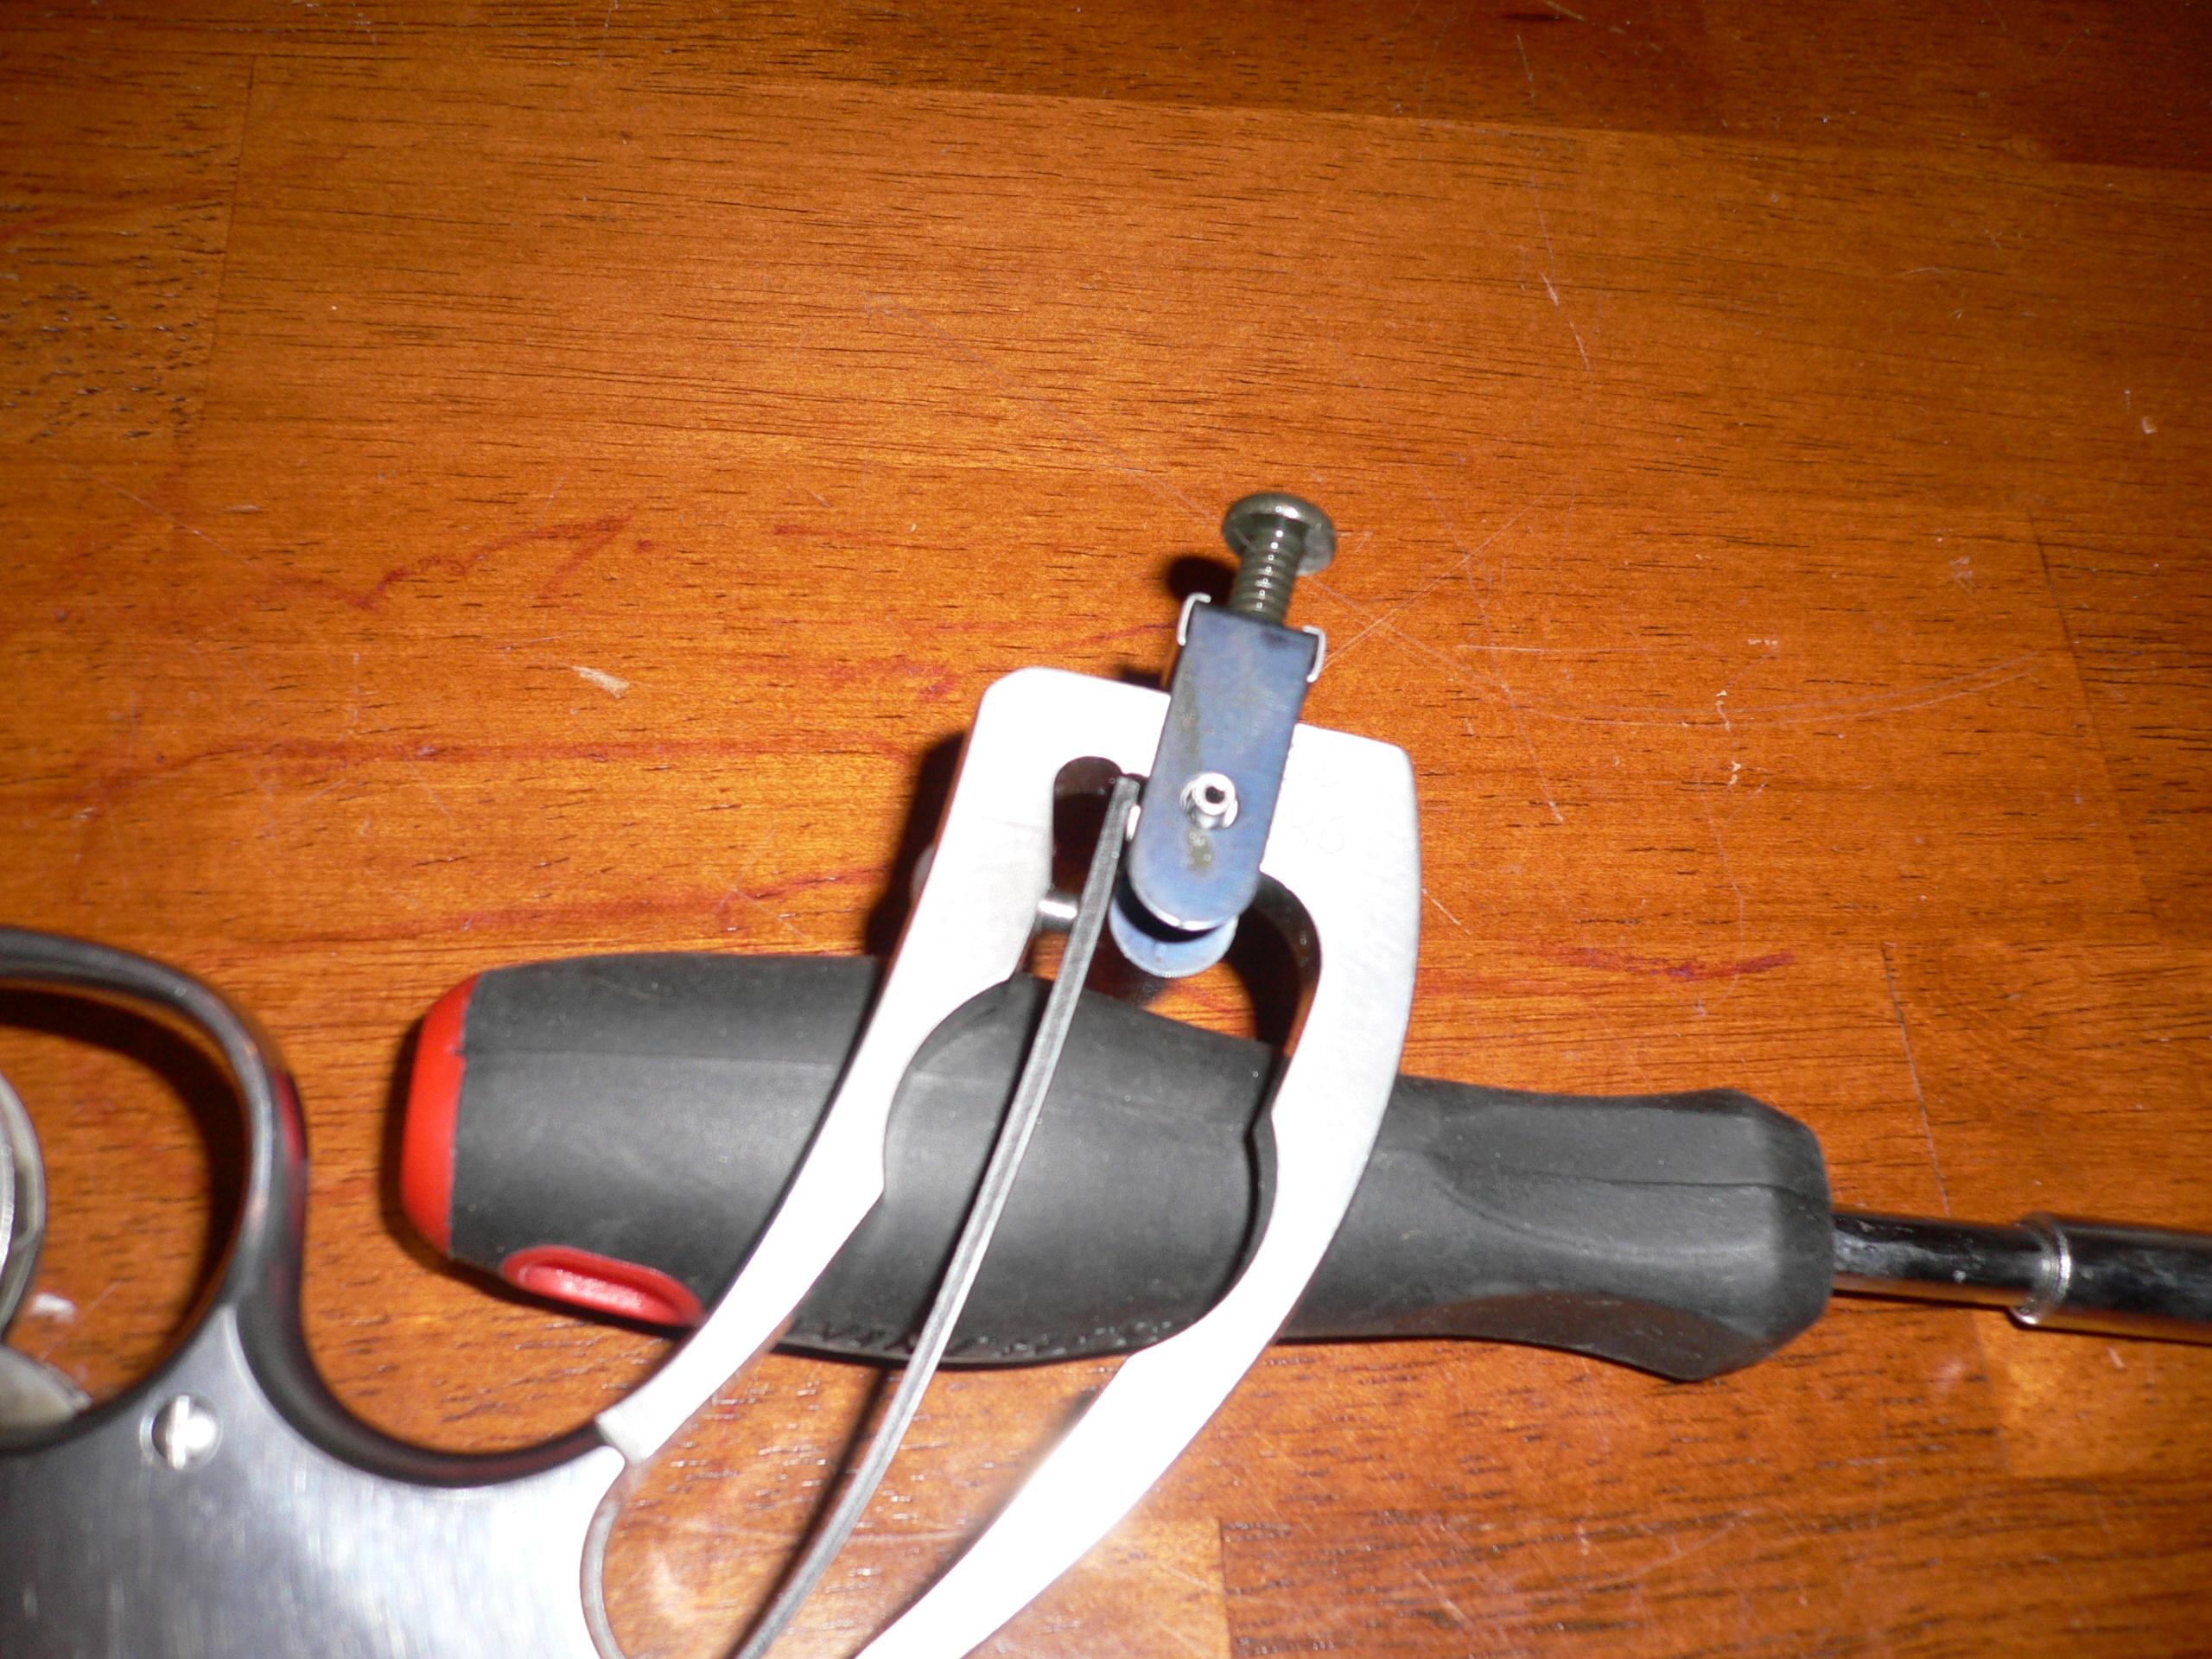
If the grip doesn’t seat flush with the exposed back strap, you may need to shim the base of the front strap with tape until it seats correctly. This wasn’t required when I installed mine. Insert the flat head mounting screw, and tighten until it’s snug. Be careful not to over tighten. Finally, check for proper function.
I hope you’ve enjoyed this article, and found it informative. While I realize that some viewers may see this as an unneeded guide, please remember; we all started with minimal firearm knowledge, and that other readers’ may be looking to do this as their first project. Thanks for reading.
You must be logged in to post a comment.