
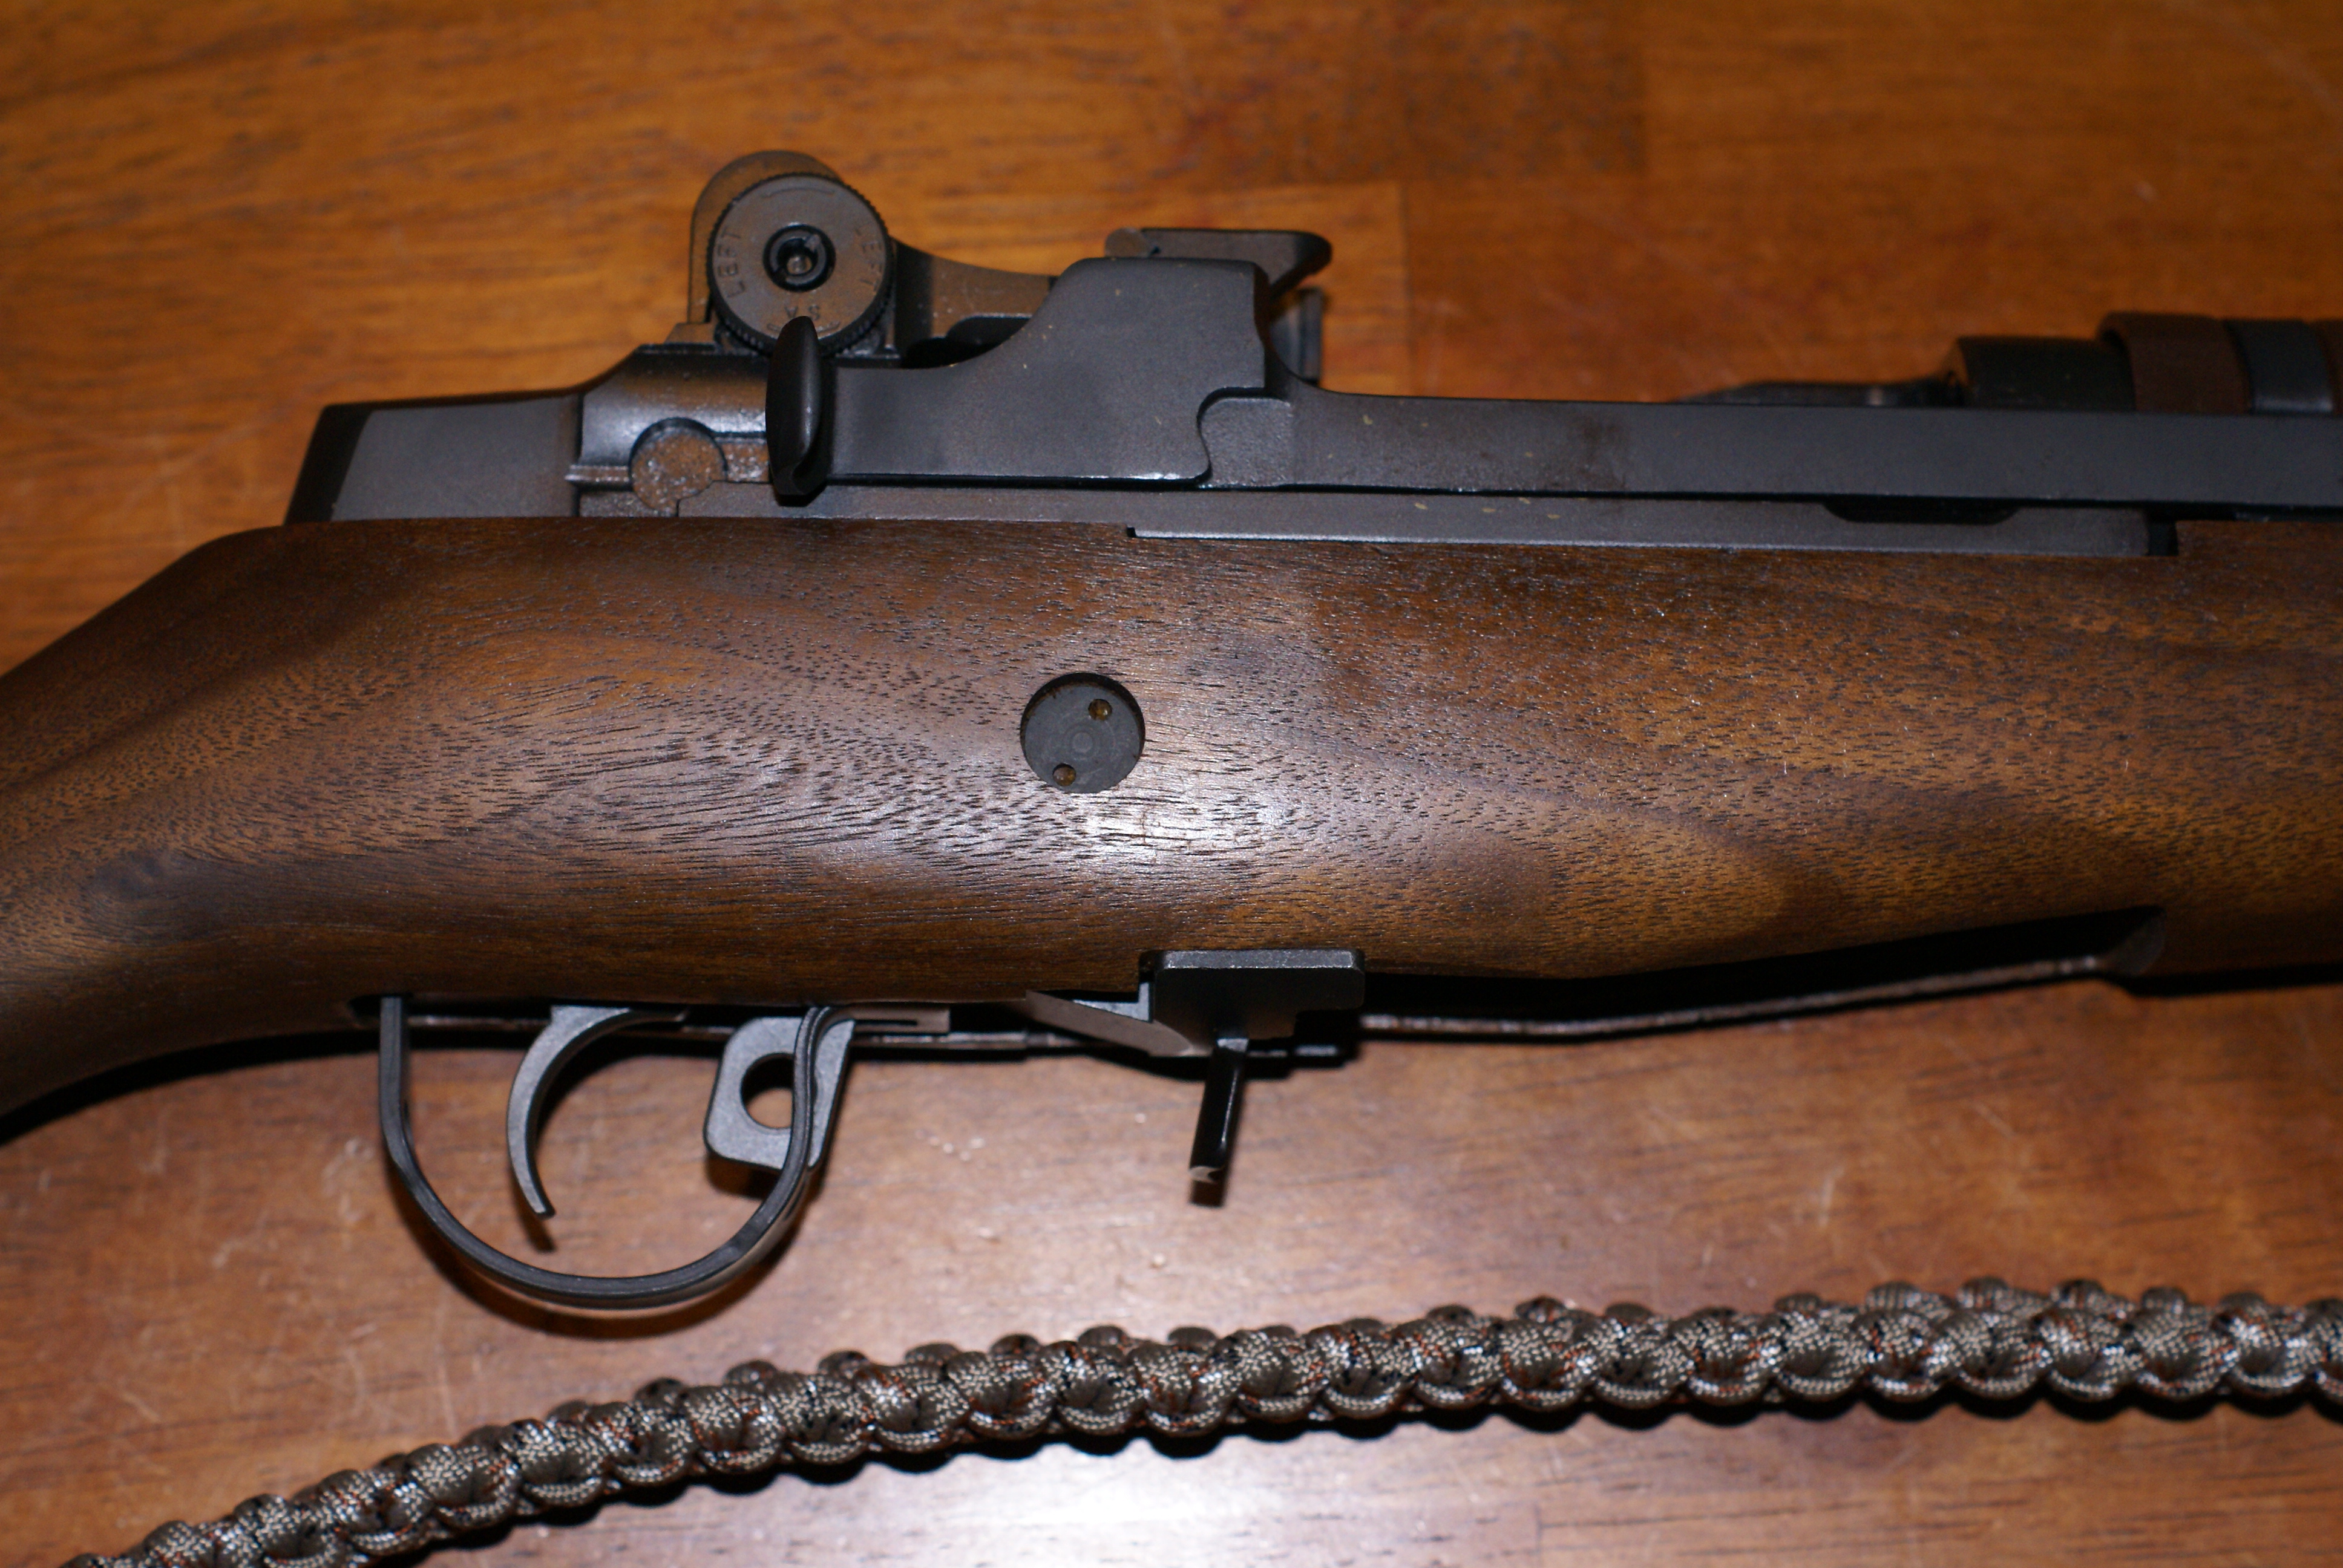
When it comes to firearms, there always seems like something needs to be improved. A tweak here, a parts replacement or modification there; and you have a firearm that feels more ergonomic, shoots better, or operates more reliably or smoothly. The same can be said for my M1A Loaded model. Sure, I like the additional improvements over the base model. Yes, I would say that the action type is one of the most reliable (in my opinion). However, I would like to see an improvement in lock-time, as well as a slight reduction in recoil. Lock-time is defined as; the time it takes from sear release to the firing pin contacting the primer of the round. The model I own does not have a recoil pad, instead it has a walnut stock with the M14 style steel folding butt plate. After fifty rounds, my shoulder starts to feel it. So what can I do to improve these attributes while not replacing the stock, and keeping the classic M14 look? A full spring replacement is the answer.
-DISCLAIMER-
“Modifying the manufacture’s design of a firearm may void your warranty. This article is for informational purposes only, and is not meant to be a how-to guide. The purpose of this article is to review a specific product, and to show what may be involved during installation and function. You (the reader) are responsible for the safe handling, operation, and function of your firearm. You are also liable for any damage, injury, or accidental death that may result from incorrect work you may perform. WeLikeShooting.com, its writers, and staff recommend consulting a competent gunsmith or armorer prior to working on your own firearm.”
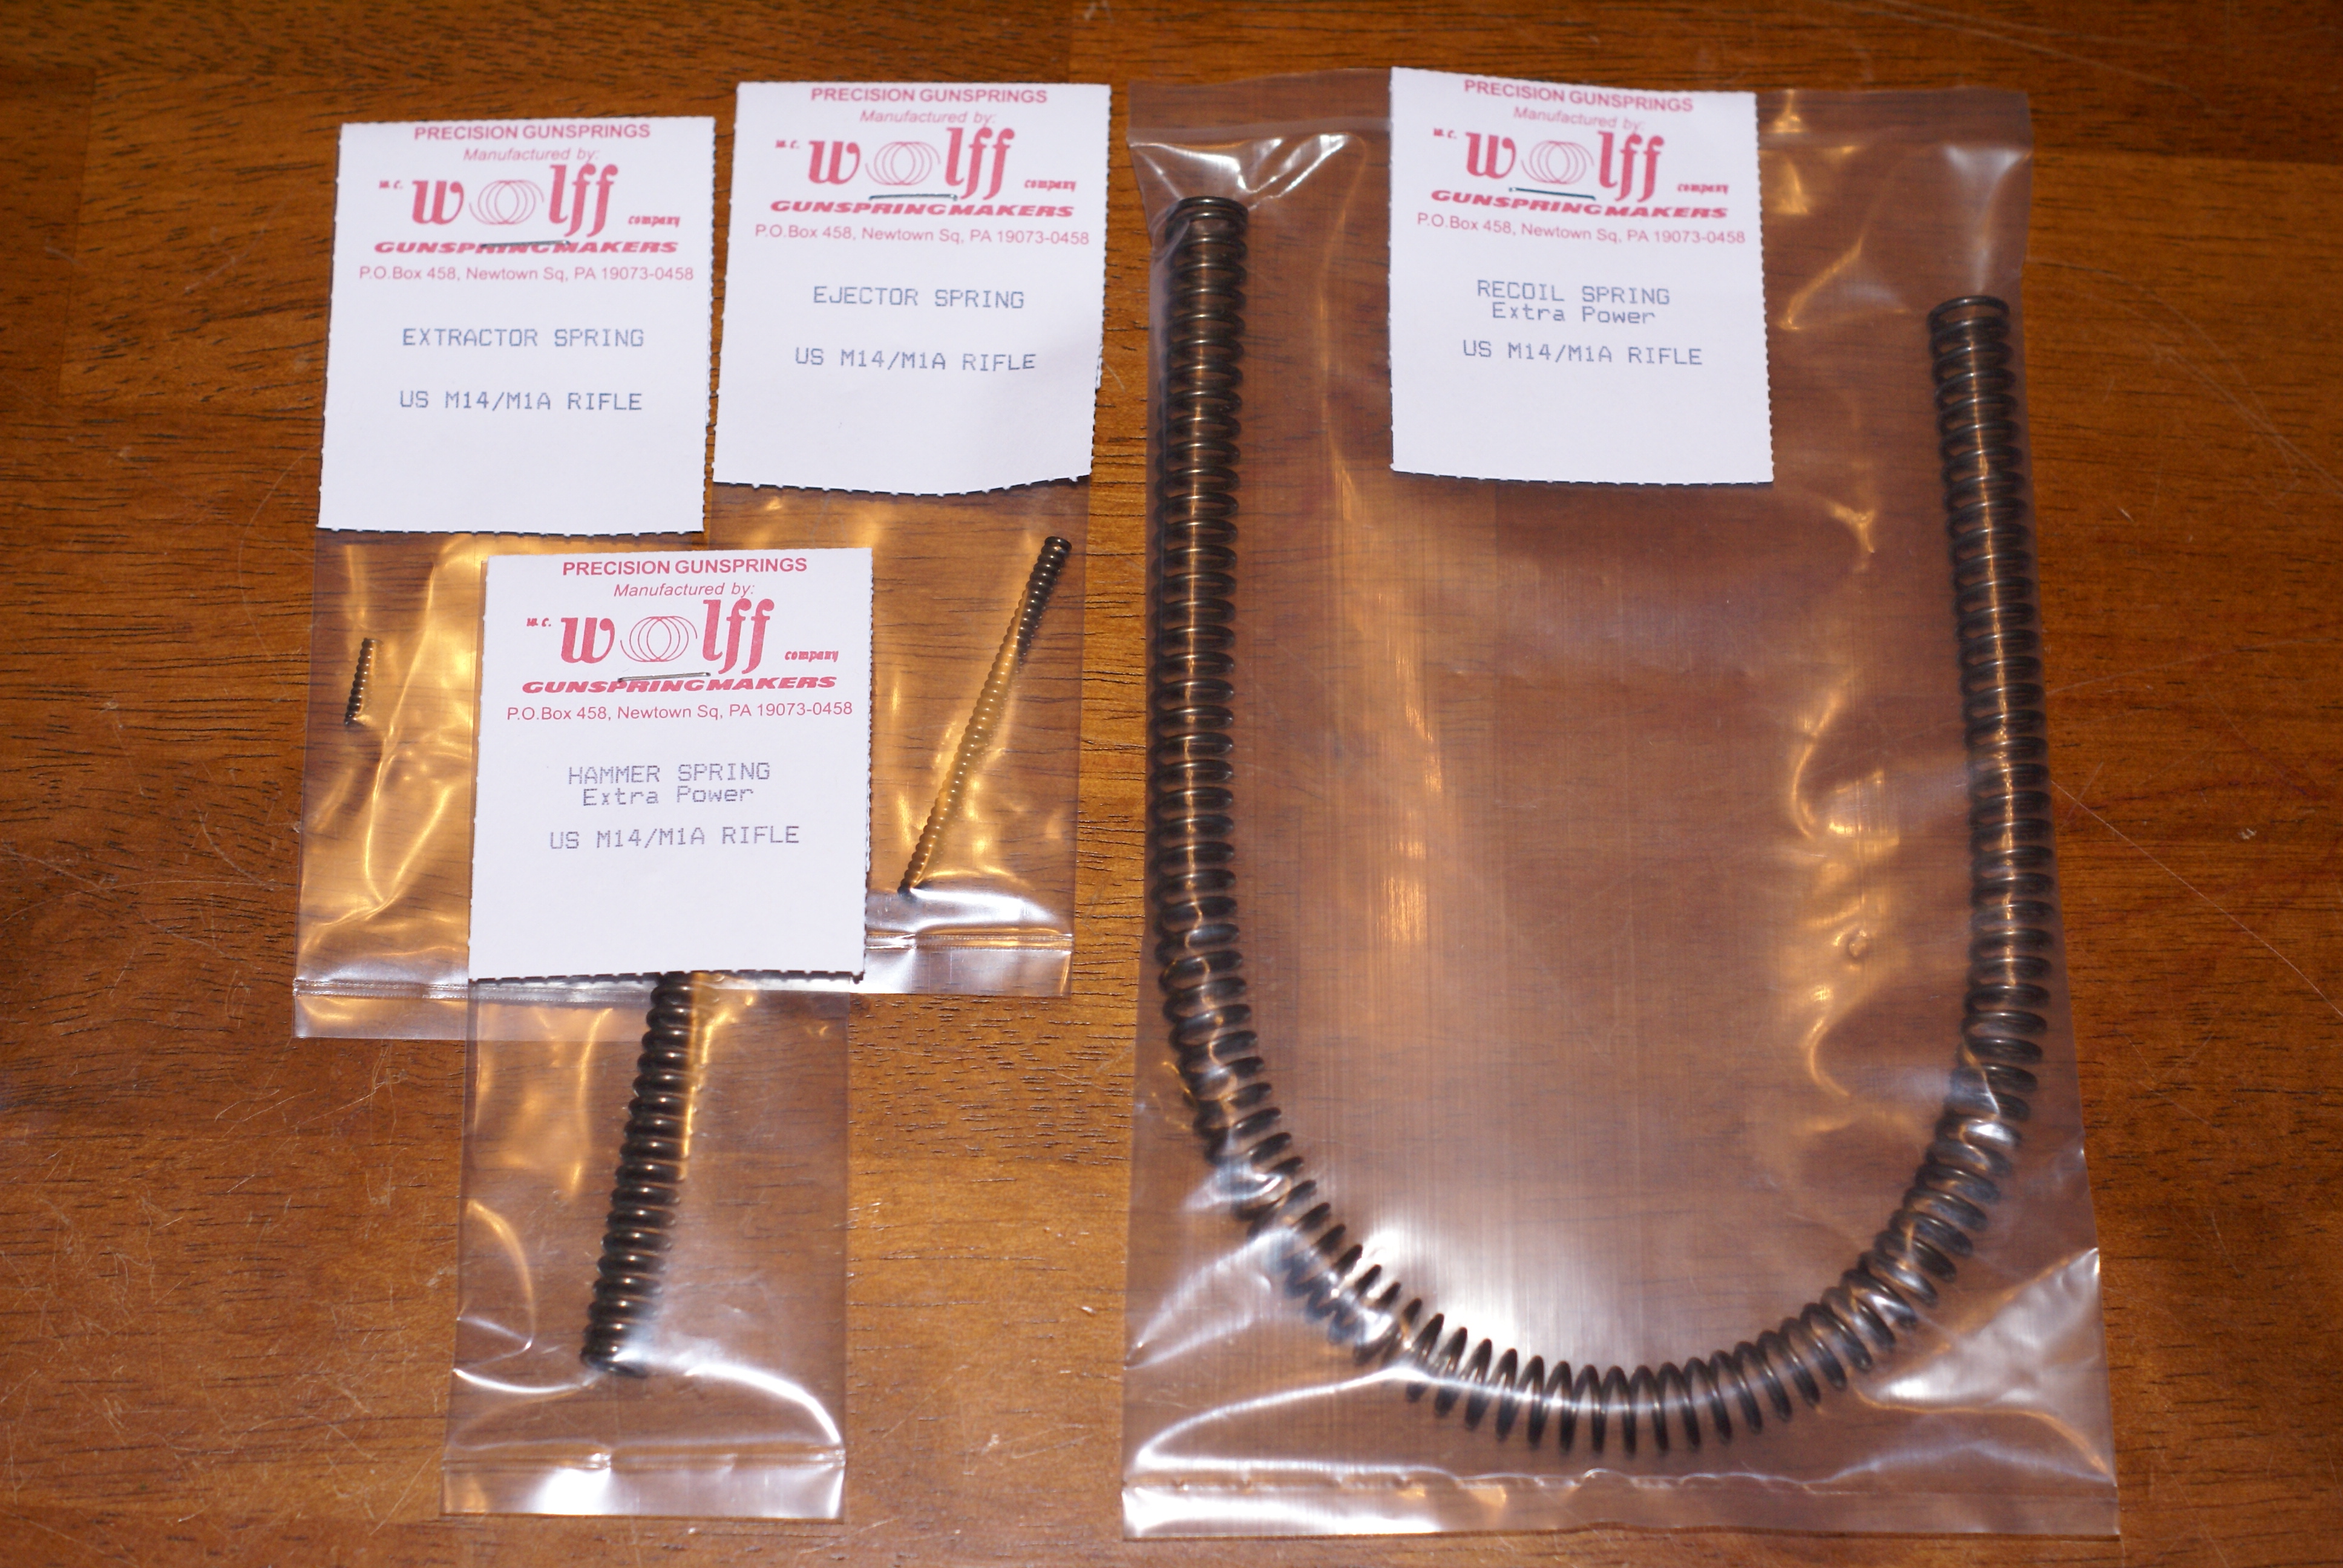
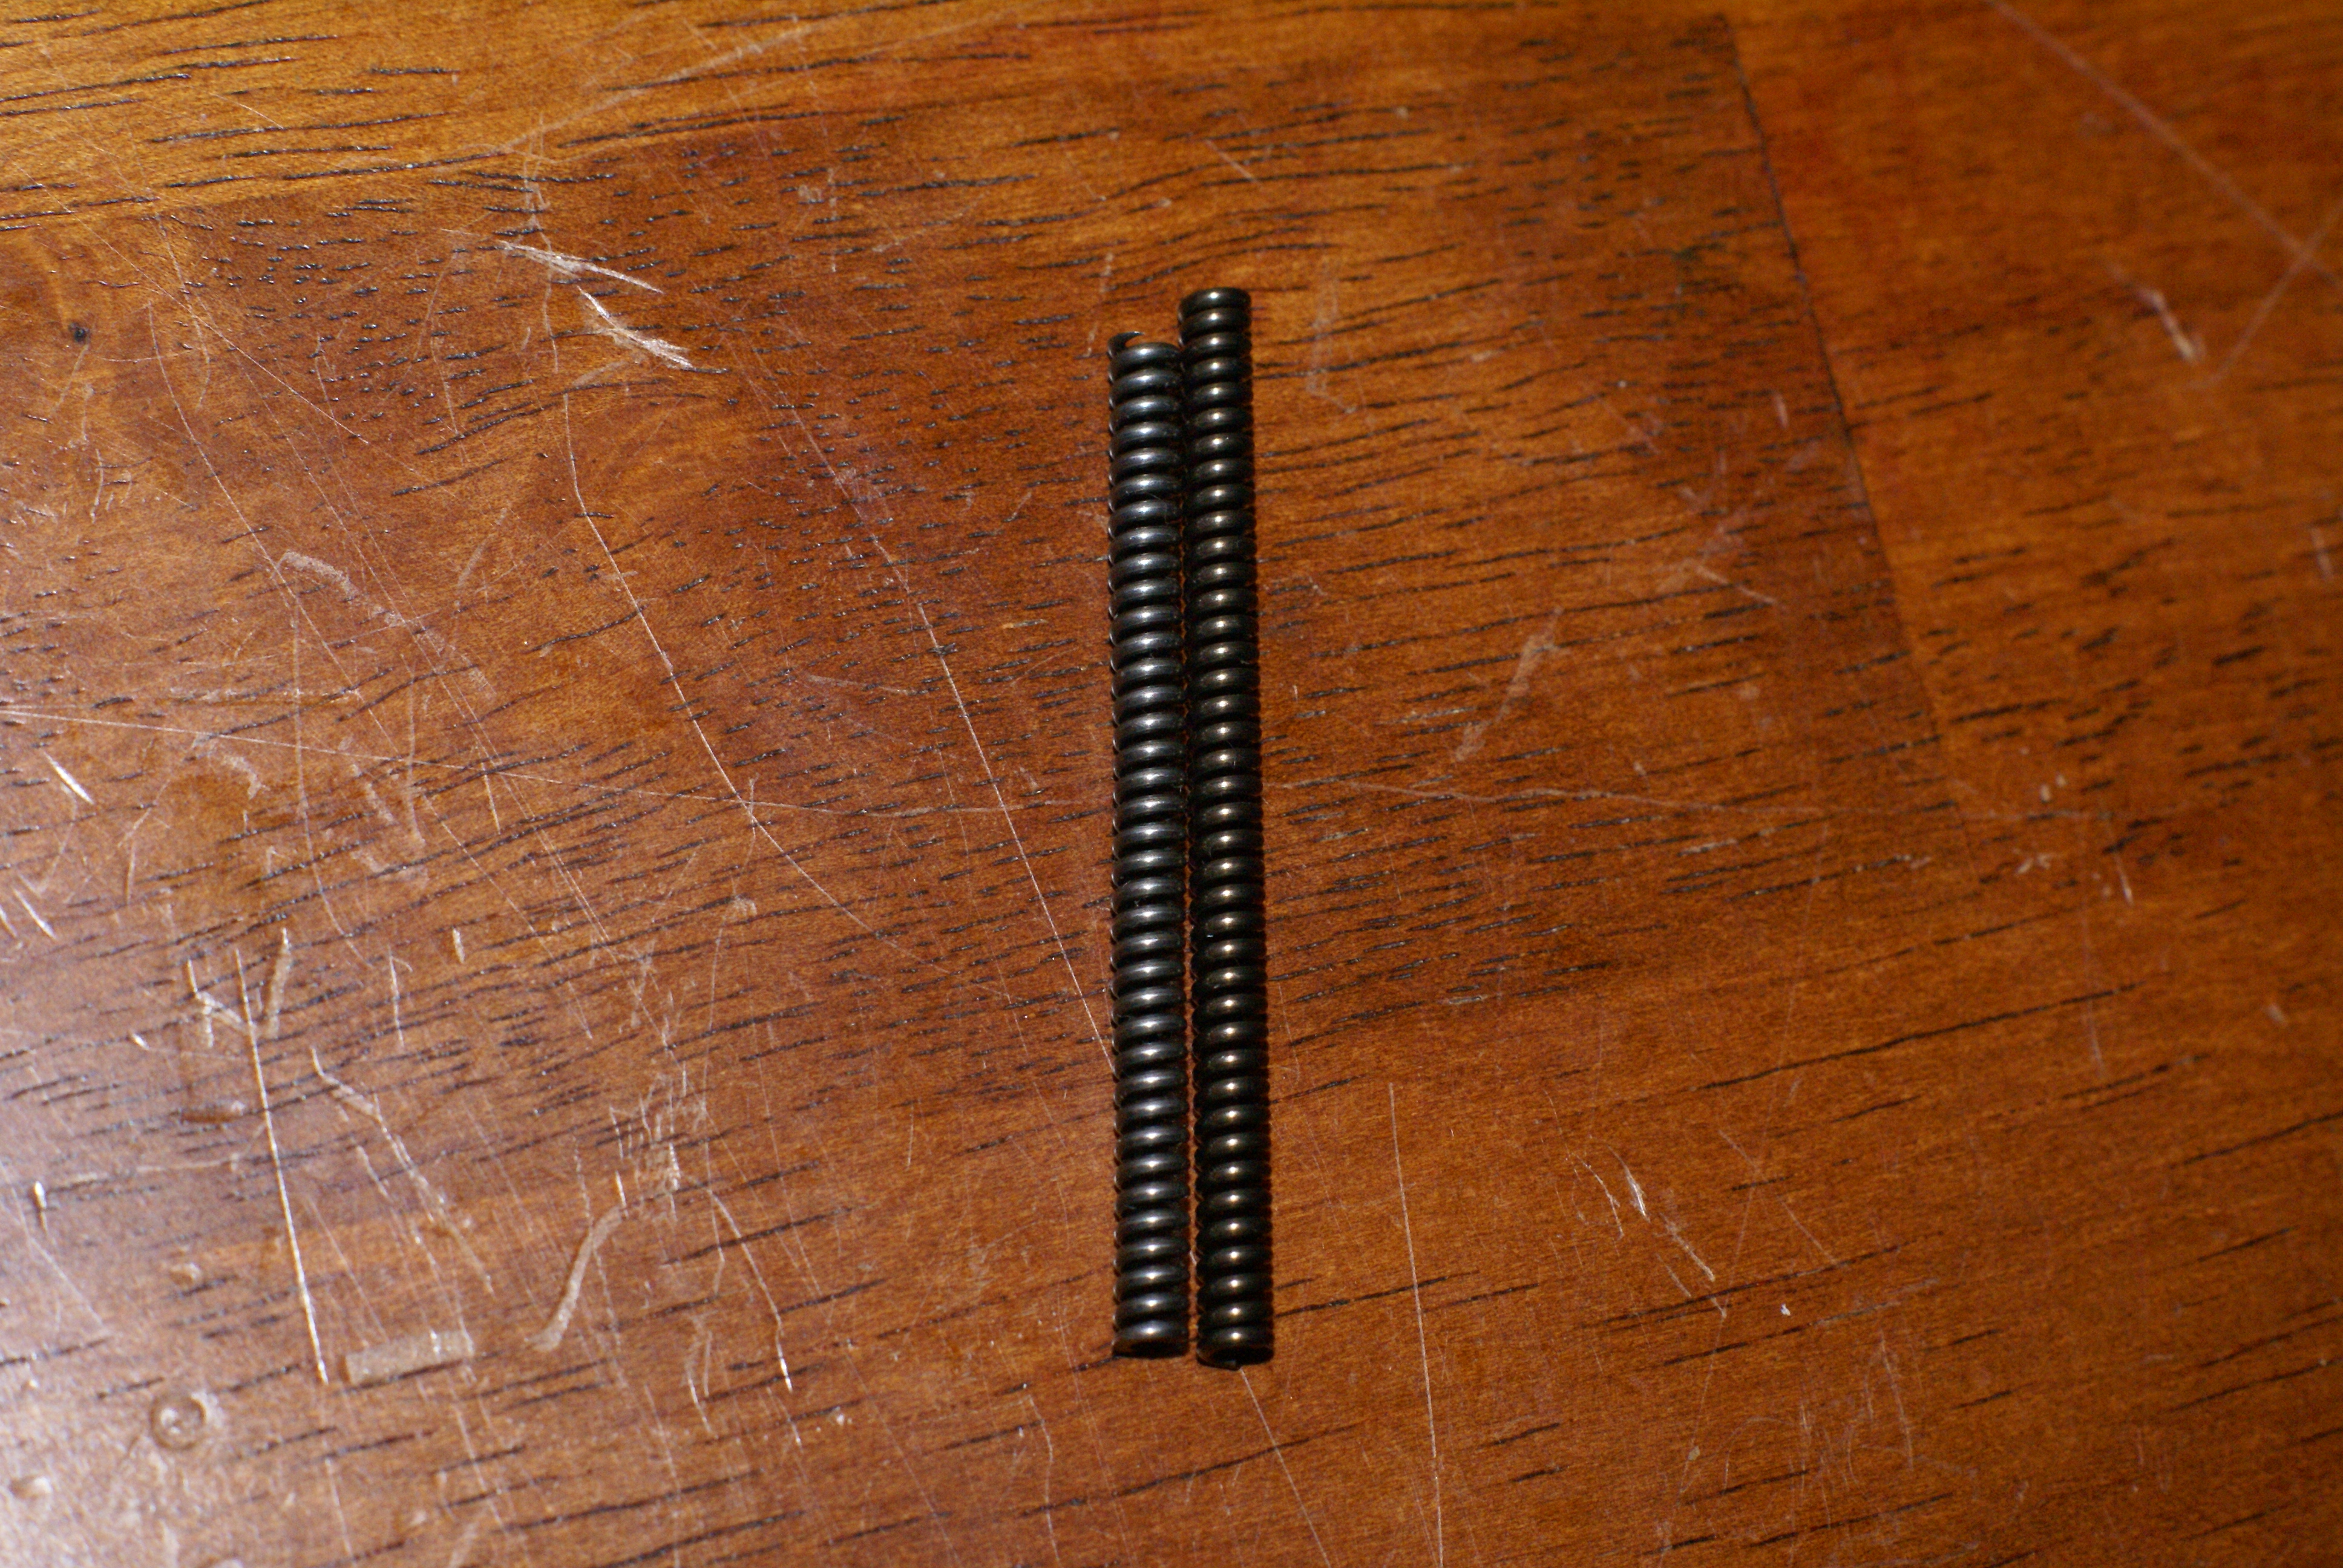
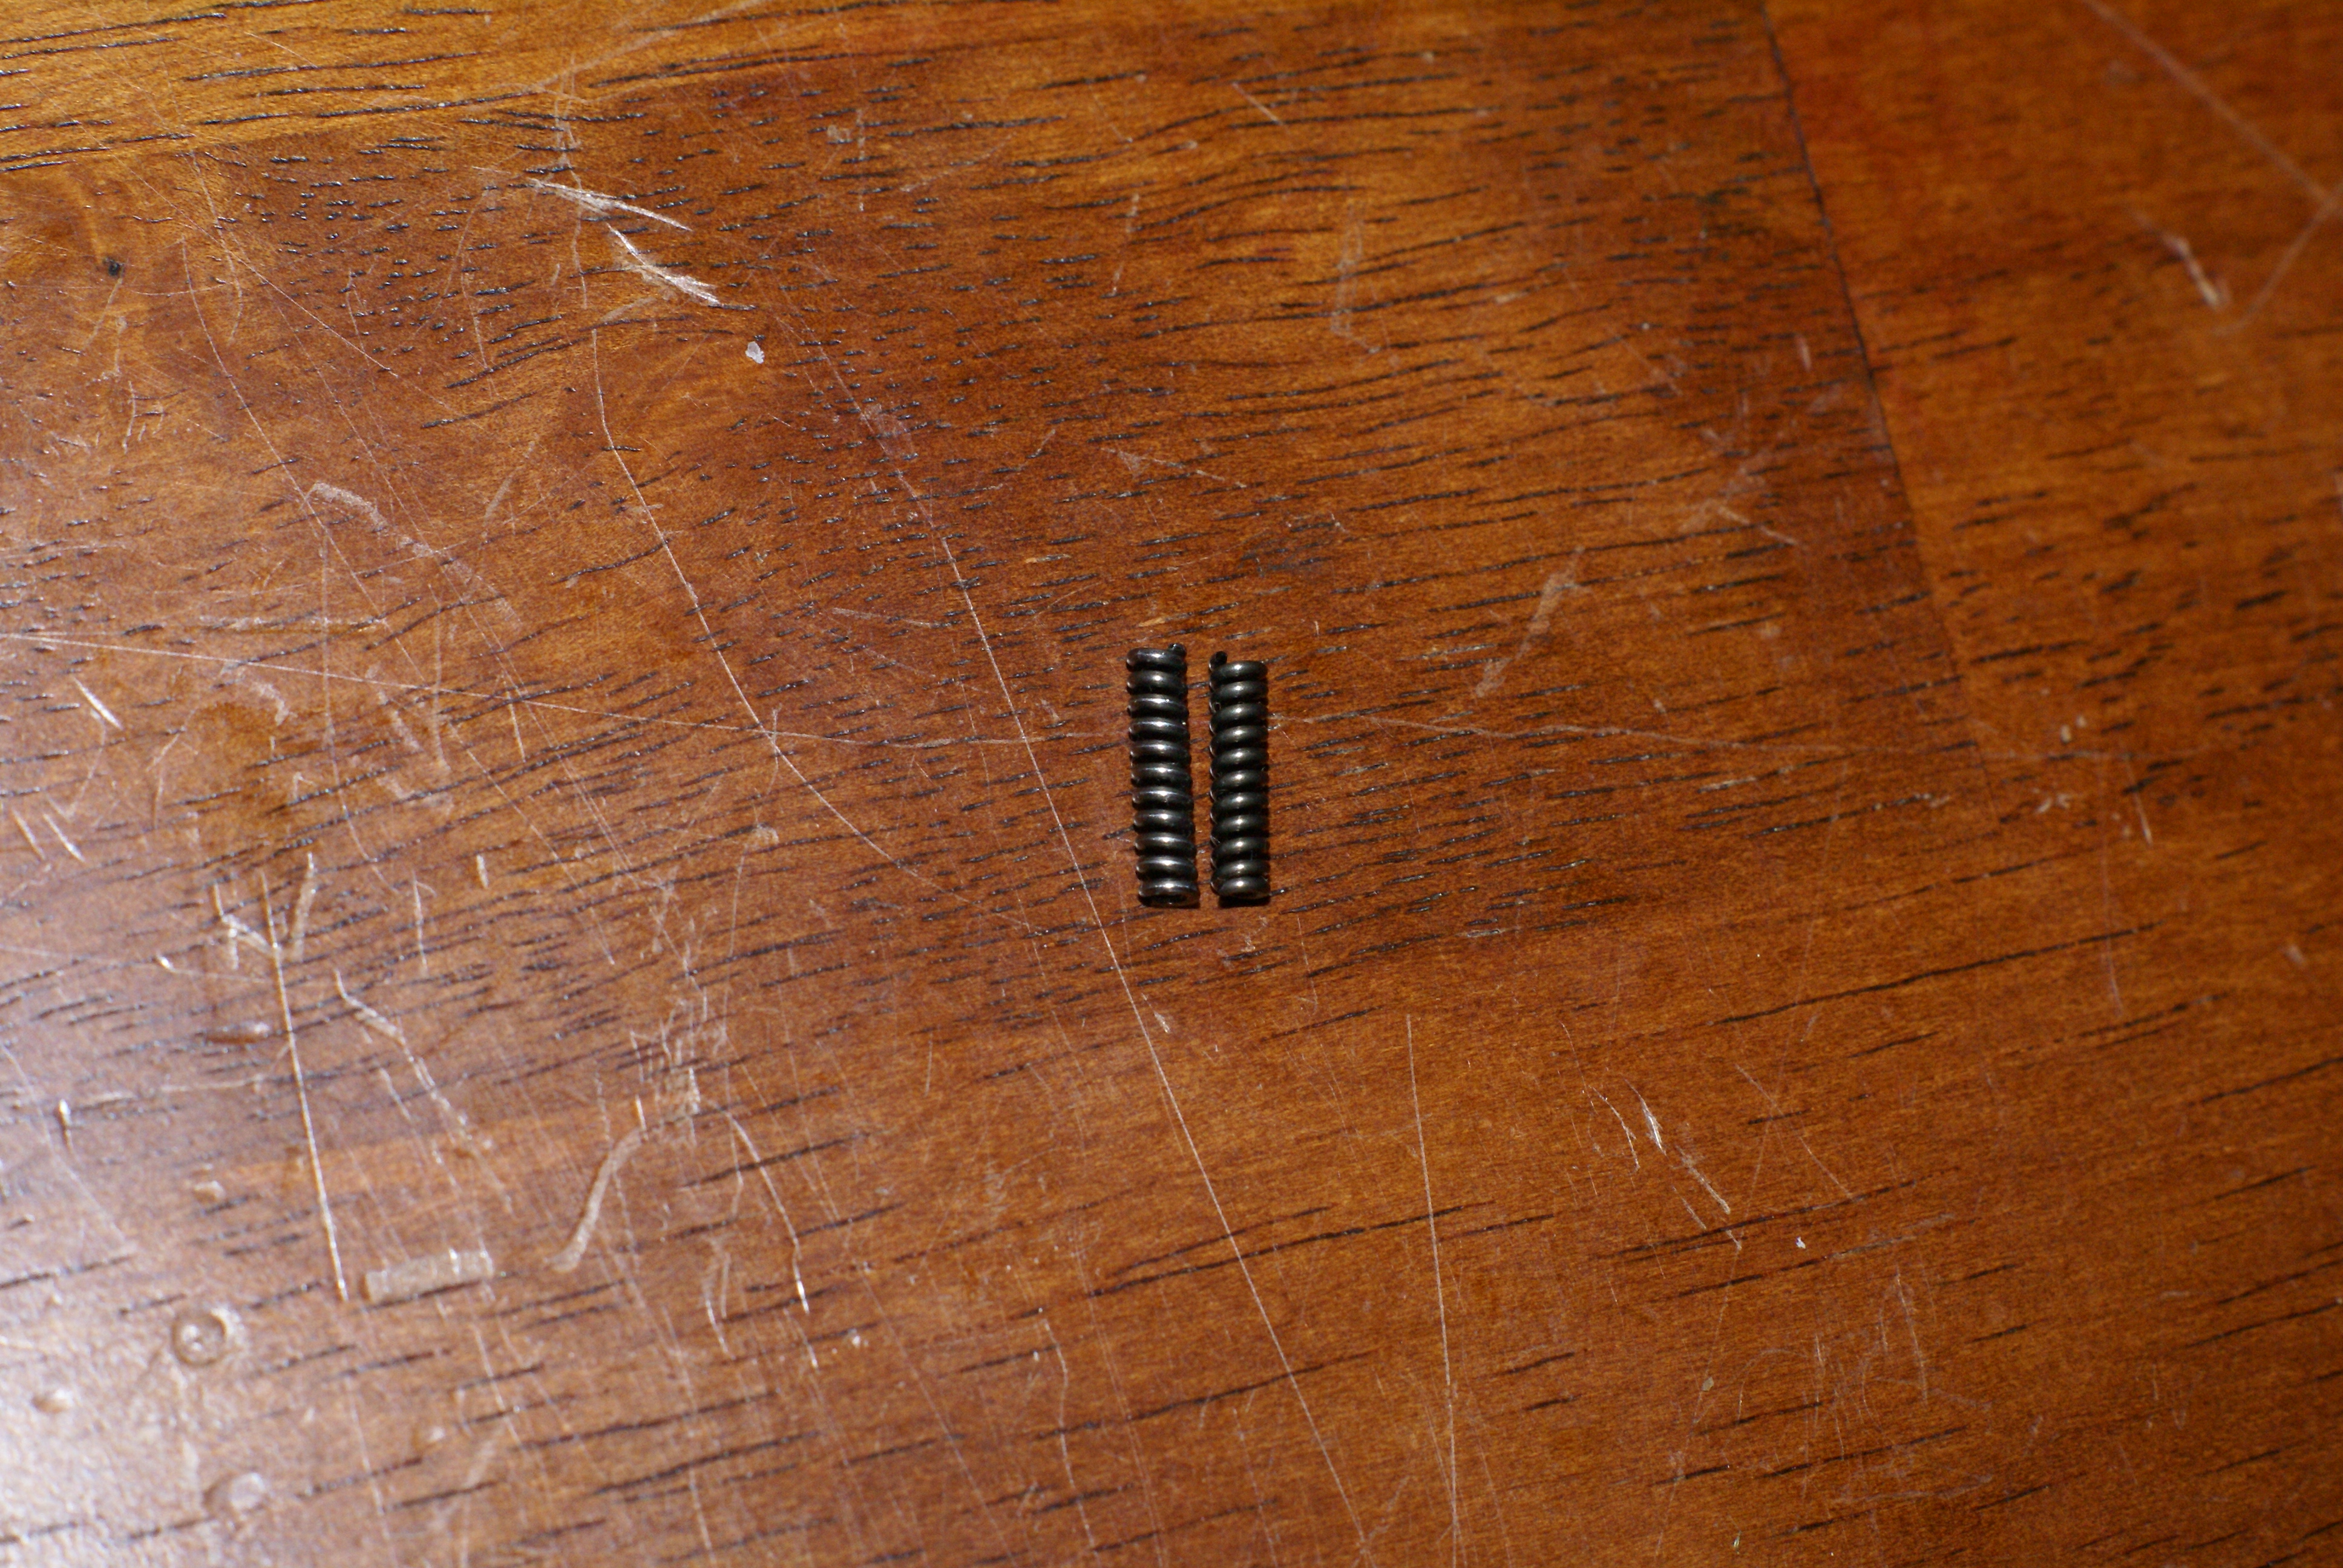
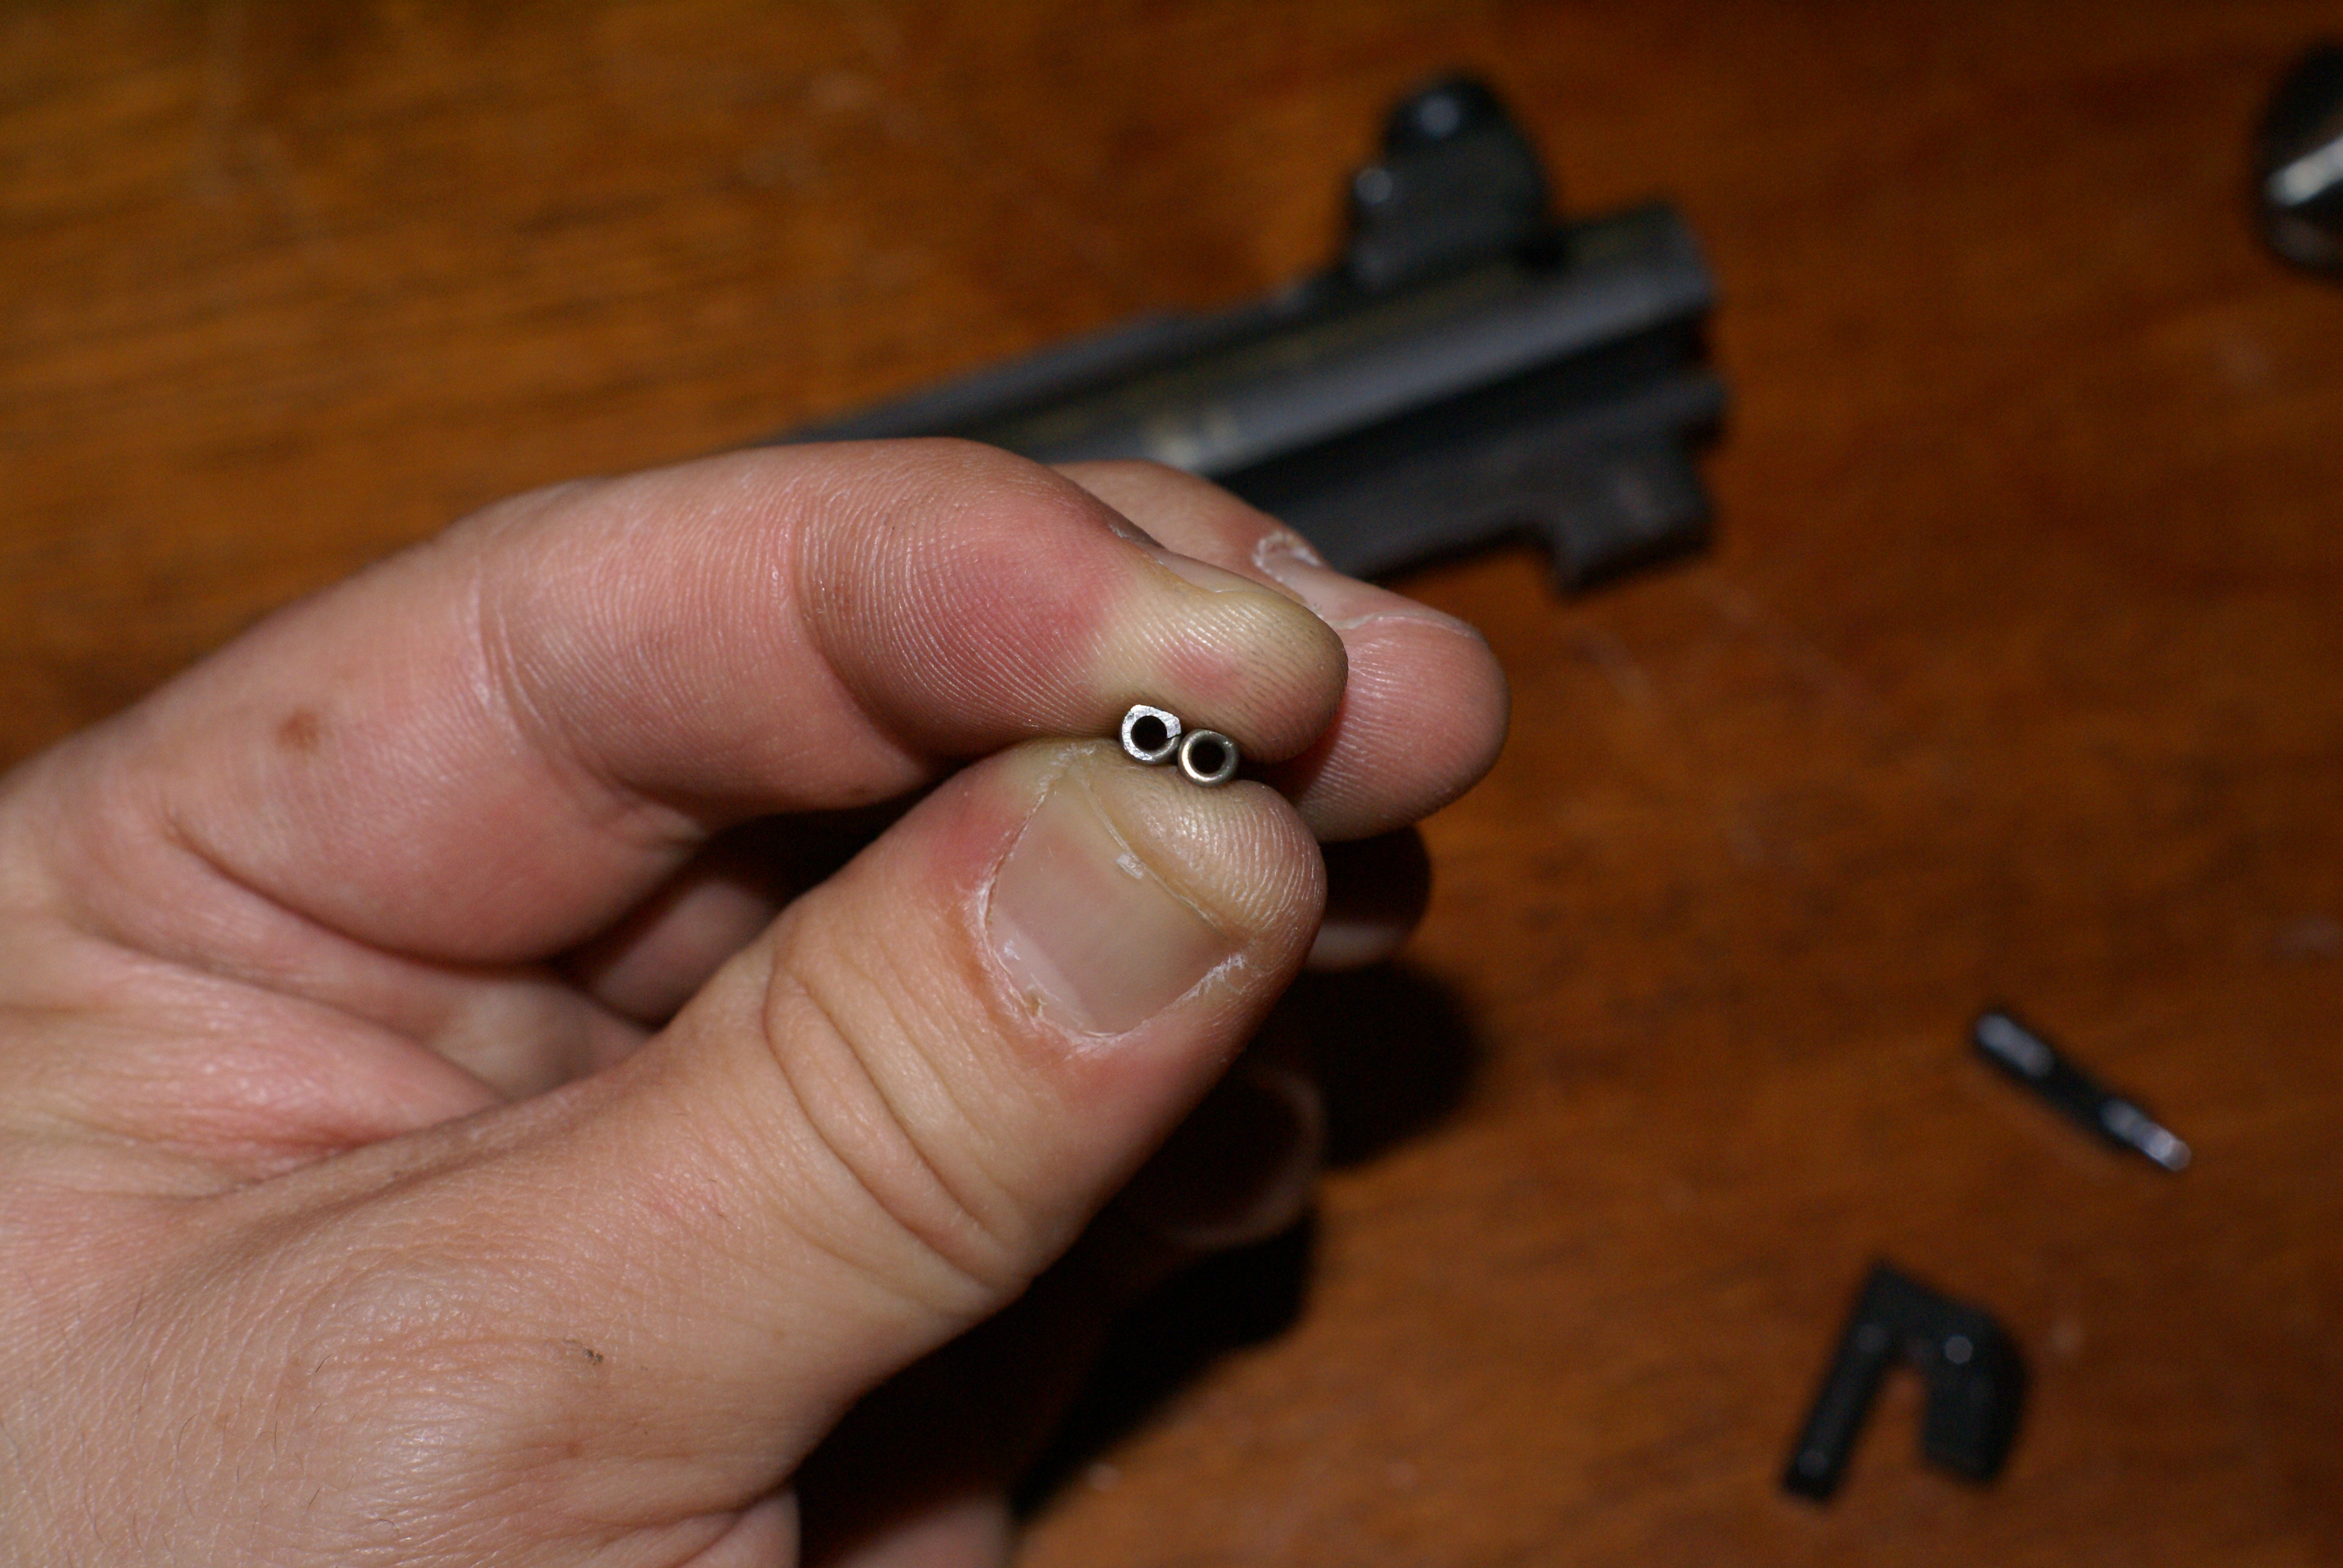
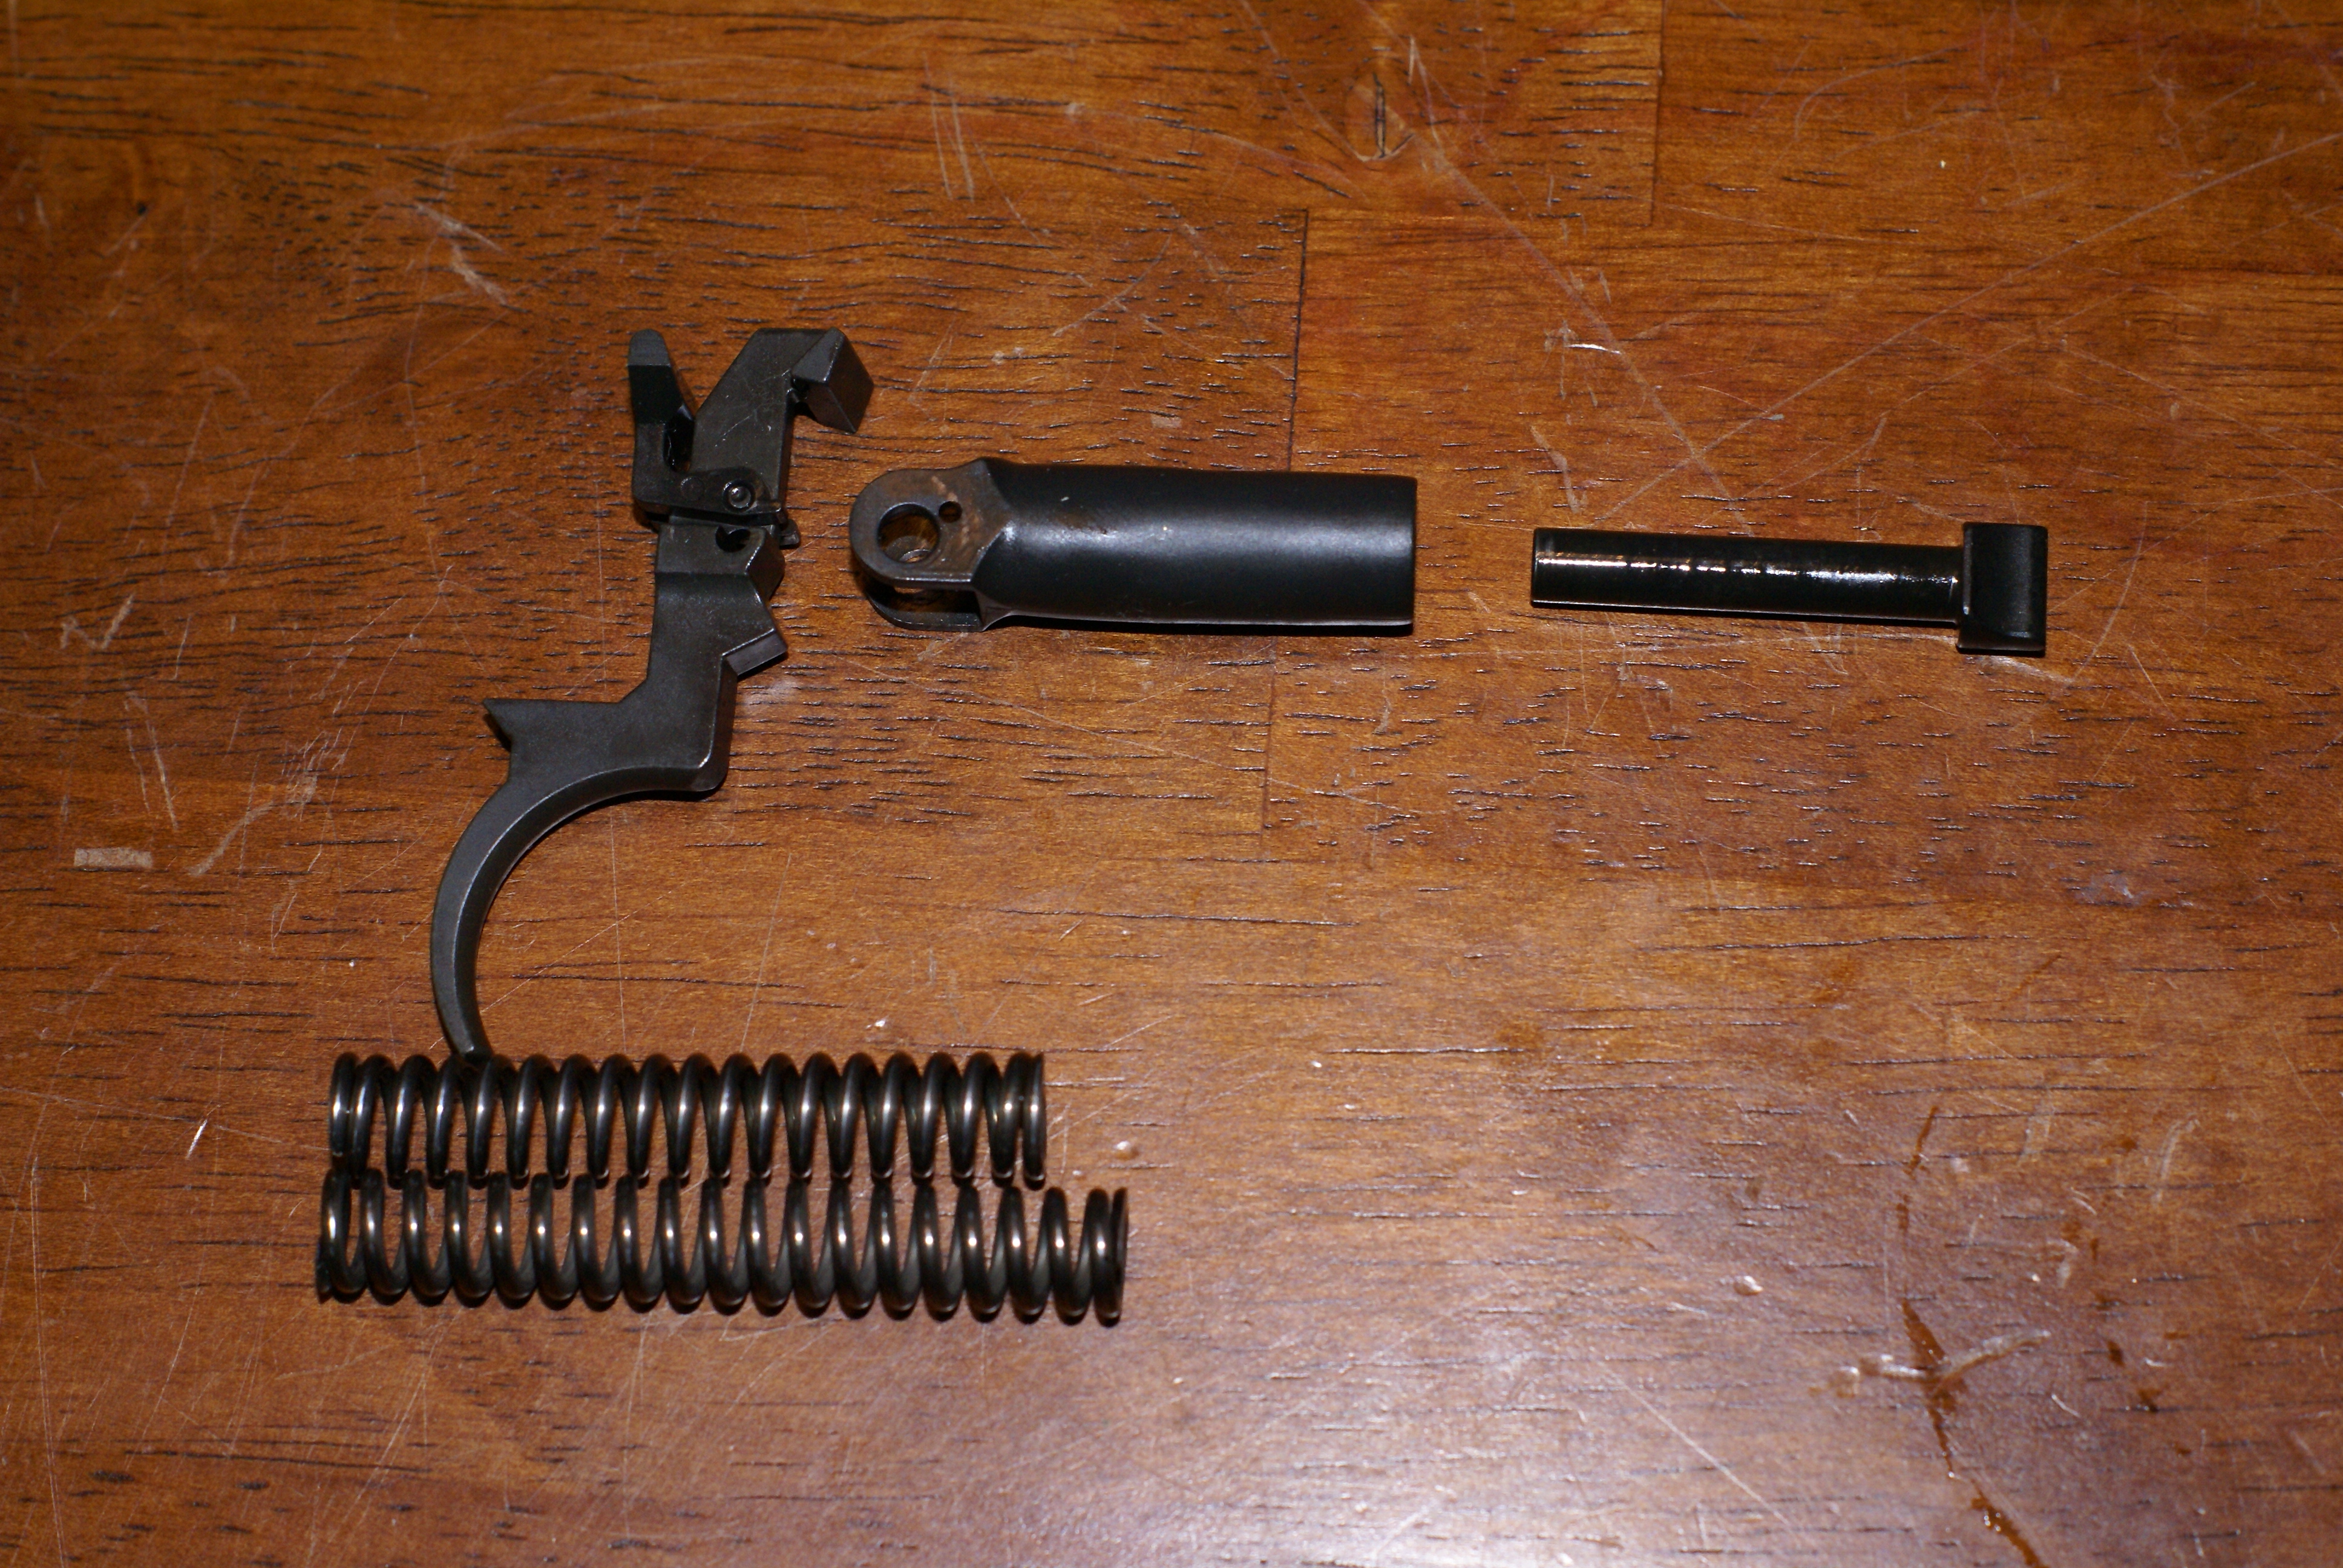
In a past project (S&W 686P), I have used Wolff Gun Springs with stellar results. They are quickly becoming my favorite product to use in improvement and customization jobs, and are quality components with an affordable price tag. The stock number for the spring kit is 18070, and it’s available for $23.99. This M14 & M1A rifle service pak contains four springs; an extra power recoil spring, an extra power hammer spring, an extra power extractor spring, and an ejector spring.

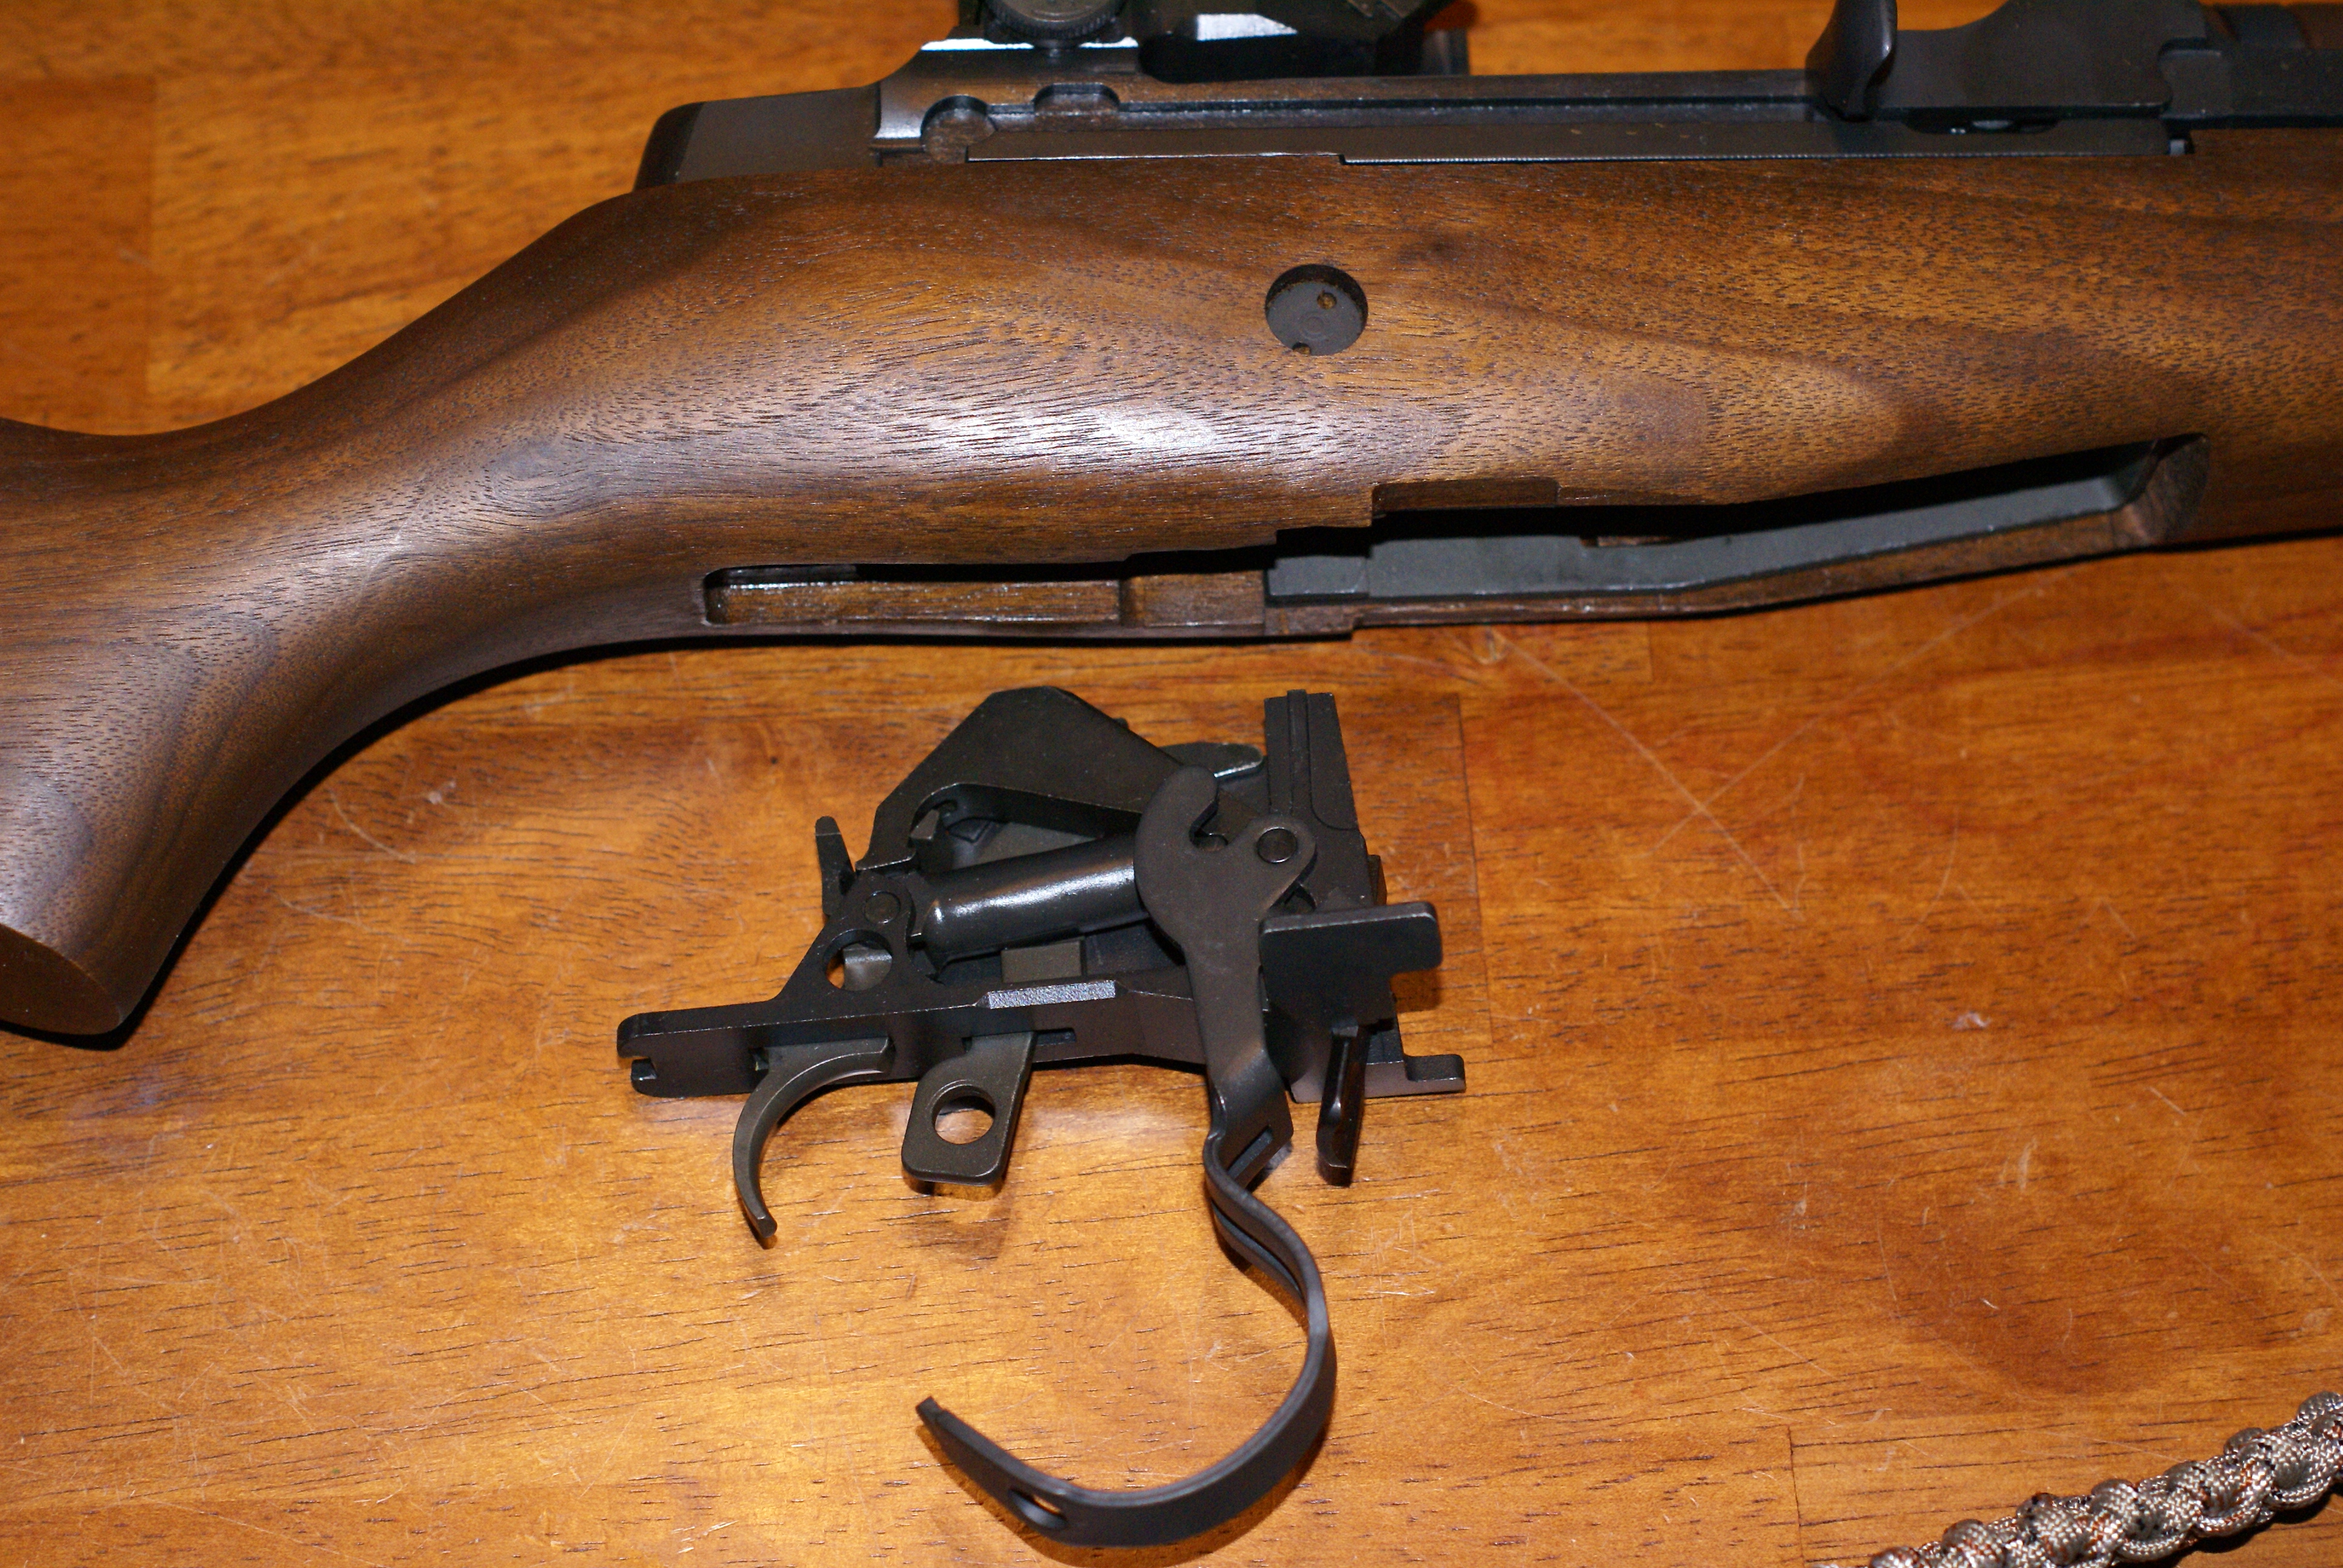
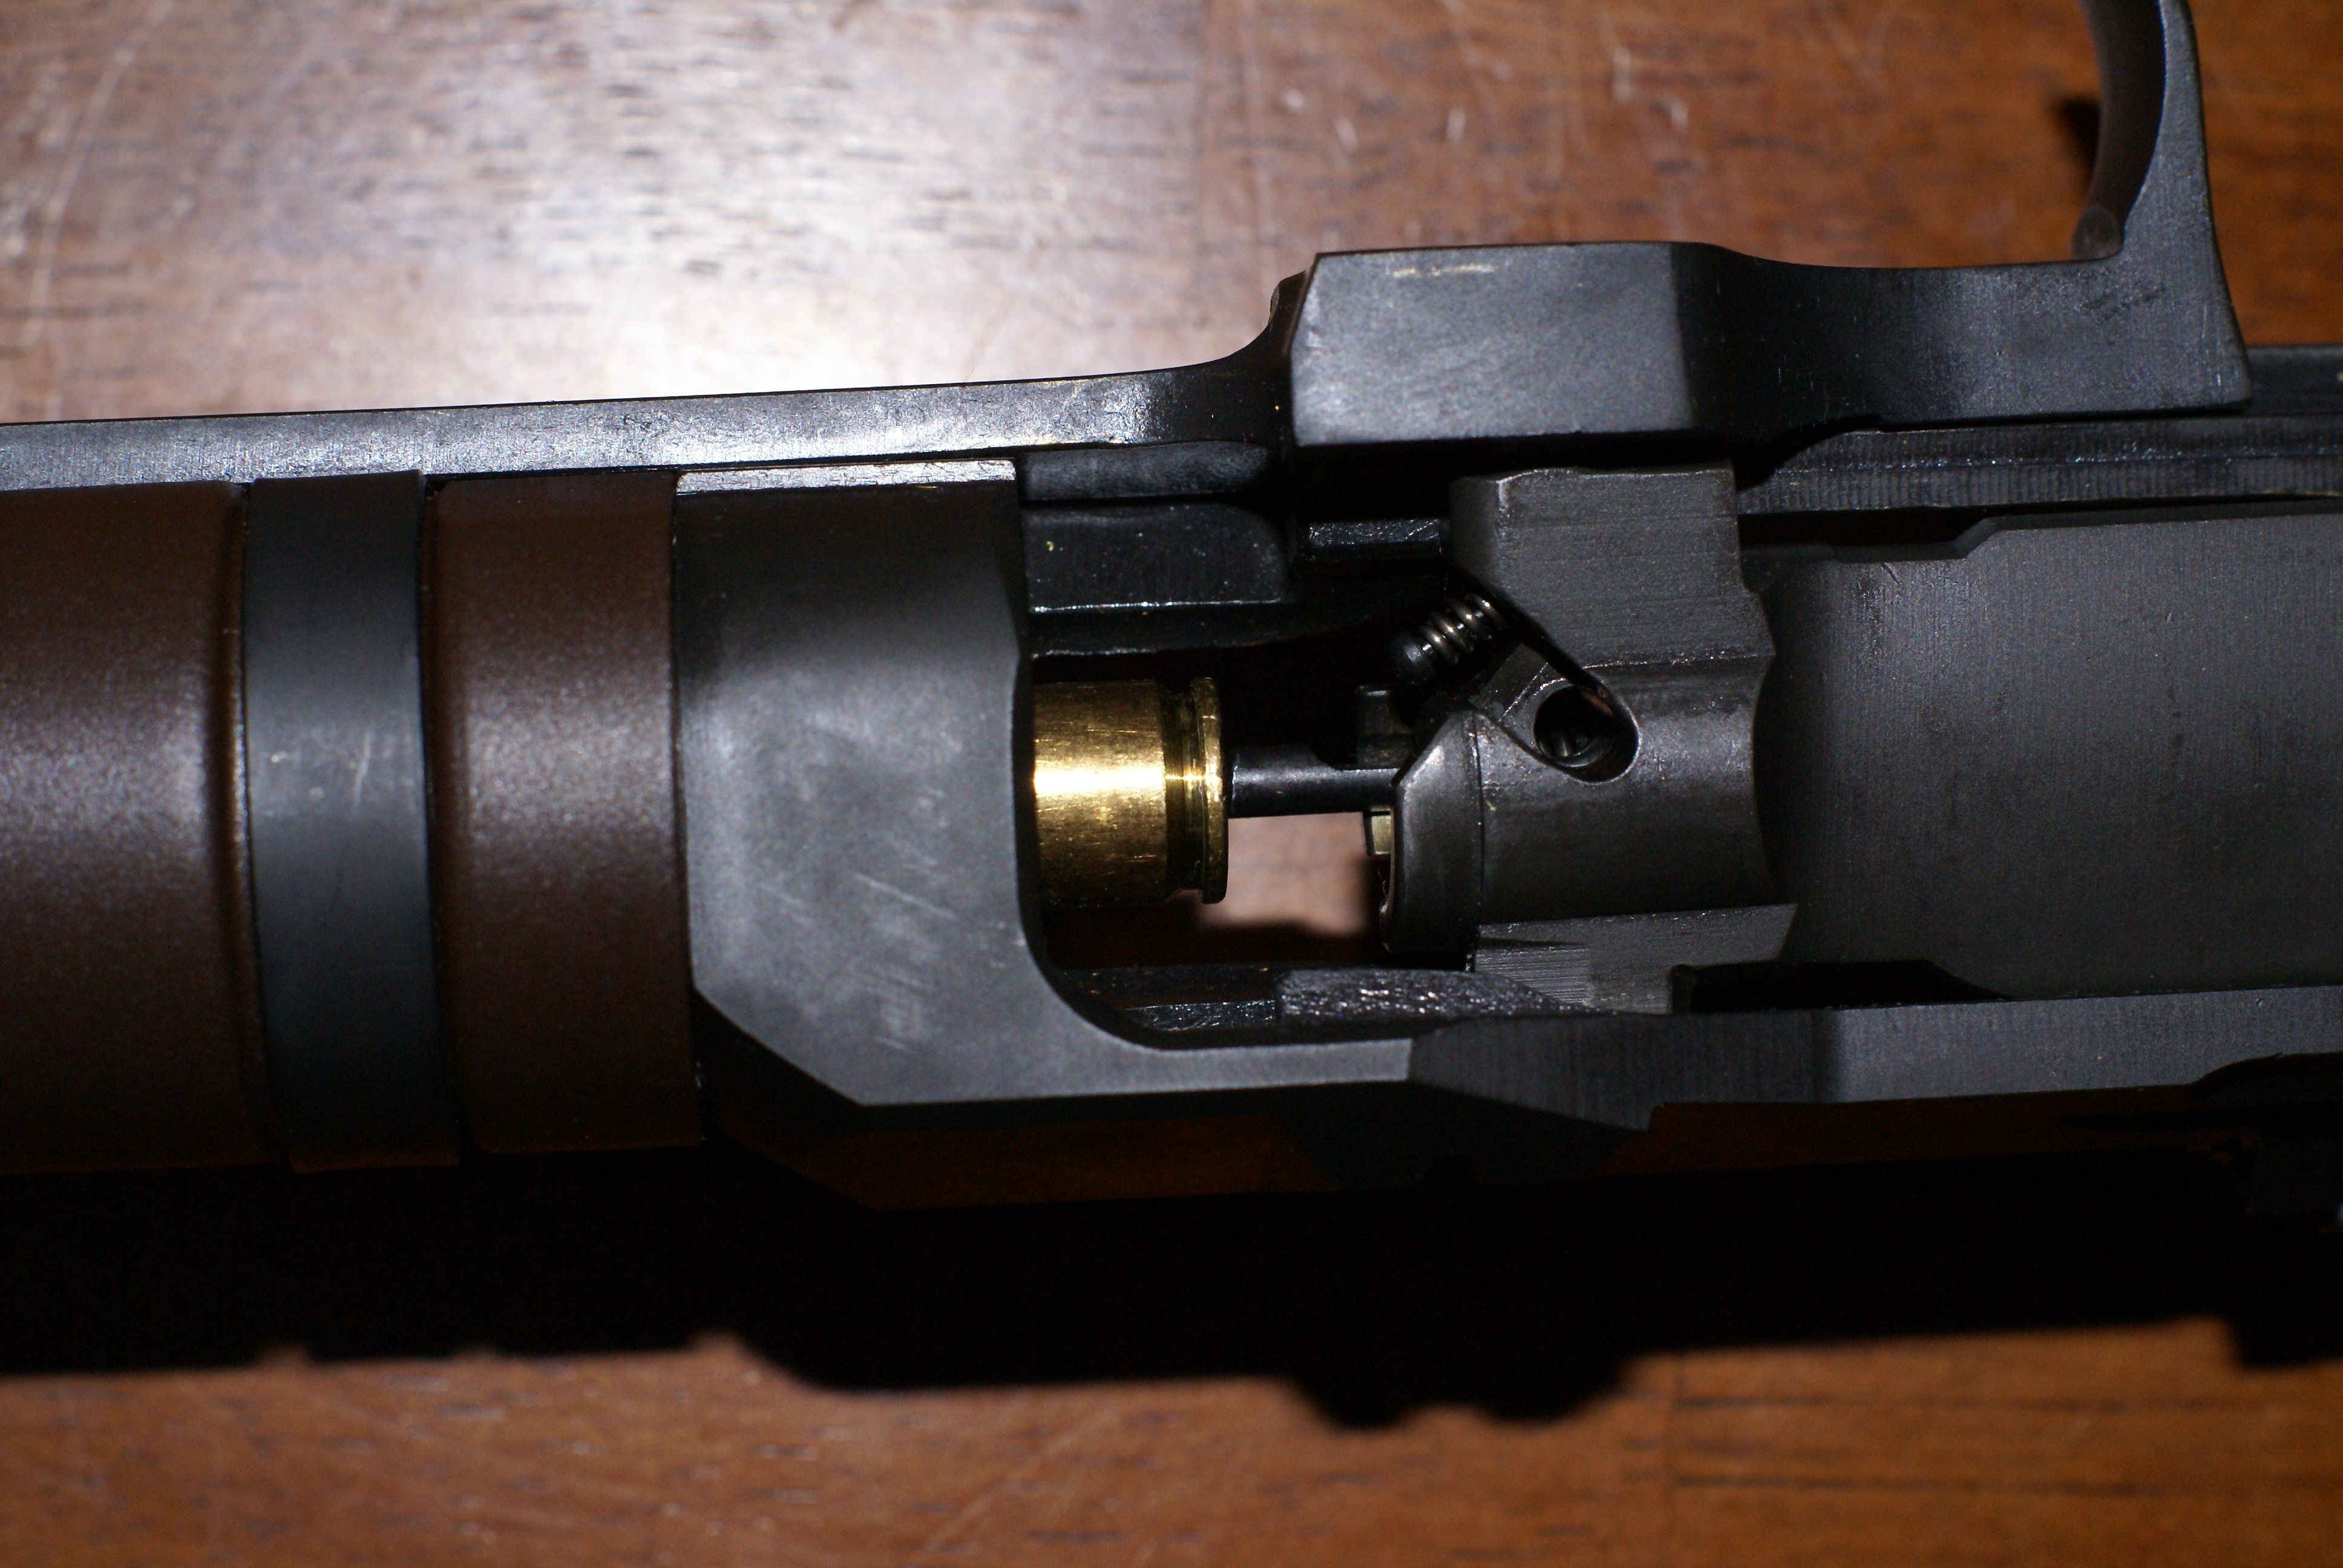
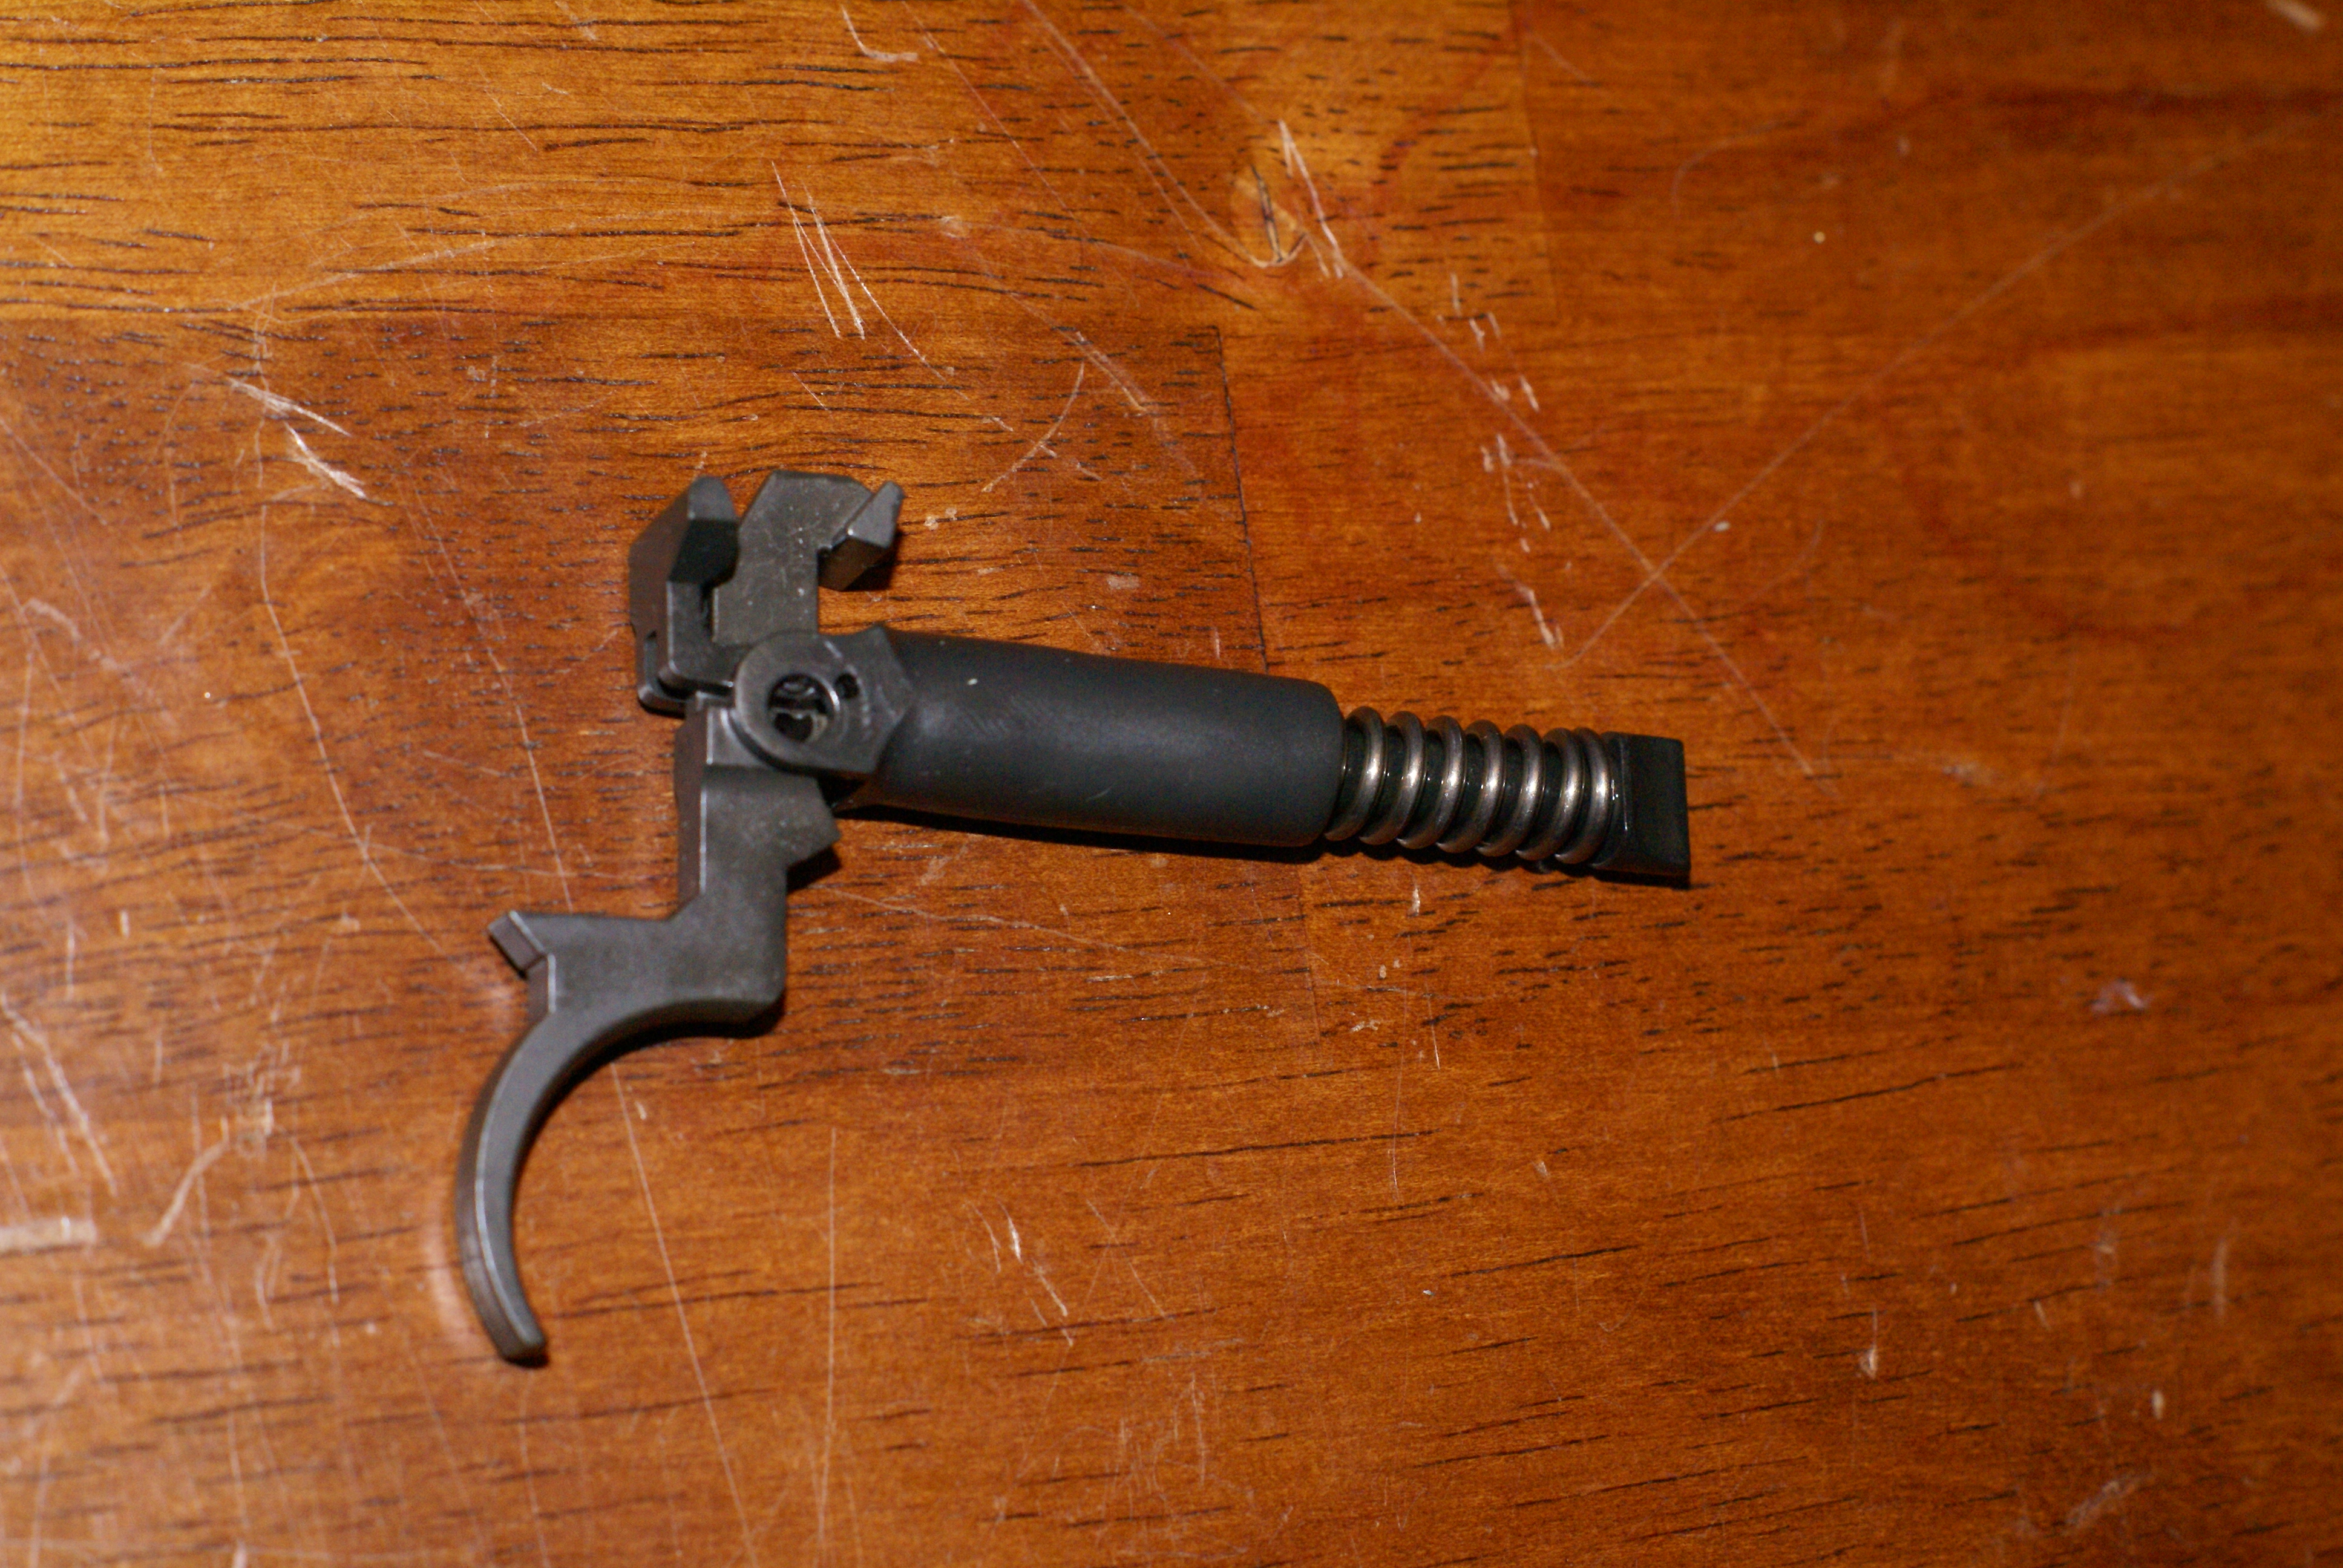
After ensuring the rifle was unloaded, I disassembled it down to the three parts groups; lock (trigger group), stock, and barrel. The lock and stock were put aside, as the focus was on replacing the extractor and ejector springs inside of the bolt. There are three methods that I use to accomplish this. The first being a somewhat pricy tool that helps in the dis-assembly of the bolt. I no longer own this tool, so the process won’t be shown. What I would like to share with you, are the other two methods; the 30-06, and the “GI” tool.
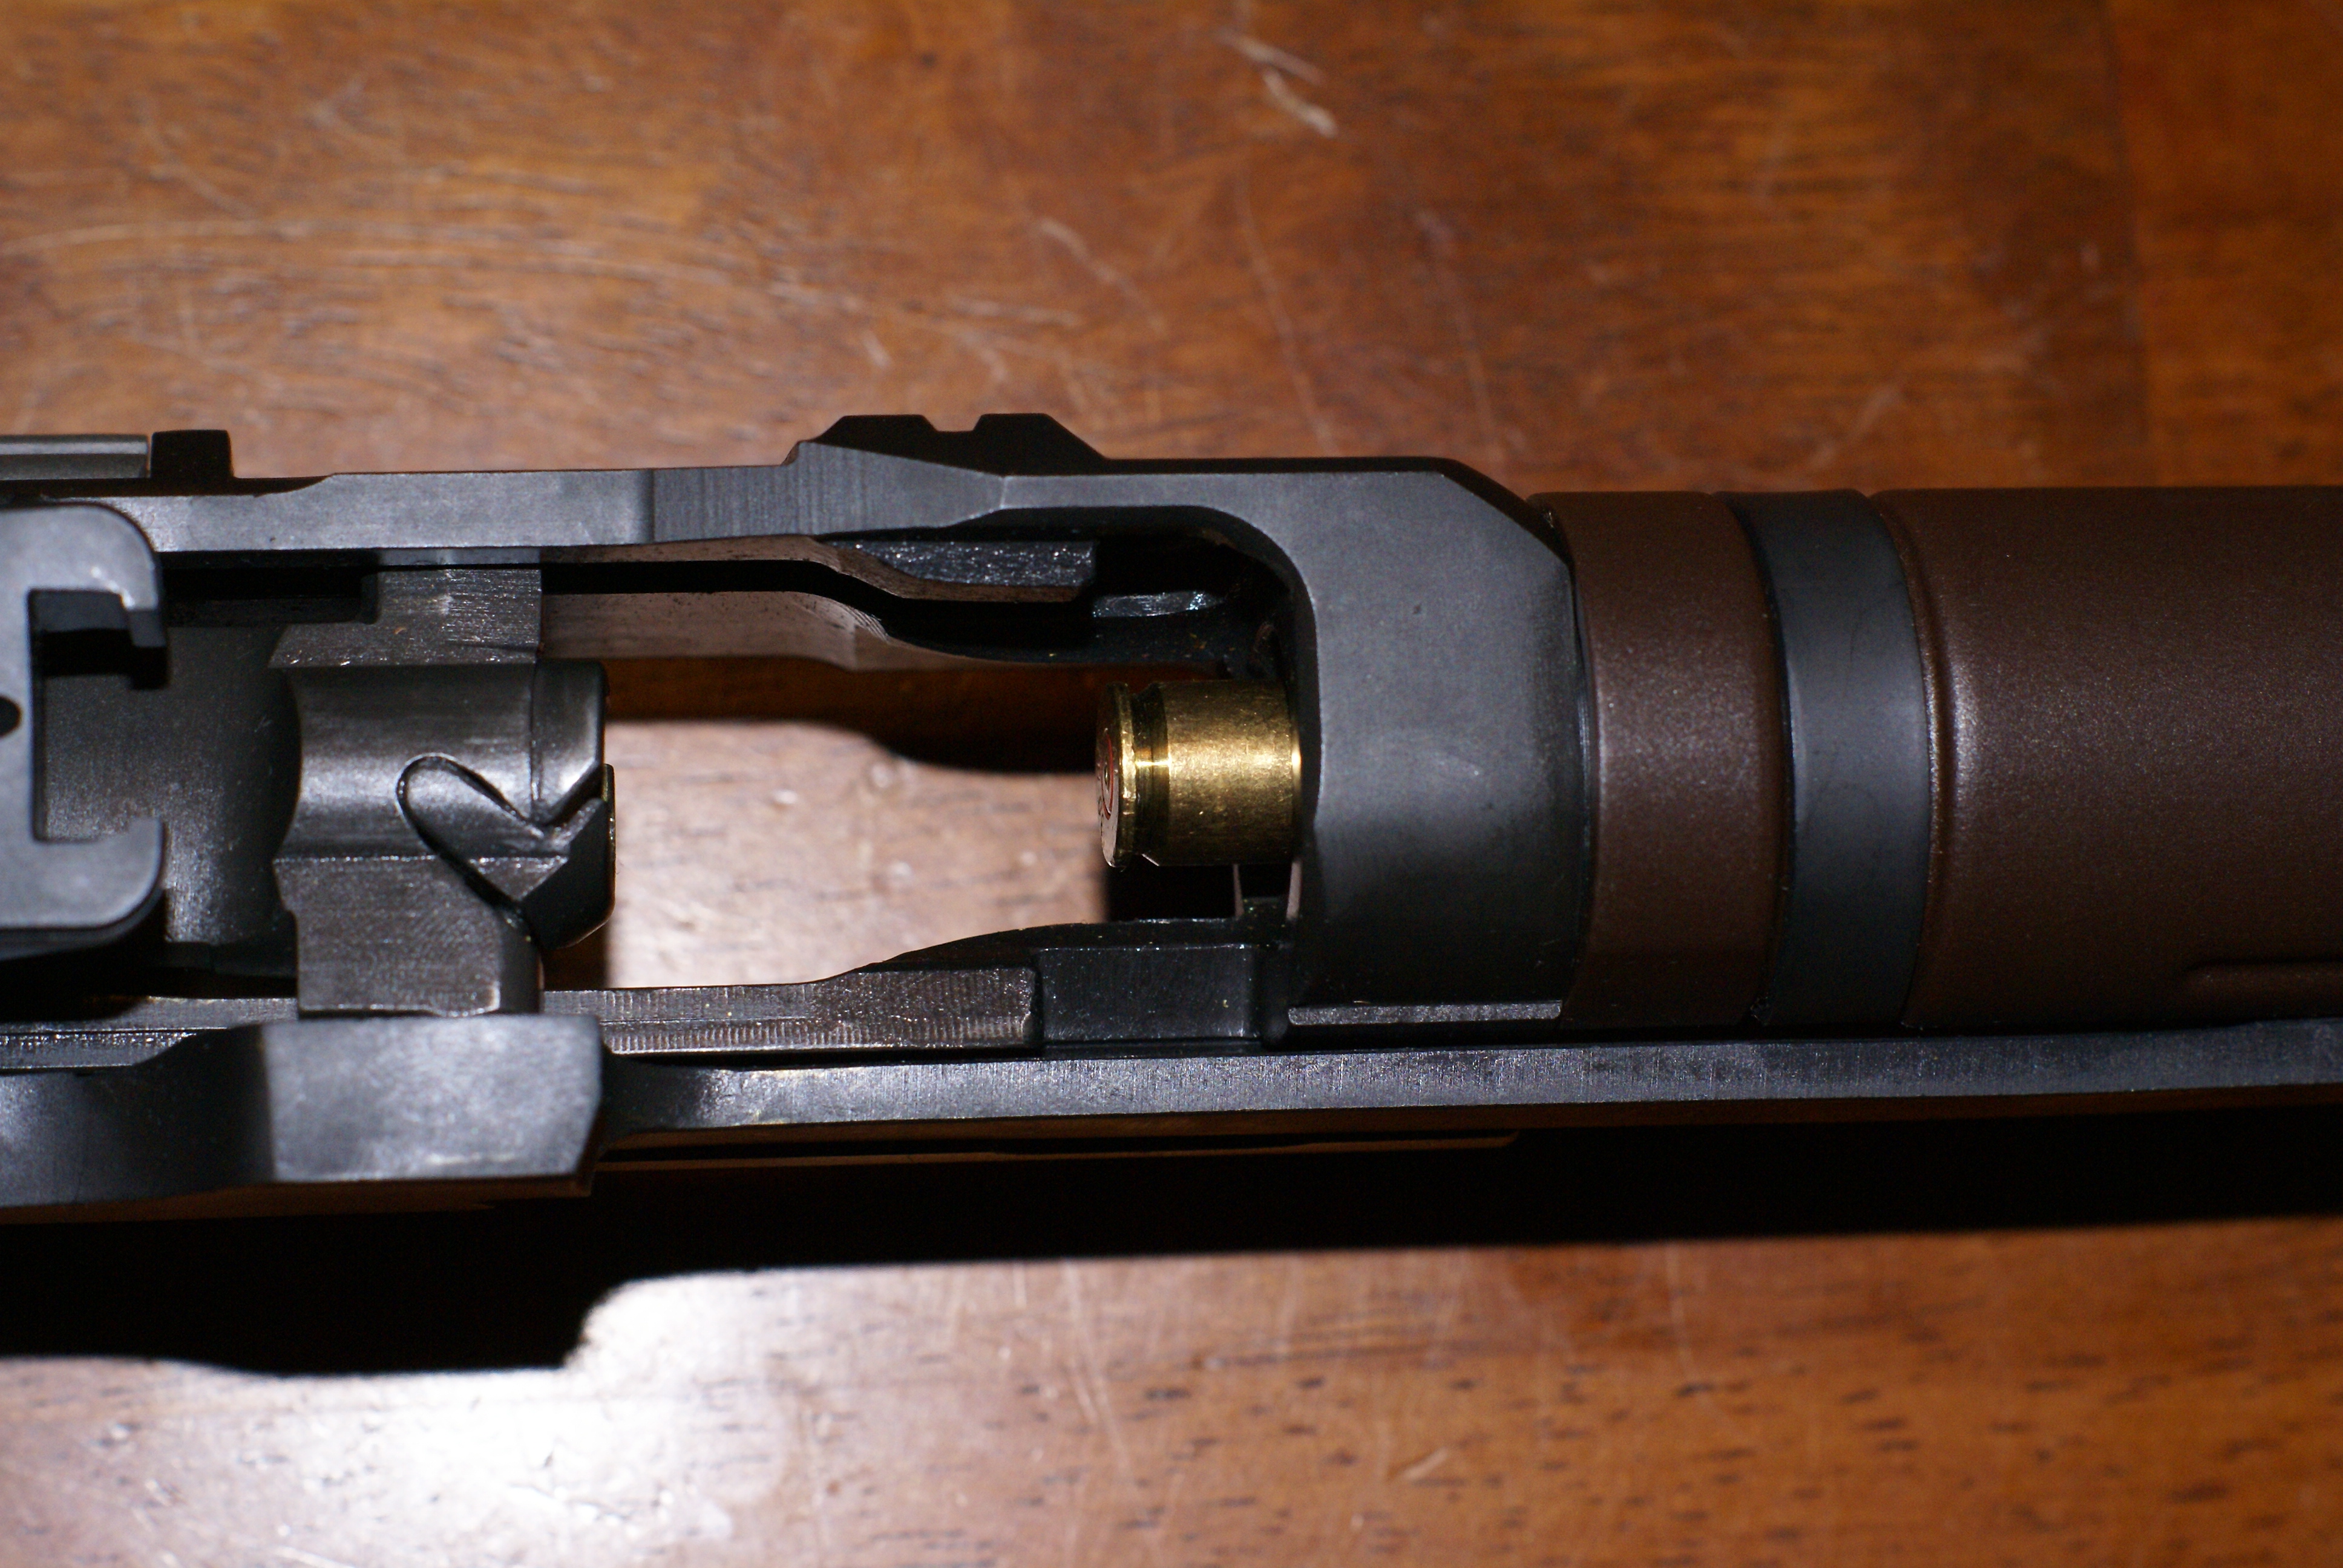
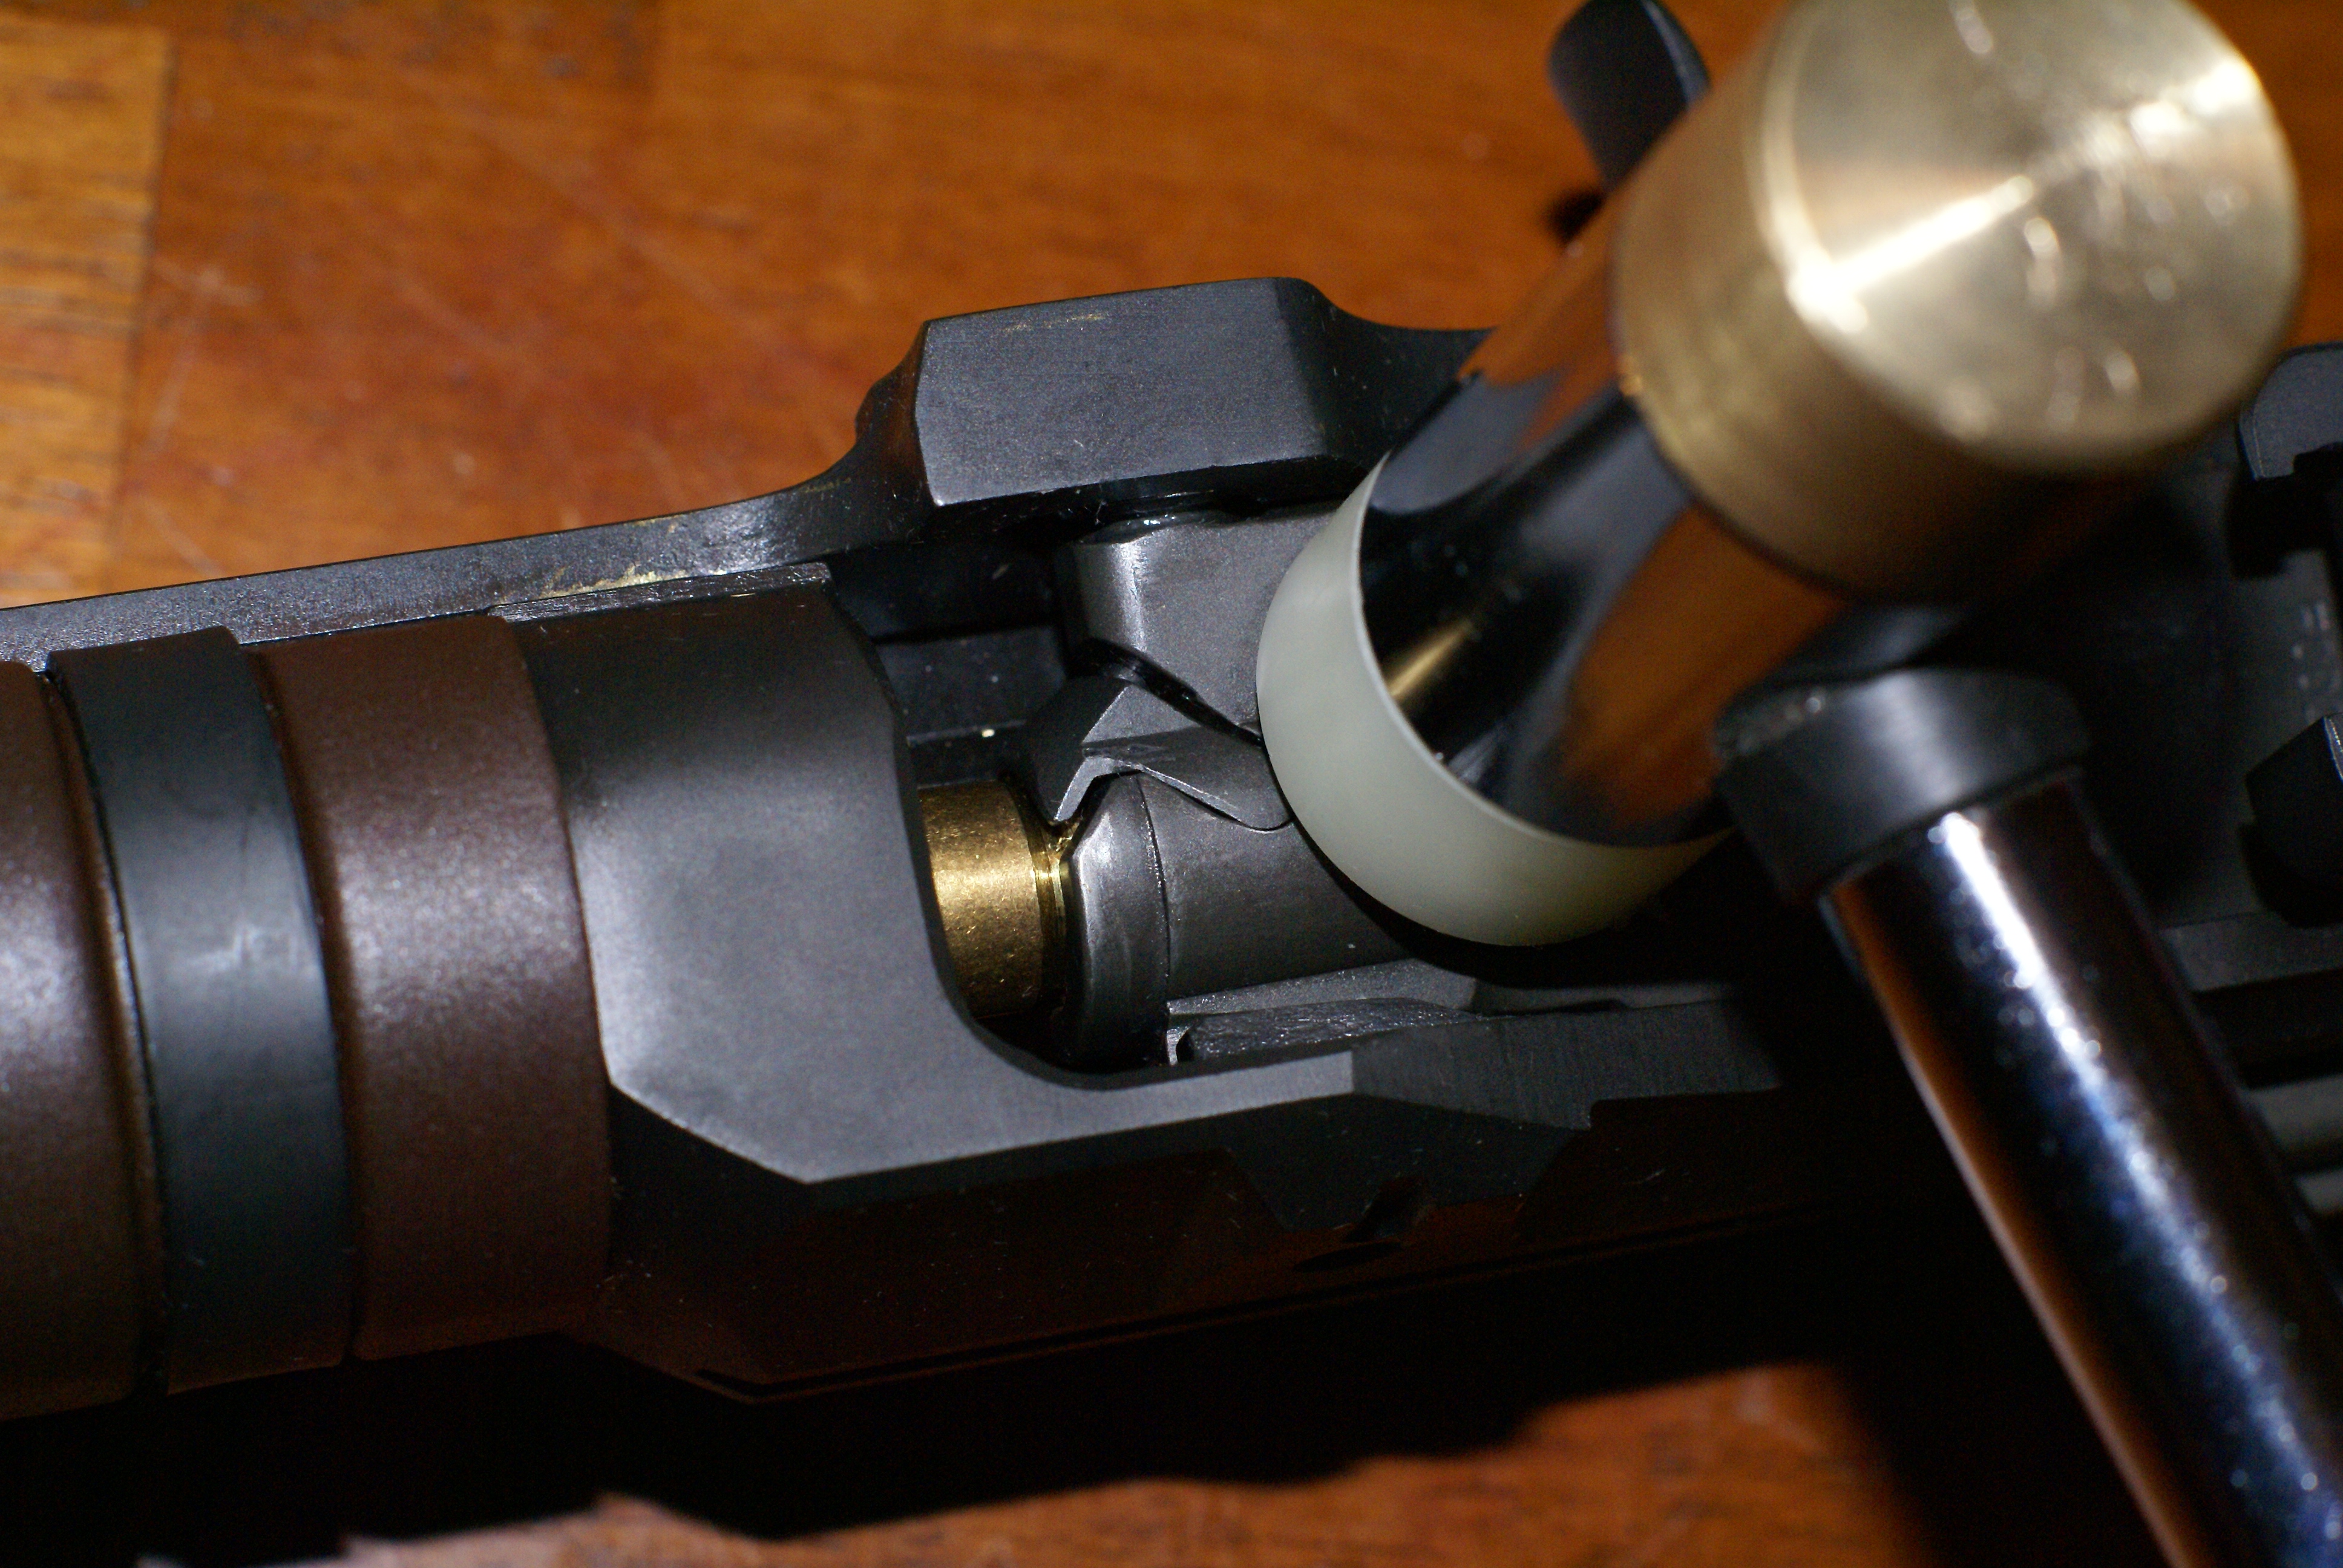
The 30-06 method entails using a 30-06 casing to hold the bolt face away from the receiver, so that the extractor can be removed or replaced. How this works is; the 30-06 has a similar case diameter dimension to the .308 Win./7.62X51 NATO, but the lengths are different. When the 30-06 is inserted into the chamber, the casing will fit, but protrude out. The bolt is then closed on the longer case so that the head is locked under the extractor, compressing the ejector and spring (freeing up the extractor). With the receiver flipped over, a pin is visible. This pin is part of the extractor, and holds the rest of the bolt components together. It is removed by driving it out with a punch. Once the punch is driven through, it is slowly drawn back out to ensure the retention of the parts inside the bolt. This is important because those parts are under high spring pressure. The operating rod and bolt are then removed from the receiver.
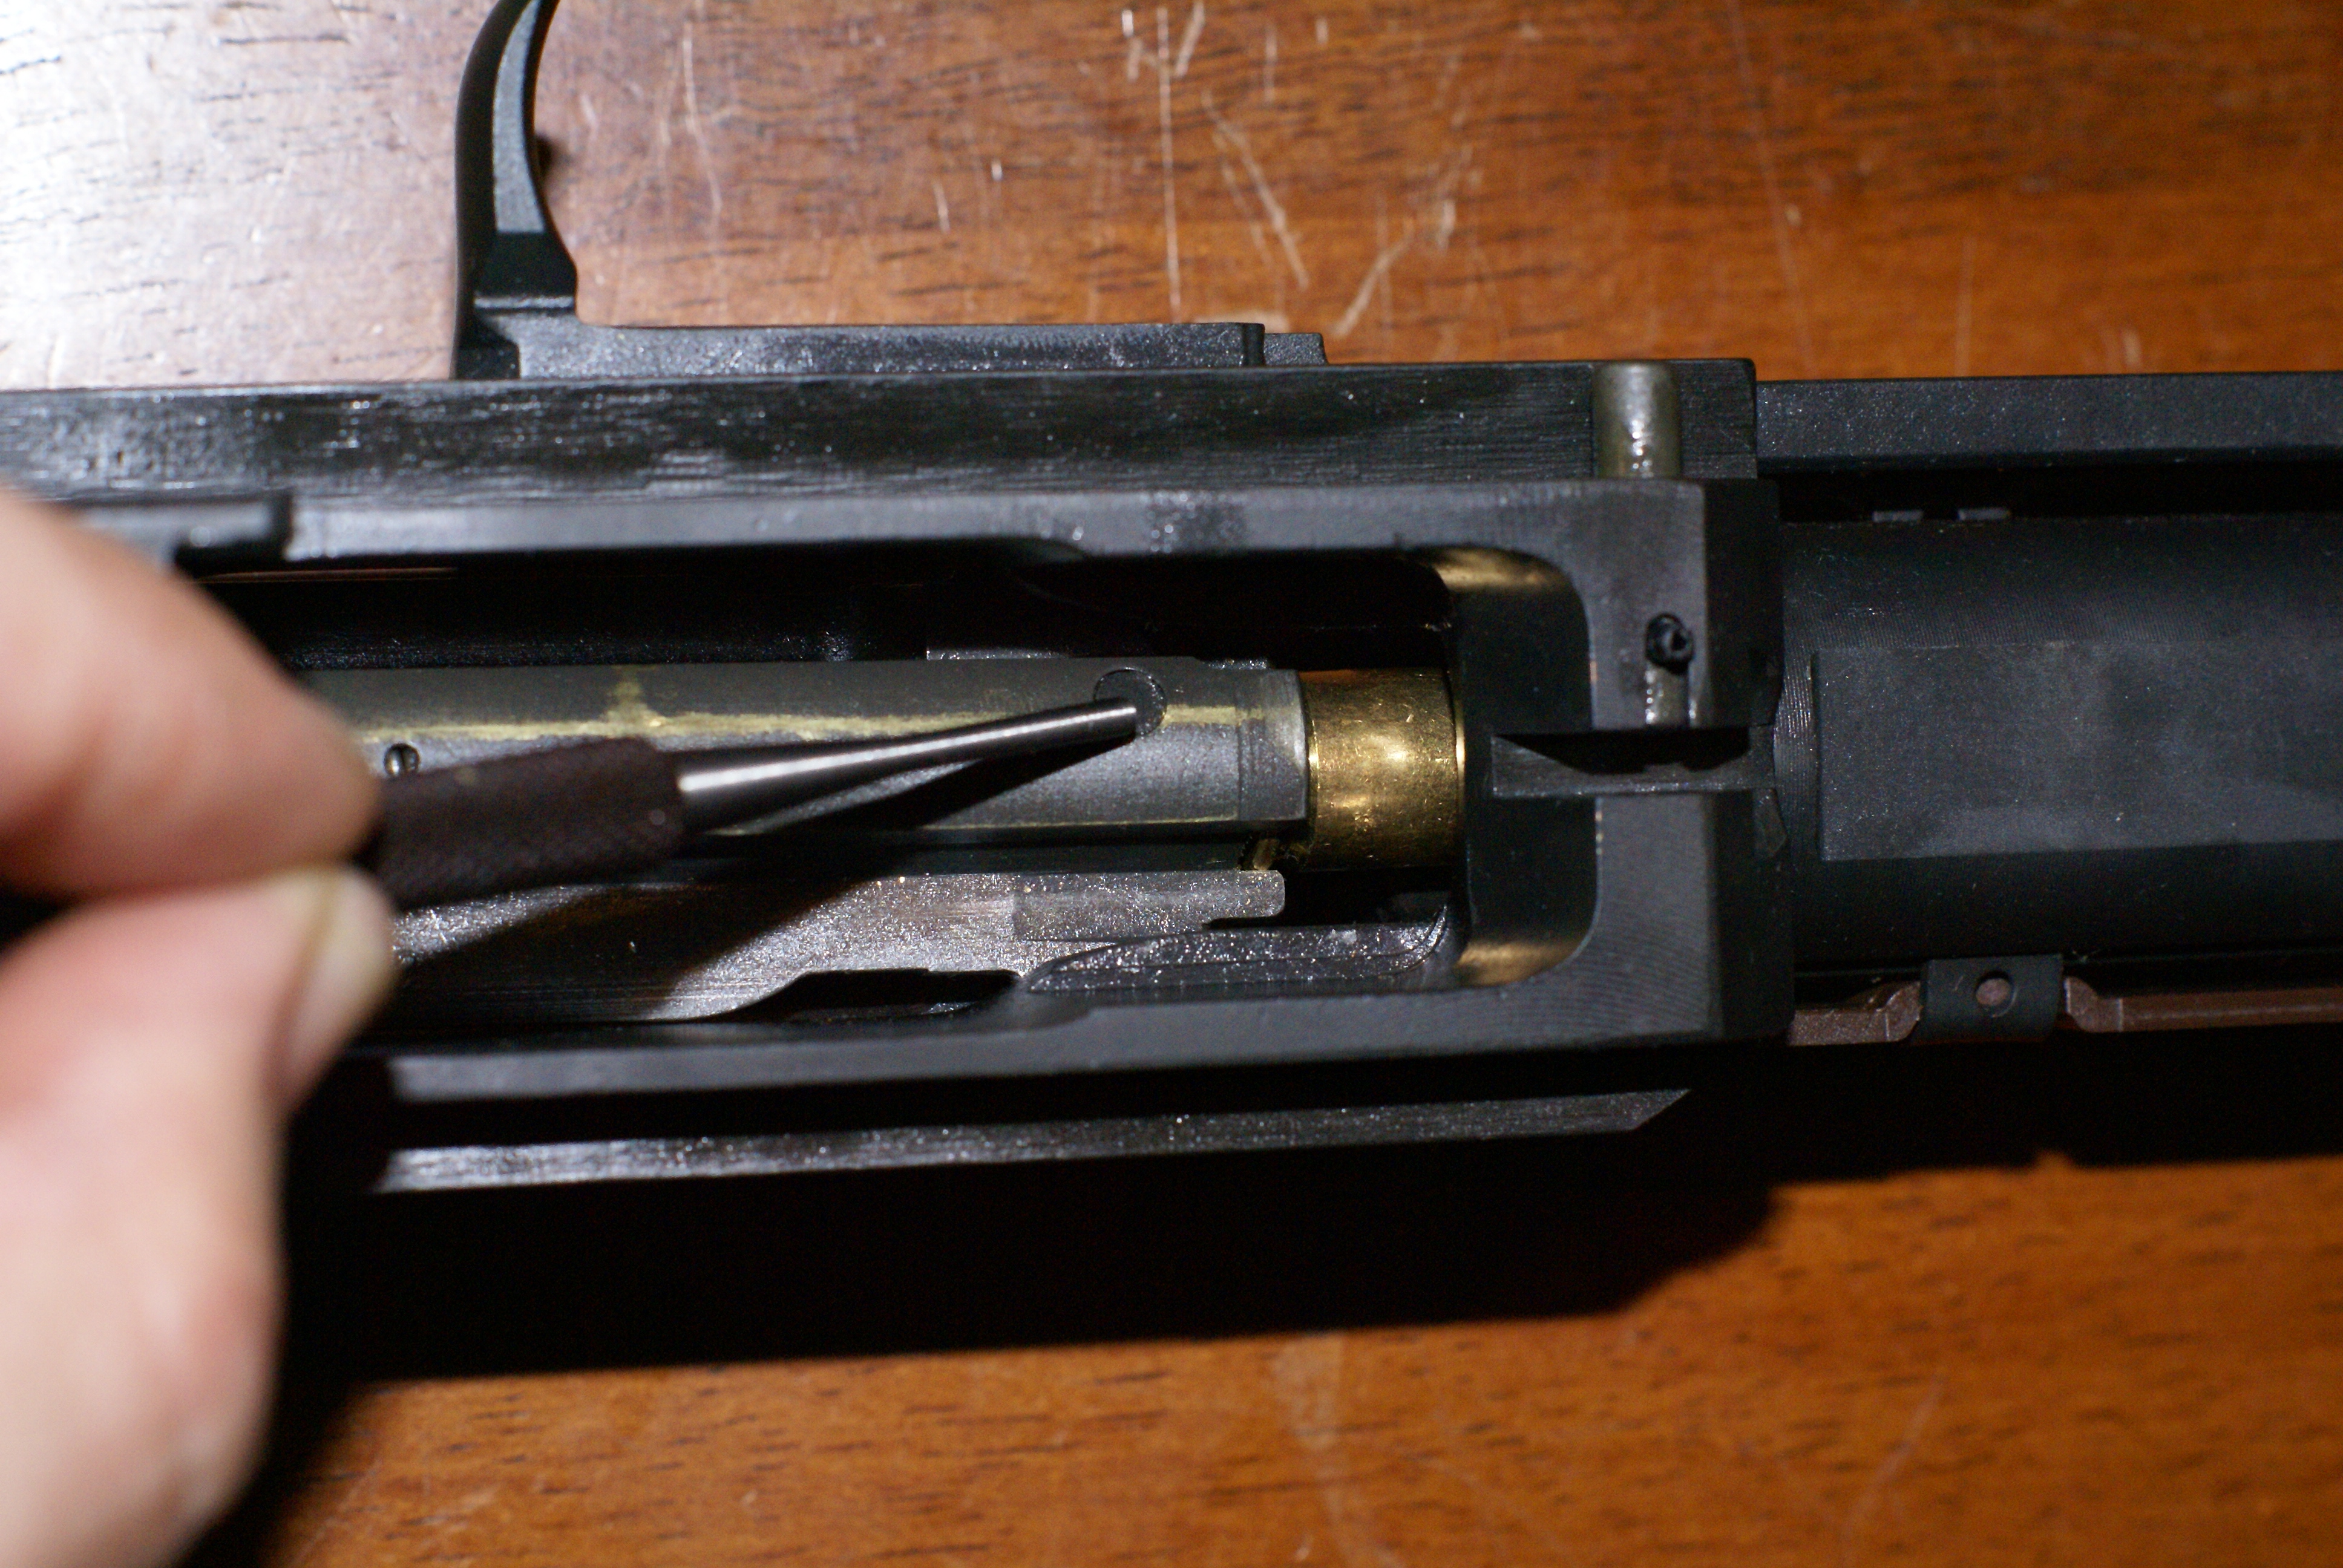
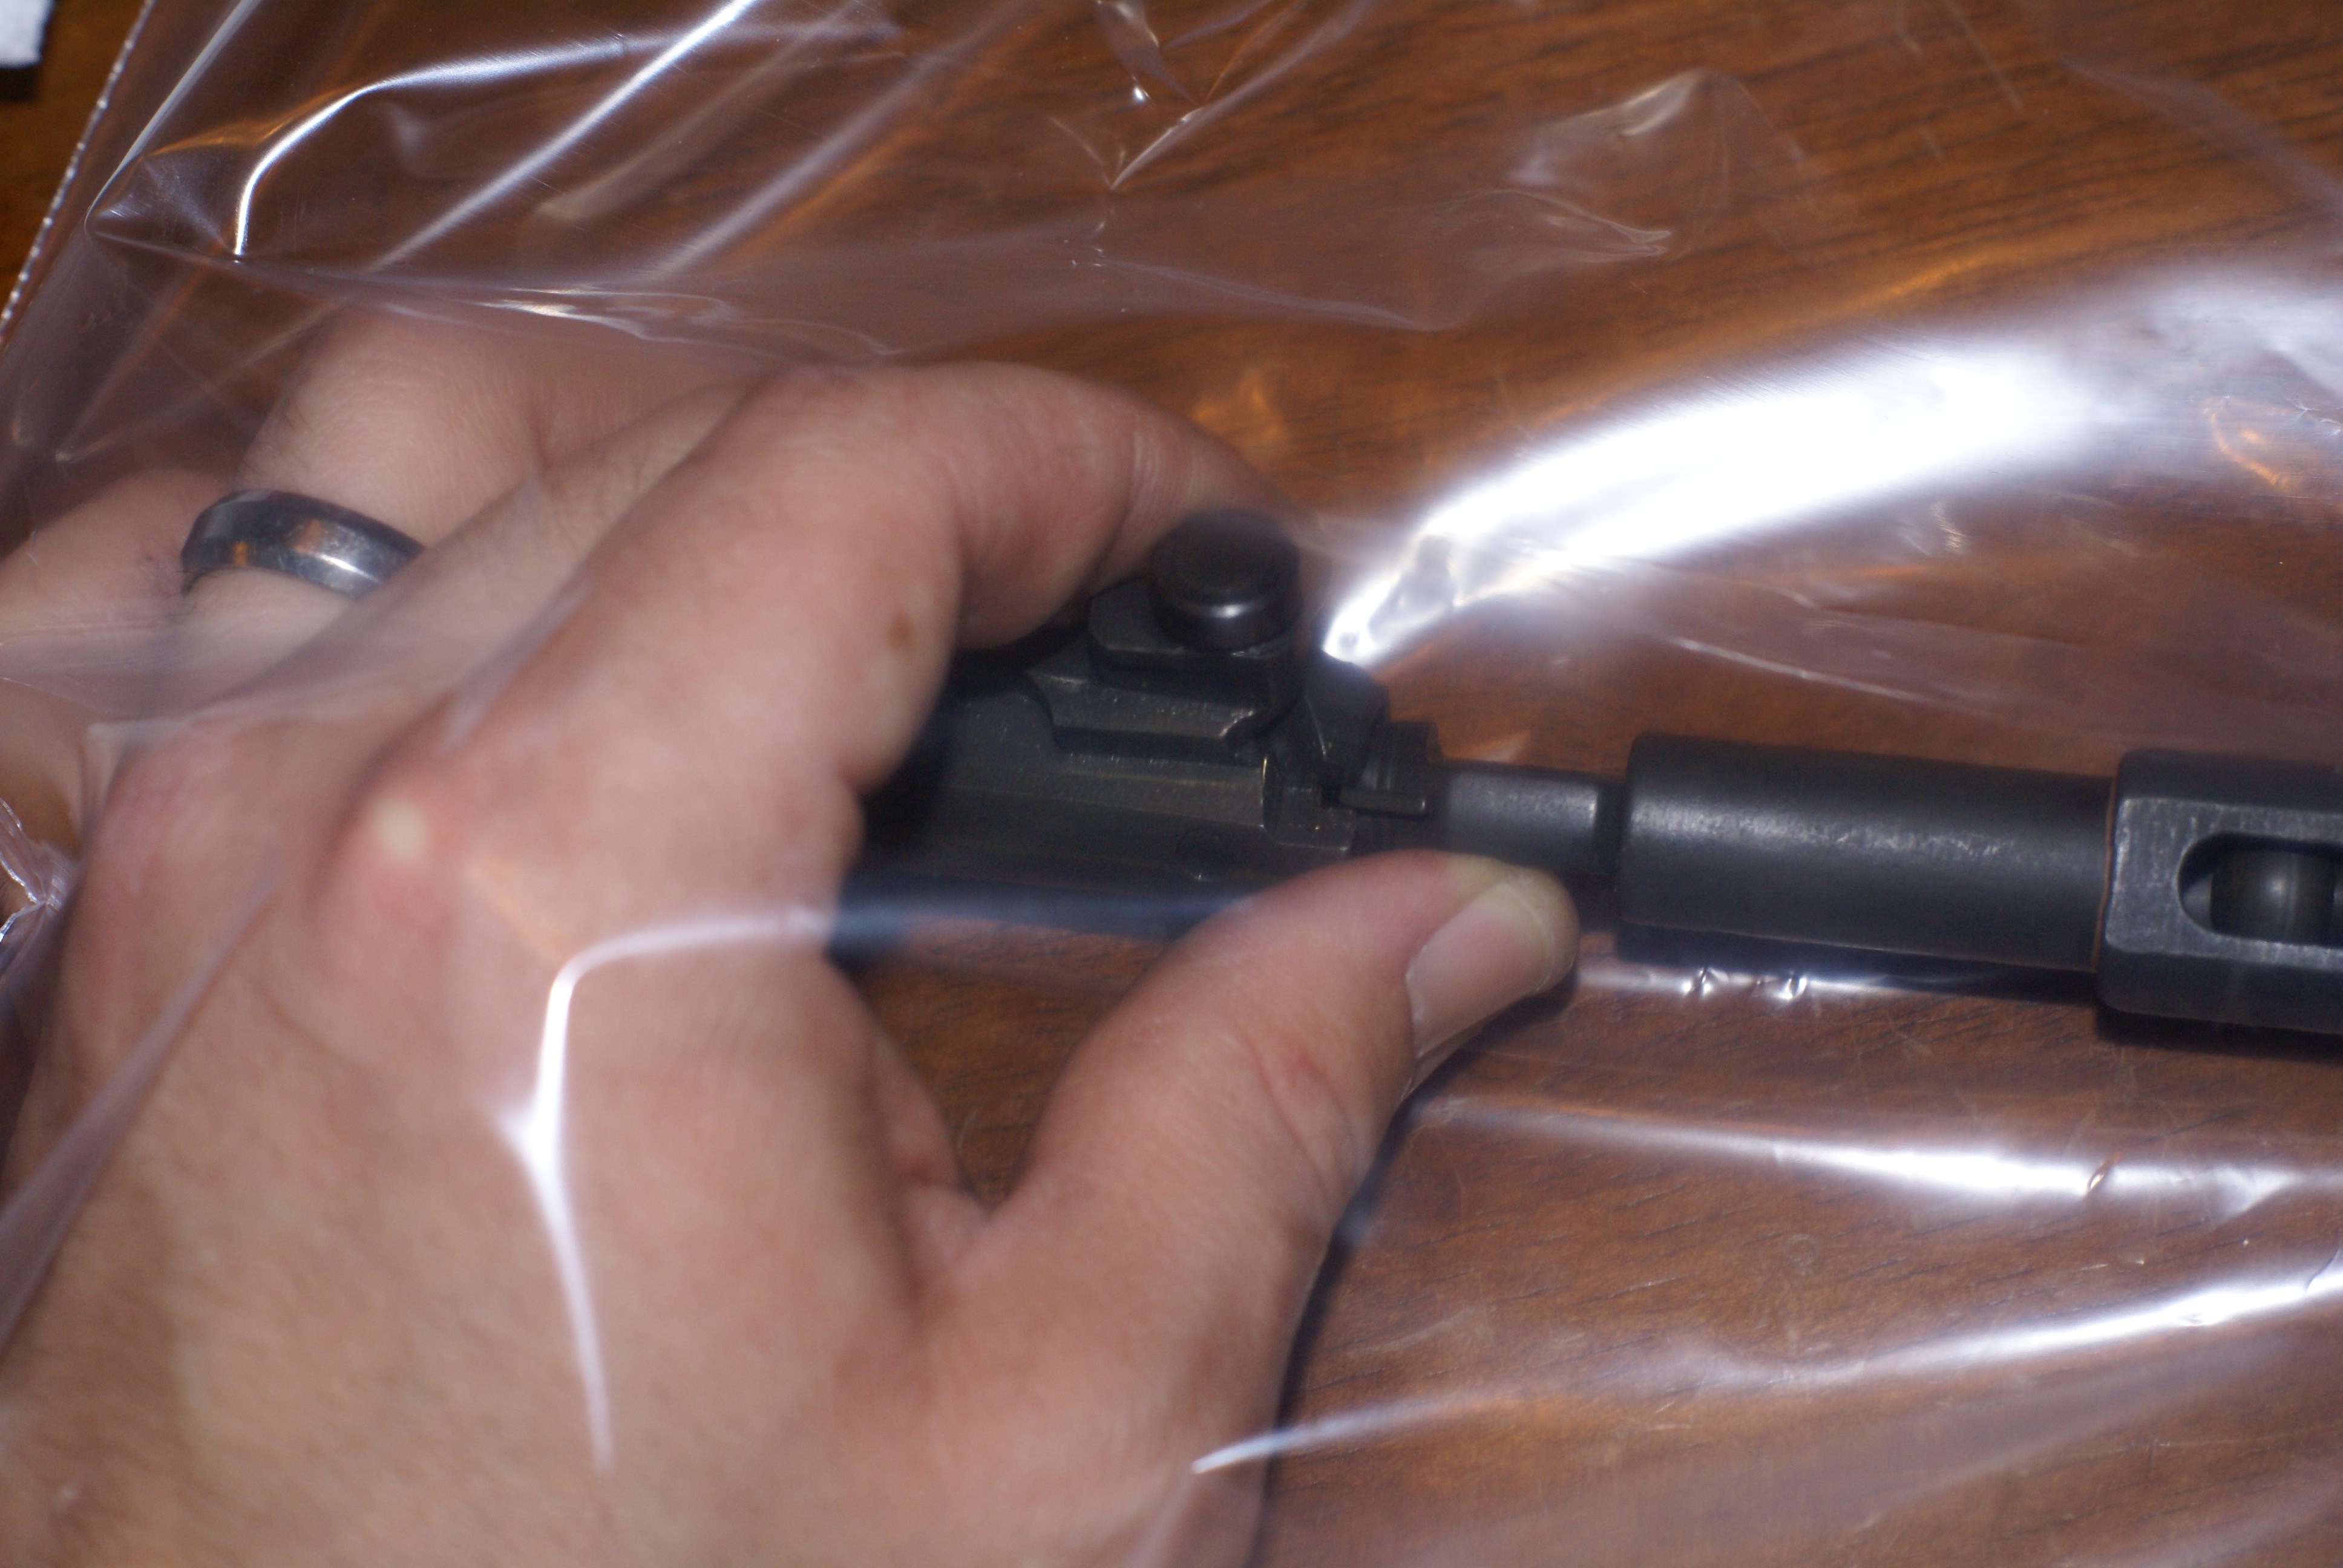
The second method involves using the M14 style “GI” tool. The front of the tool’s design has a chamfered head with an extended tab that allows you to push in on the bolt face, compressing the ejector and spring to free up the extractor. The tool is then rotated clockwise to lift the extractor up and out, releasing all of the bolt’s components. A helpful item to use while doing this is a plastic bag. I found that a gallon size storage bag fits this niche perfectly, and I recommend using “GI” tool method inside of the bag. Why? To retain the parts. Since all of the parts are under spring tension, when the extractor is removed, the ejector and both springs will launch them selves out of the bolt.

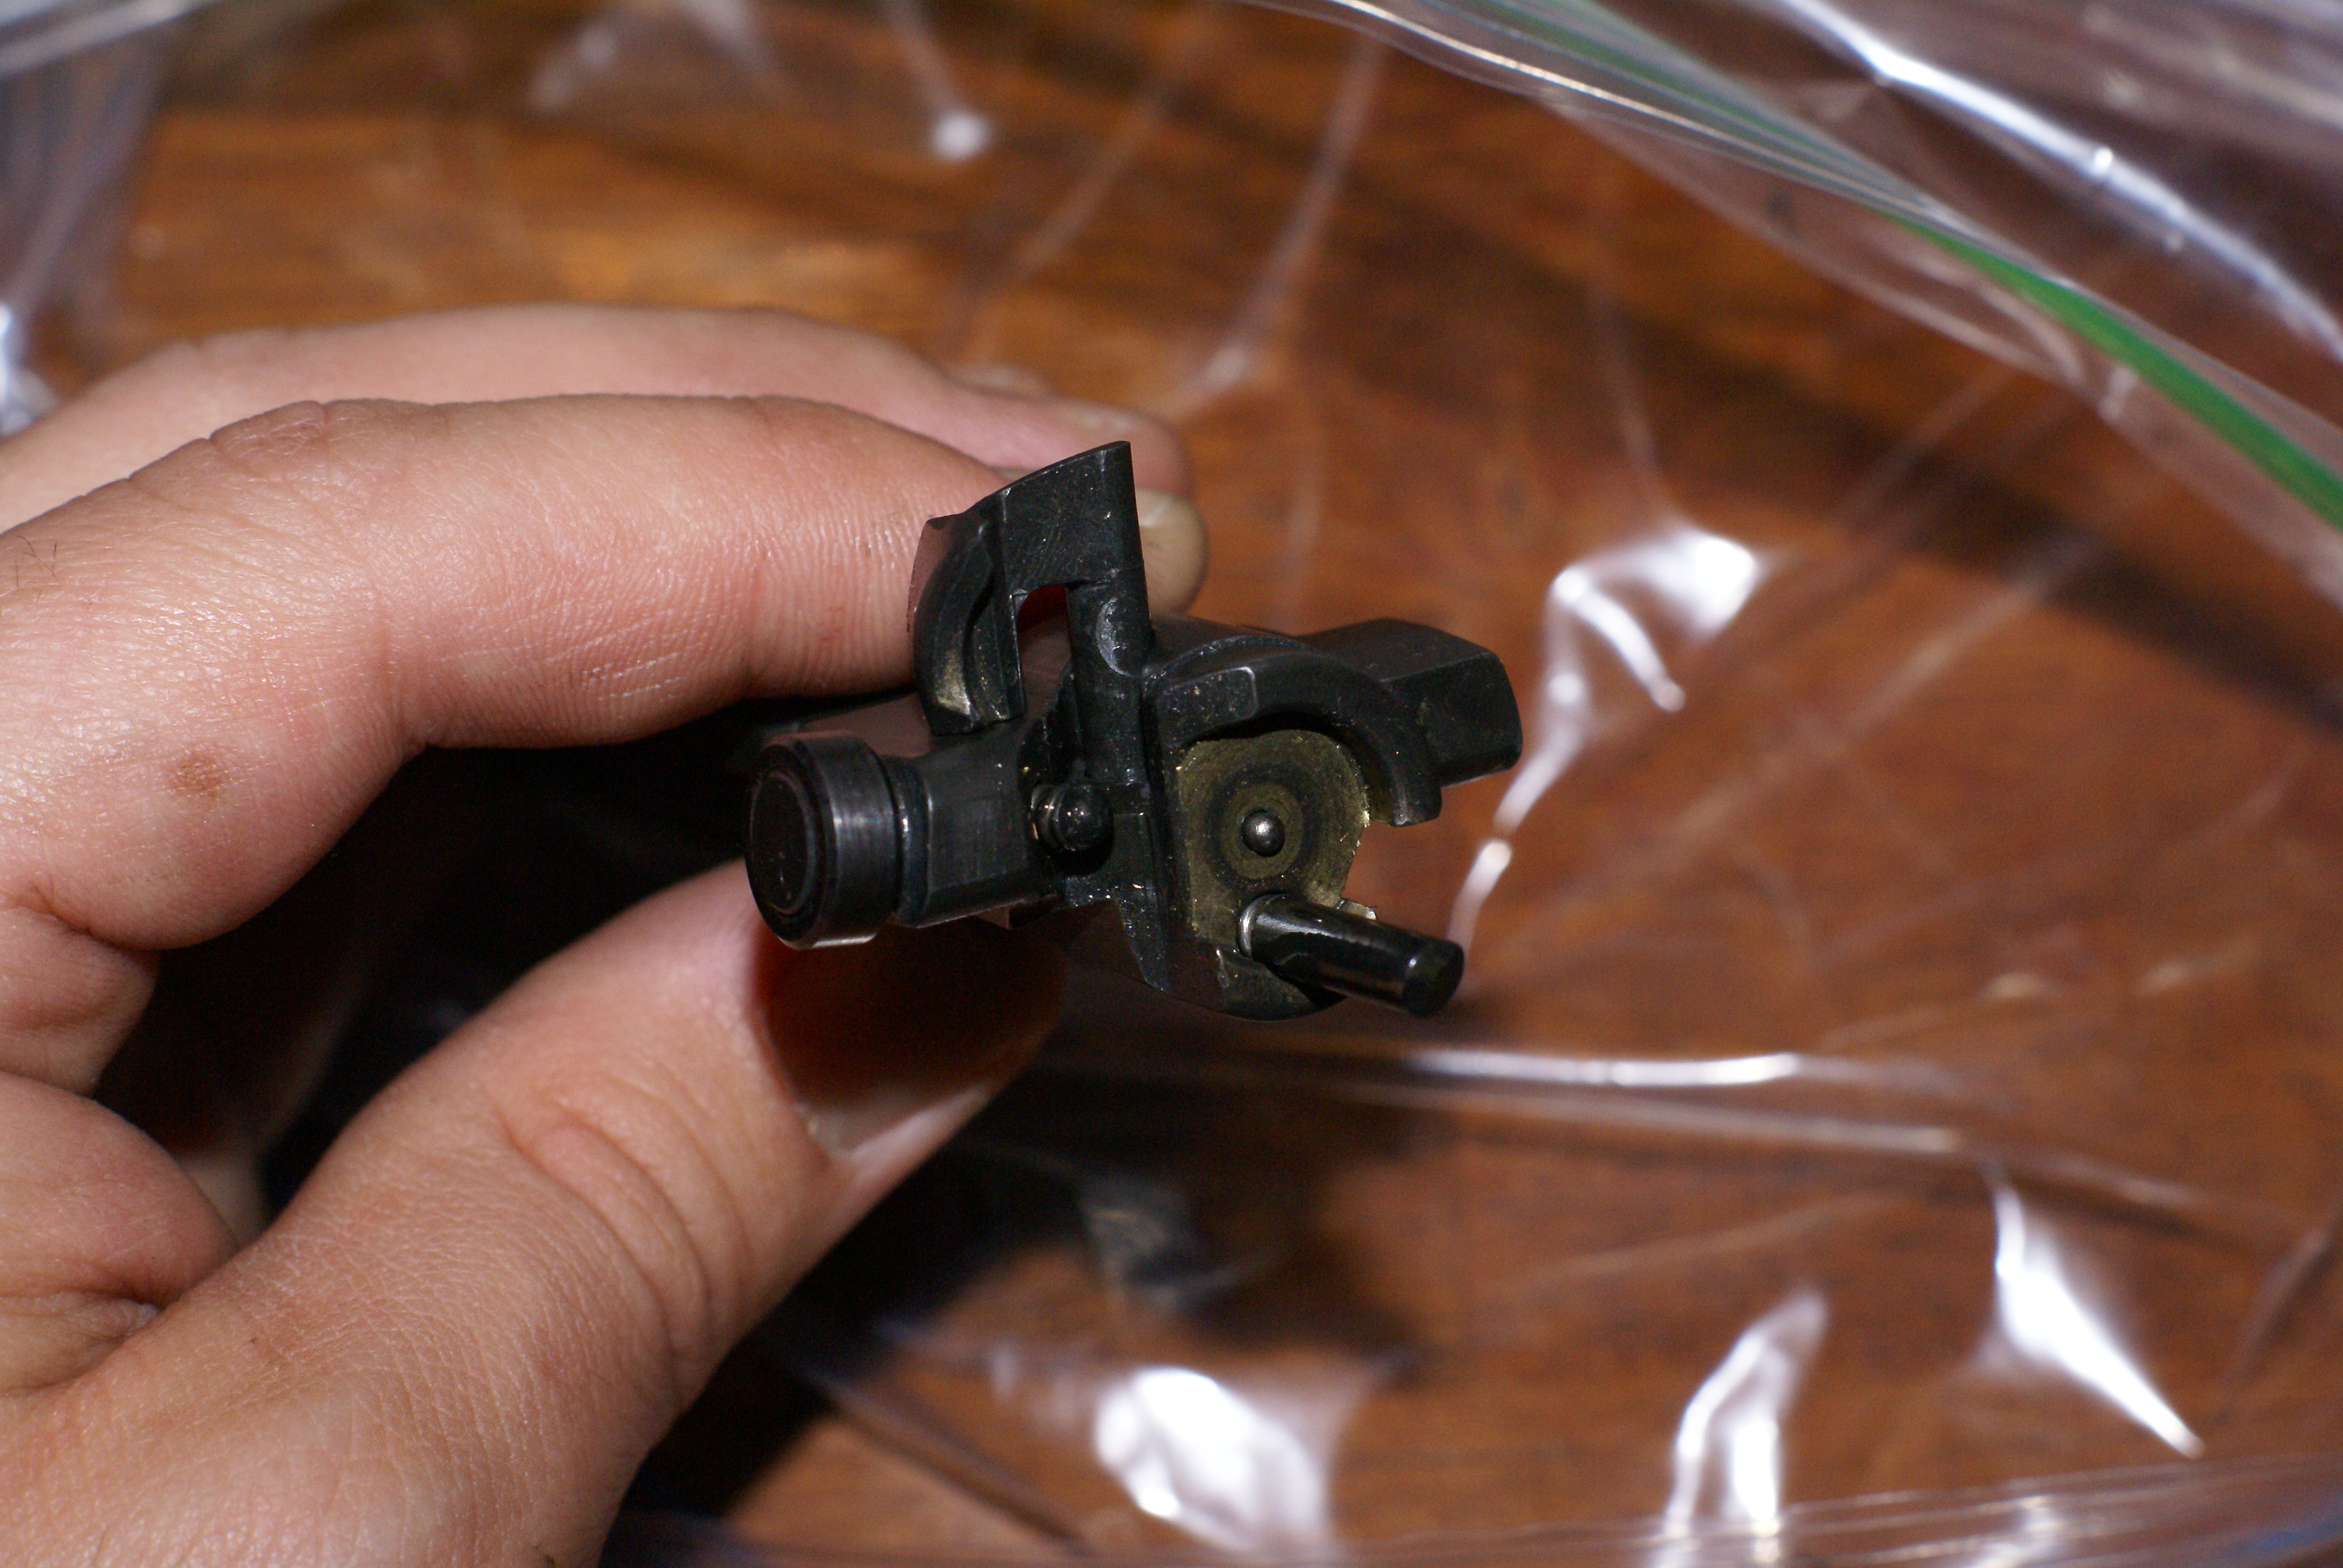
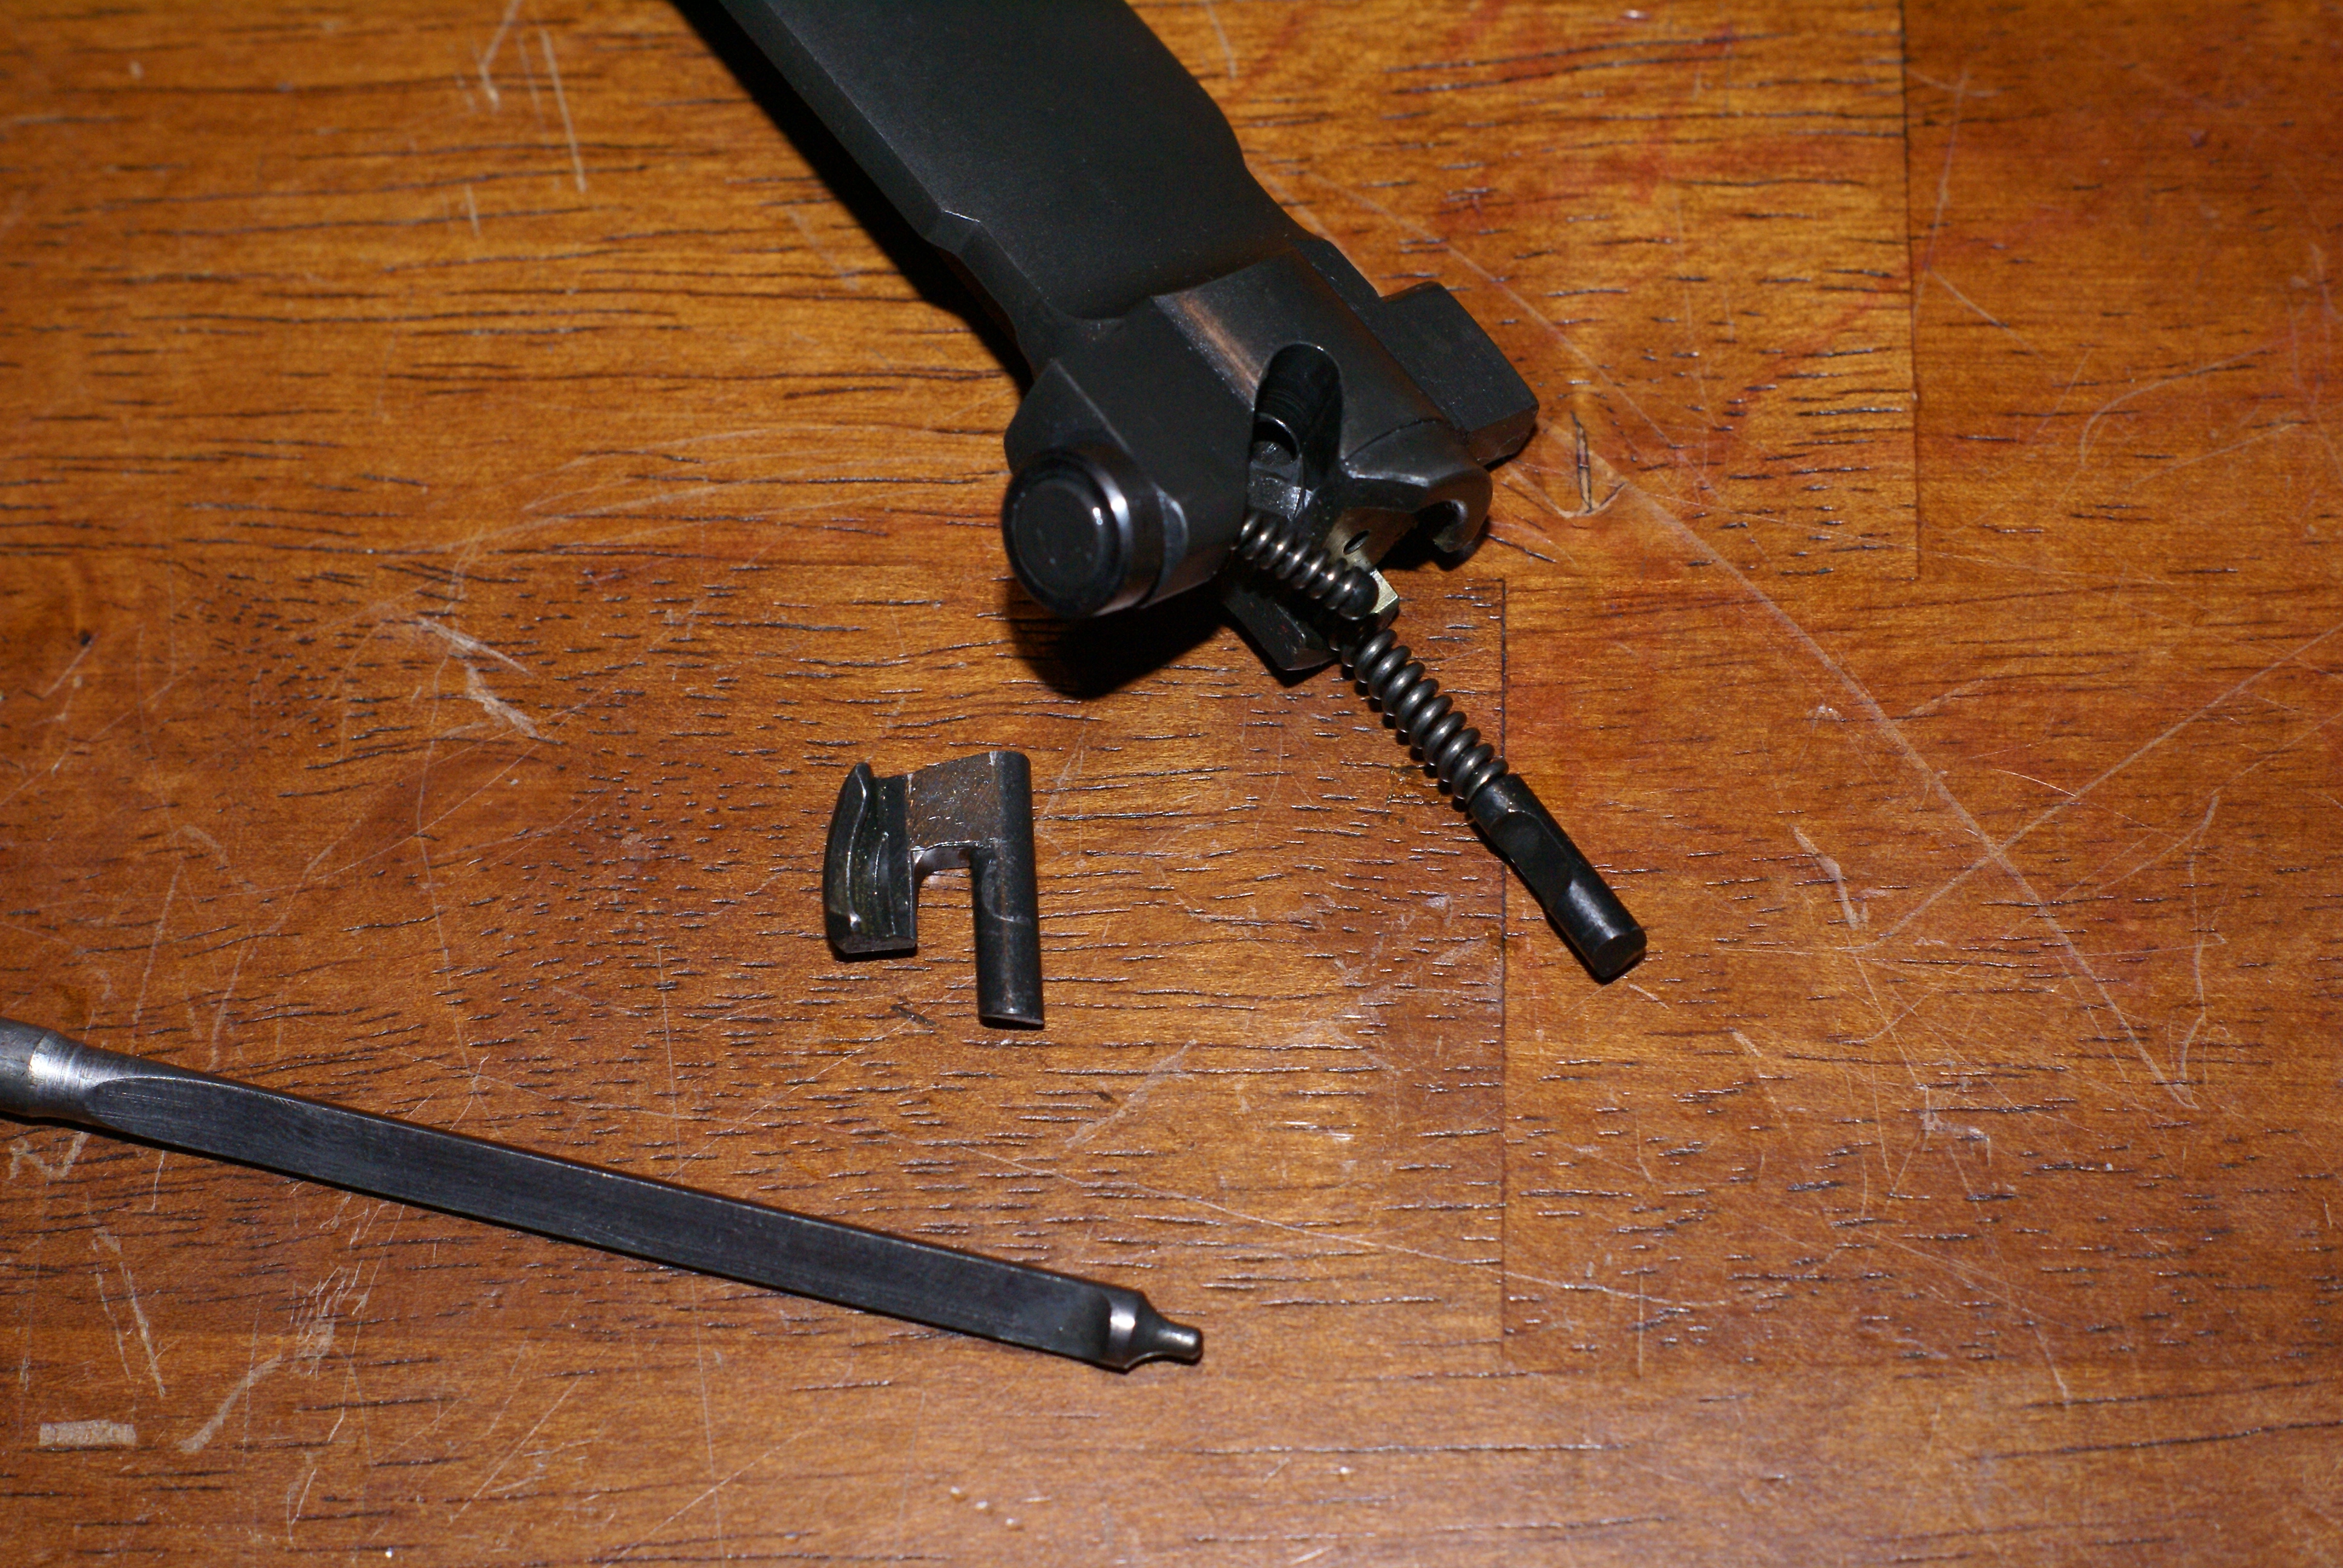
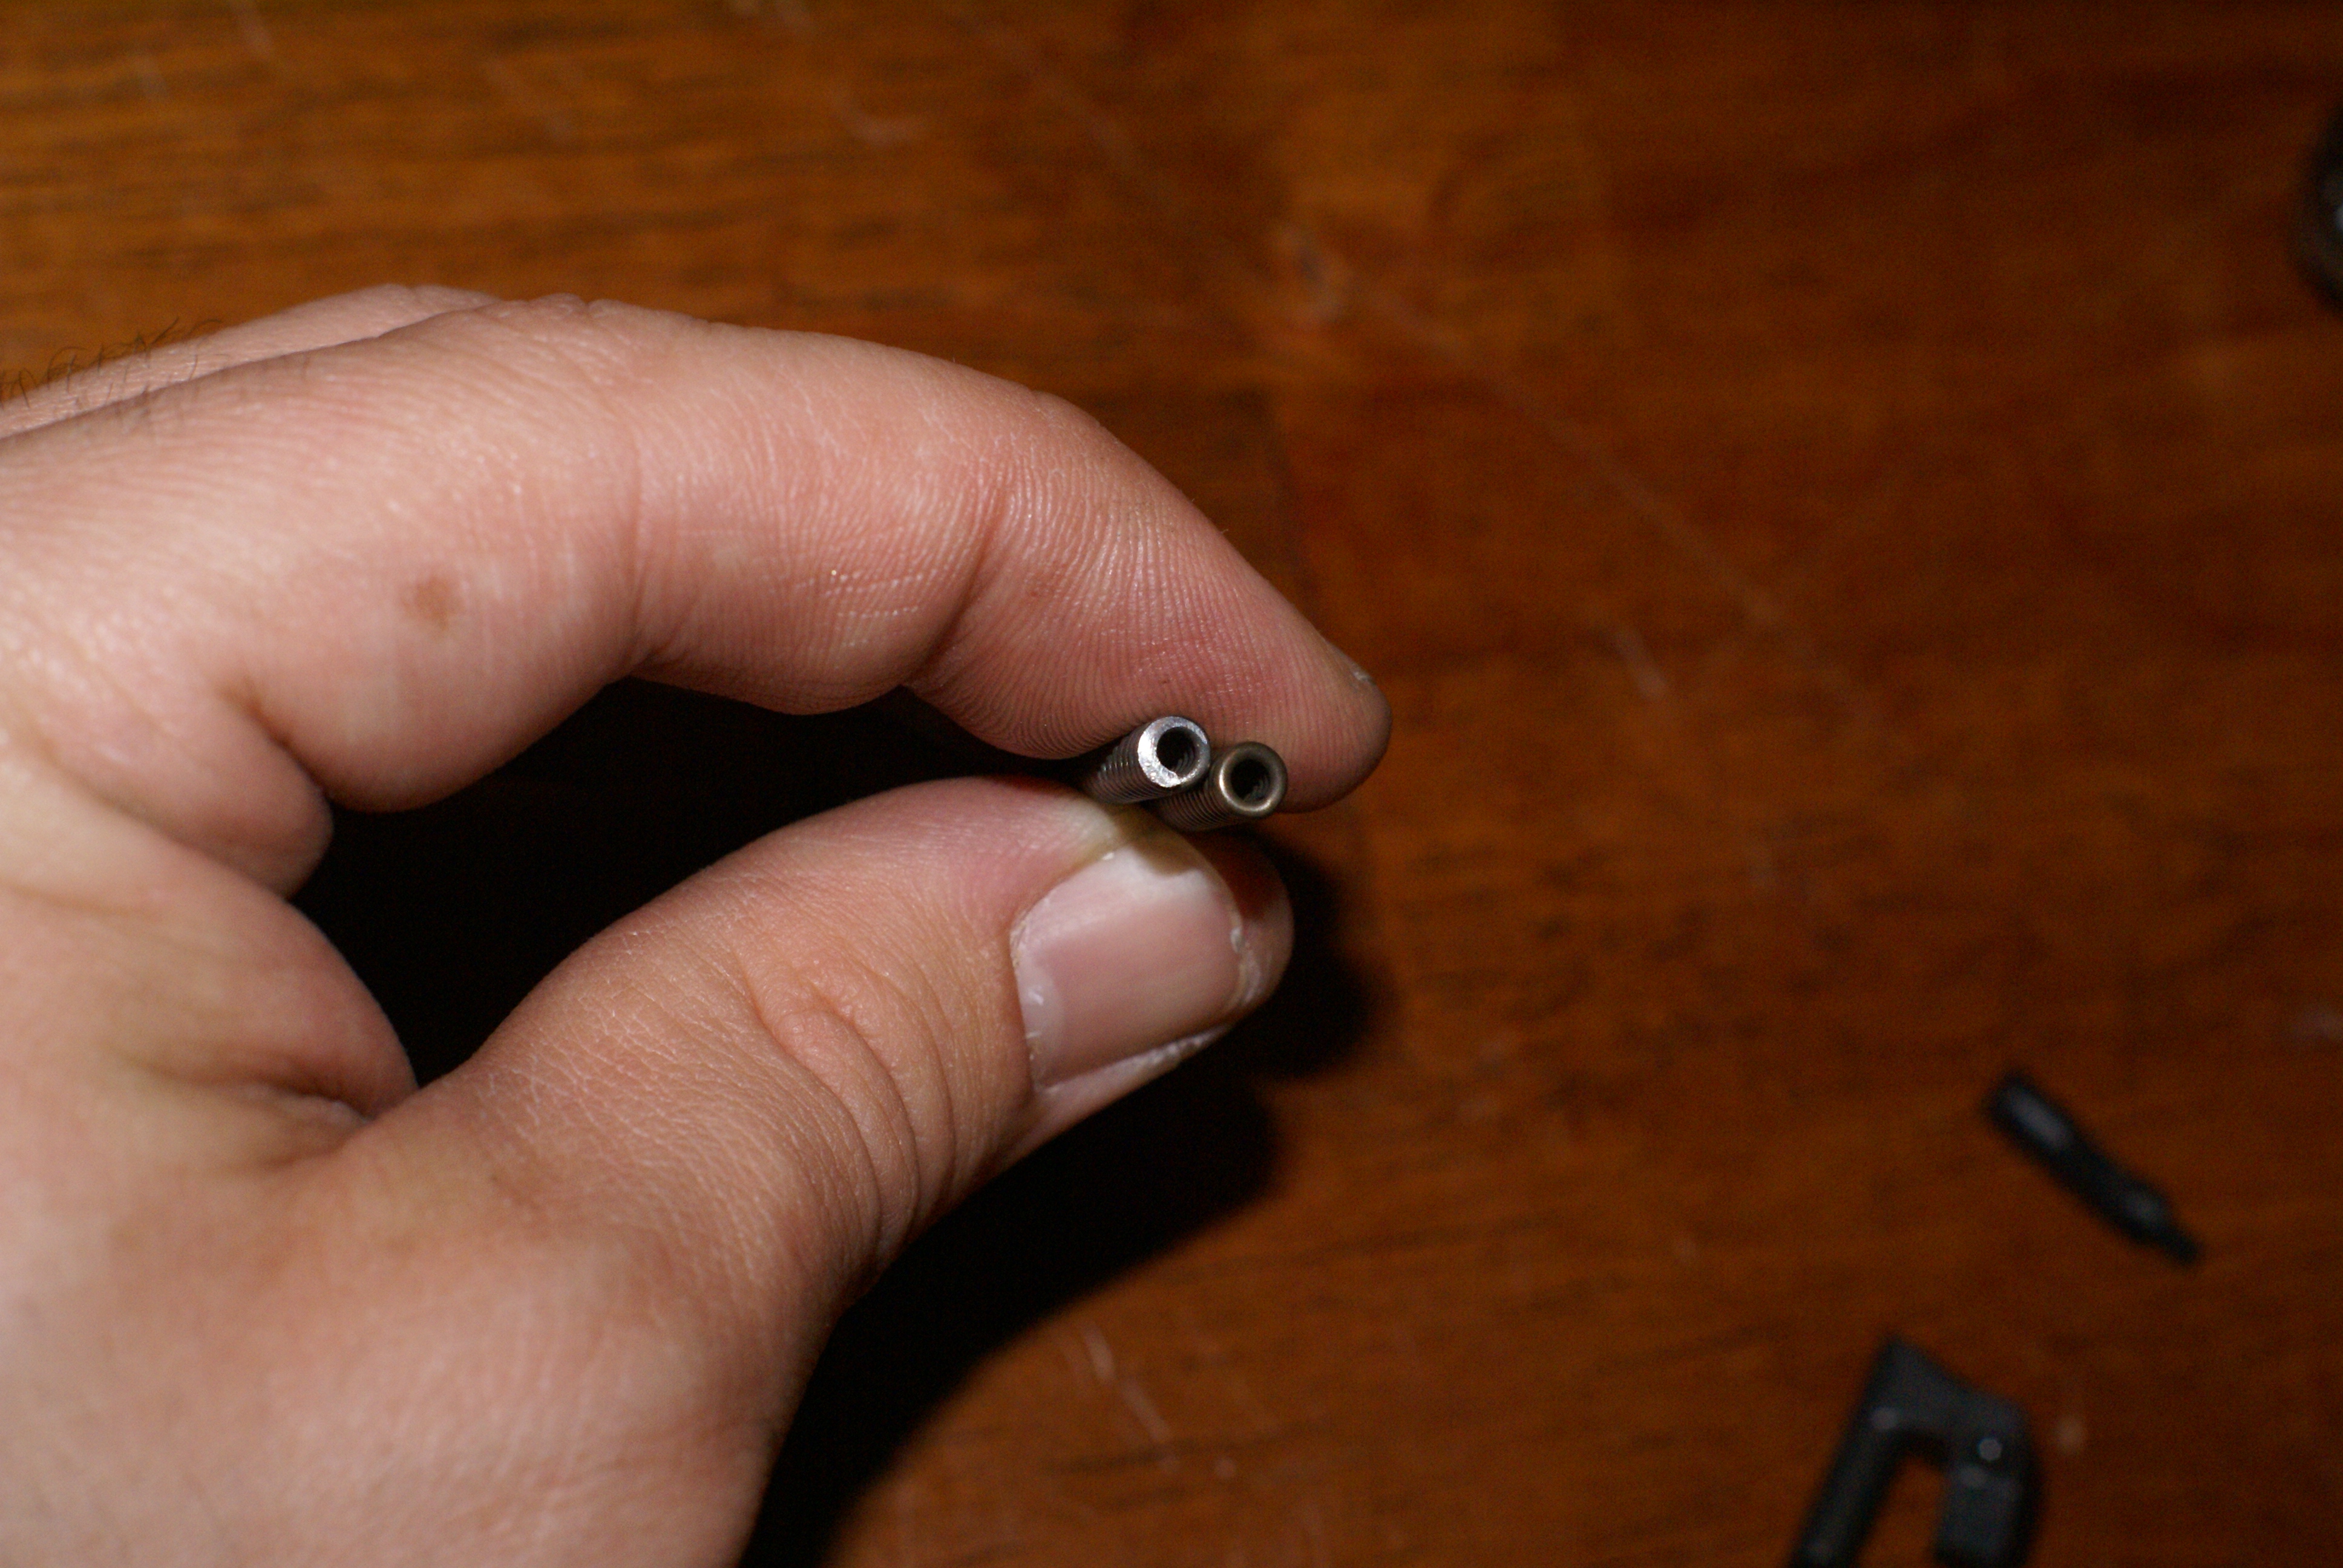
After the bolt has been disassembled, the springs were changed out with the new extra power extractor and ejector springs. If the “GI”tool is used; the re-assembly of the bolt is the reverse of the dis-assembly with the addition of using your thumb (hand holding the bolt) to press down on the extractor until it is fully seated. If the 30-06 method is used; the springs are compressed by pushing forward on the operating rod handle, and the extractor is inserted to hold everything together. It is fully seated by lightly tapping on it with a mallet (preferably nylon or wood).
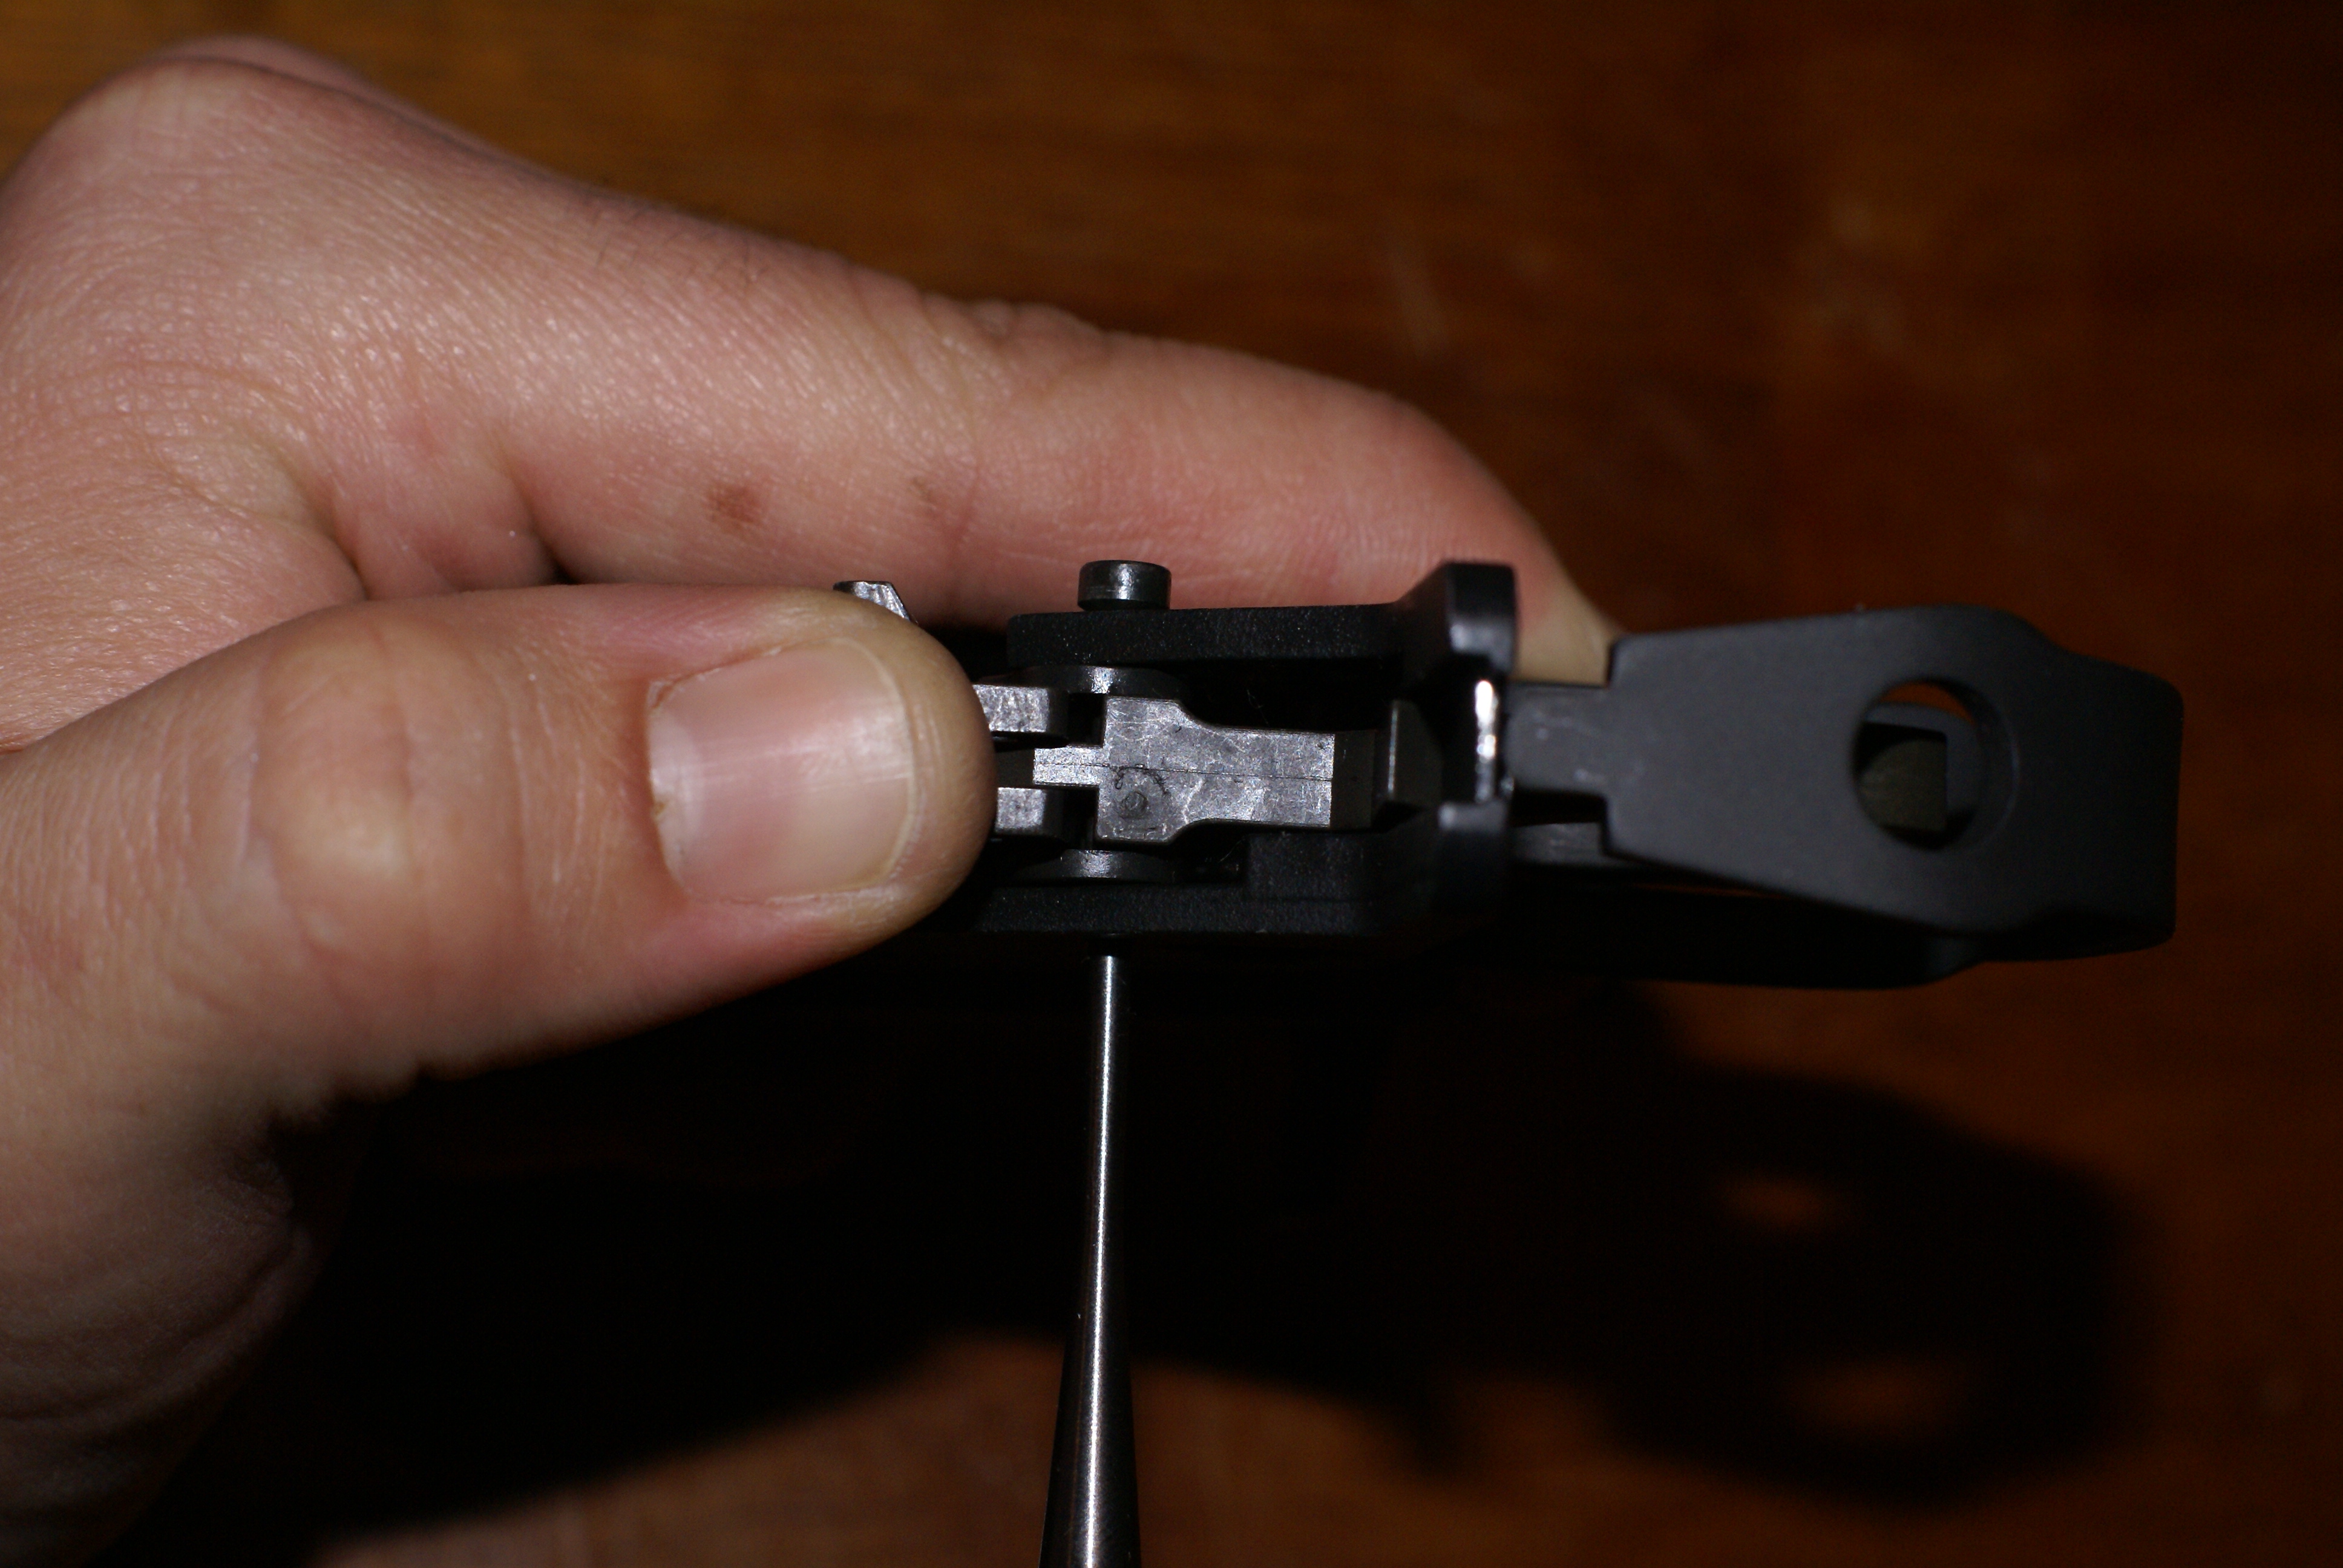
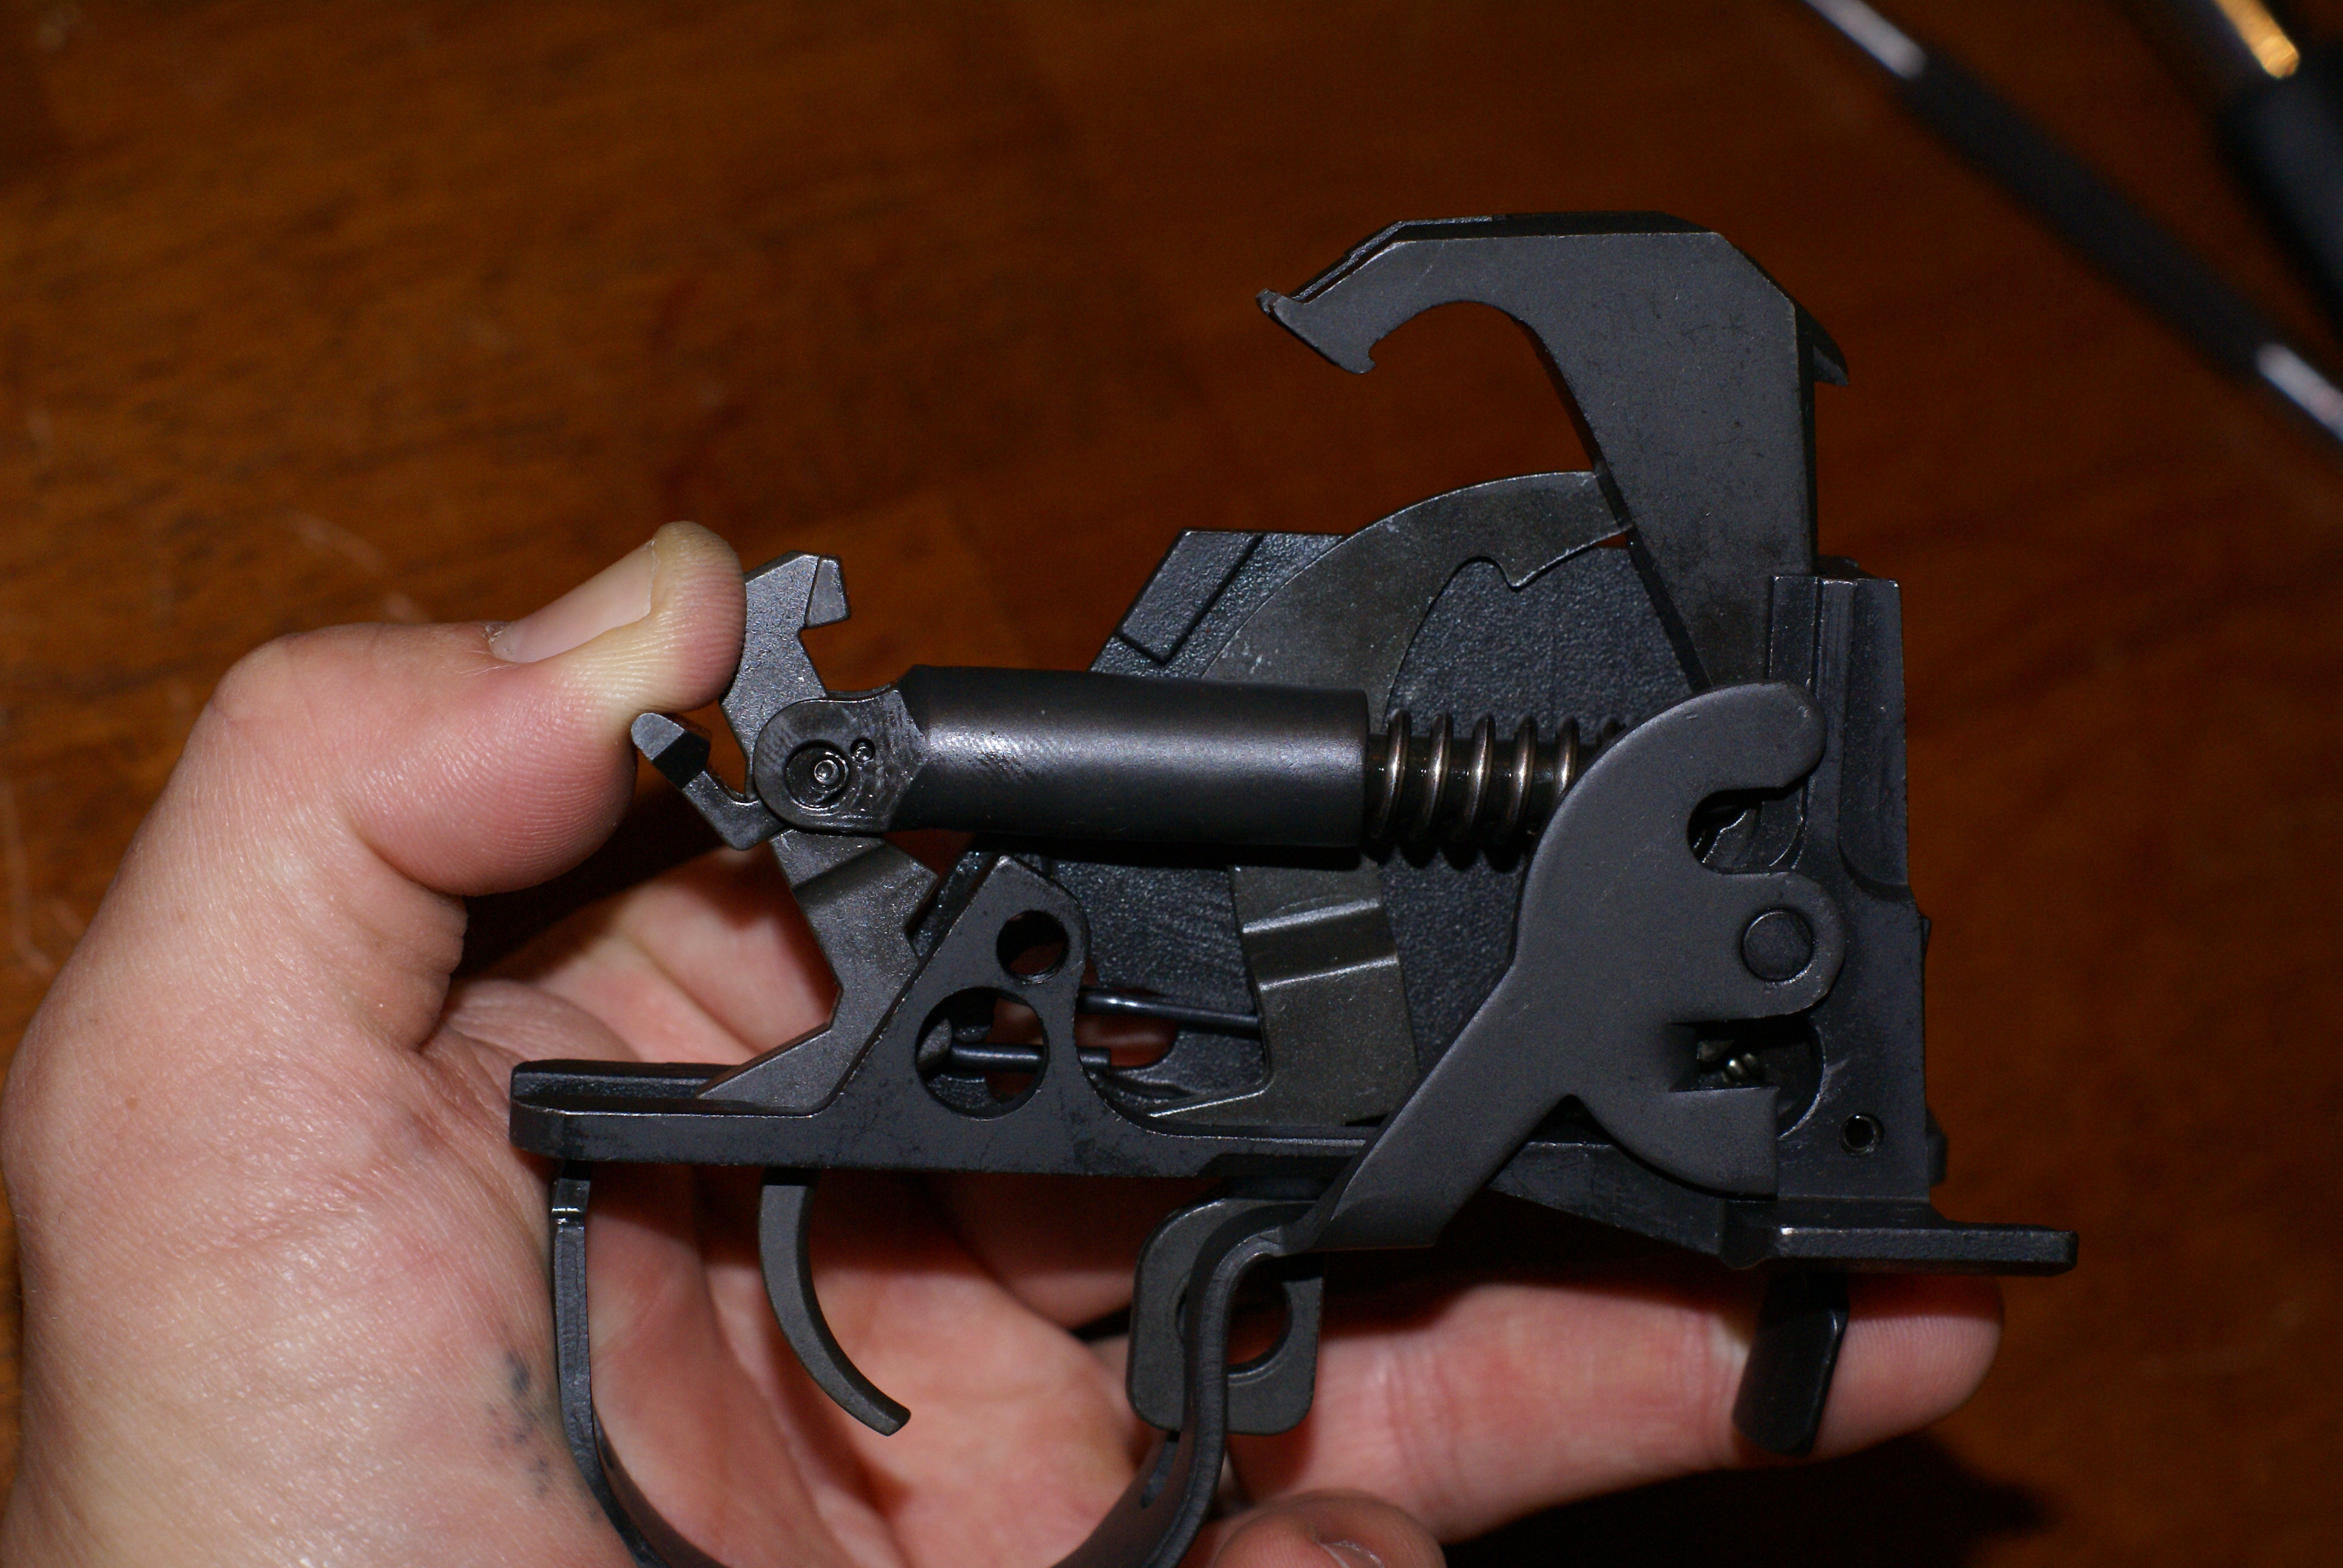
The extra power hammer spring was the next to be installed. To remove the trigger pin that holds the trigger/sear assembly and the hammer spring housing inside of the trigger housing, pressure was applied to the back of the sear. This eases the removal of the pin. Using a punch; the pin is pushed out, and the punch is slowly removed while releasing the pressure on the sear so that no parts are ejected (due to the trigger spring’s load on the components). From there, the trigger spring housing is removed, along with the spring and spring plunger. The spring was changed out, and the process is reversed to reassemble the trigger group.


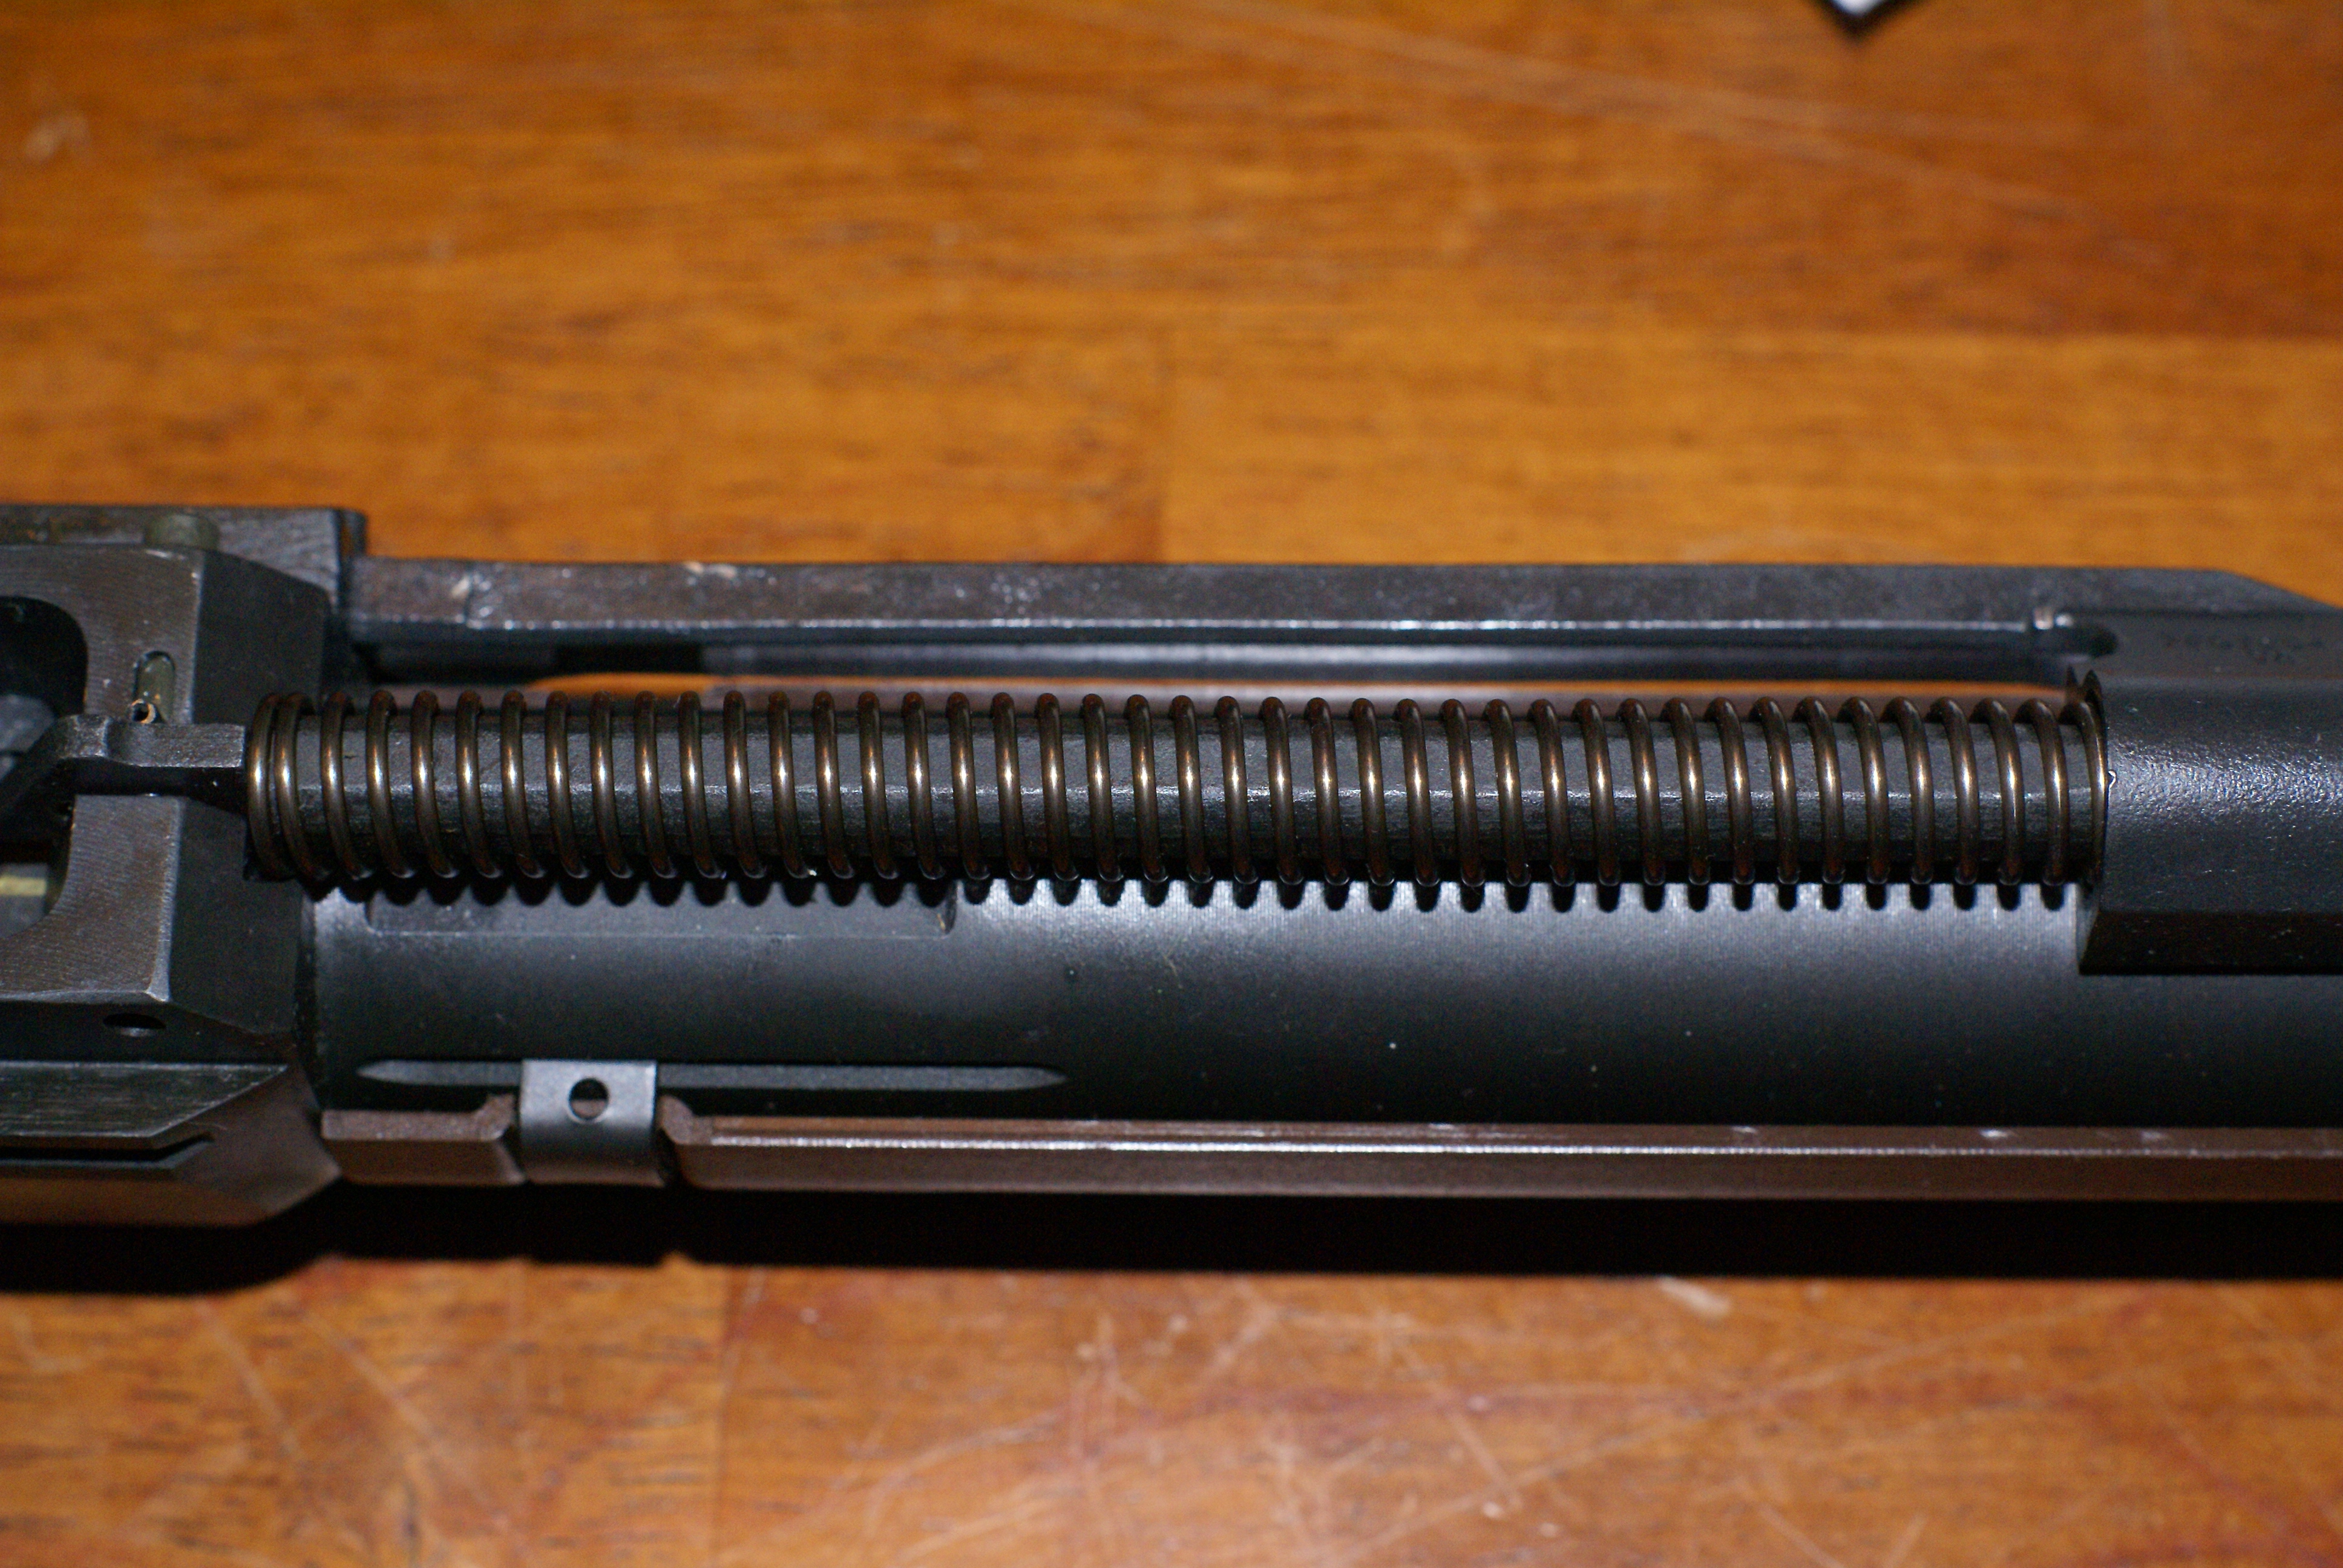
The recoil spring was the last to be installed, and was done while re-assembling the rifle (as if you were putting it back together after a cleaning).
A function check was done with inert rounds, and during my initial observations, I noticed a few things. The operating rod felt a little heavier when pulling back to go into battery. The rounds seemed to eject with more authority, while staying in a more consistent direction and distance. The trigger response improved, including the break. However, the pull weight did increase from 4 lb., 10 oz. to; 5 lb., 7 oz. (13 oz. increase).
Down range, test firing went well. In my opinion the felt recoil was reduced, and the ejected brass landed in a more consistent area. I also noticed that they were ejected with more authority, and further forward than previous shooting sessions with the factory springs installed. The reliability was perfect. There were no malfunctions of any kind, and I’d say the testing session was similar to a new firearm break-in, having run two hundred rounds of CBC 7.62 NATO M80 ball ammunition through it. The spent primers showed evidence of a more positive strike, but no sign of possible primer rupture.
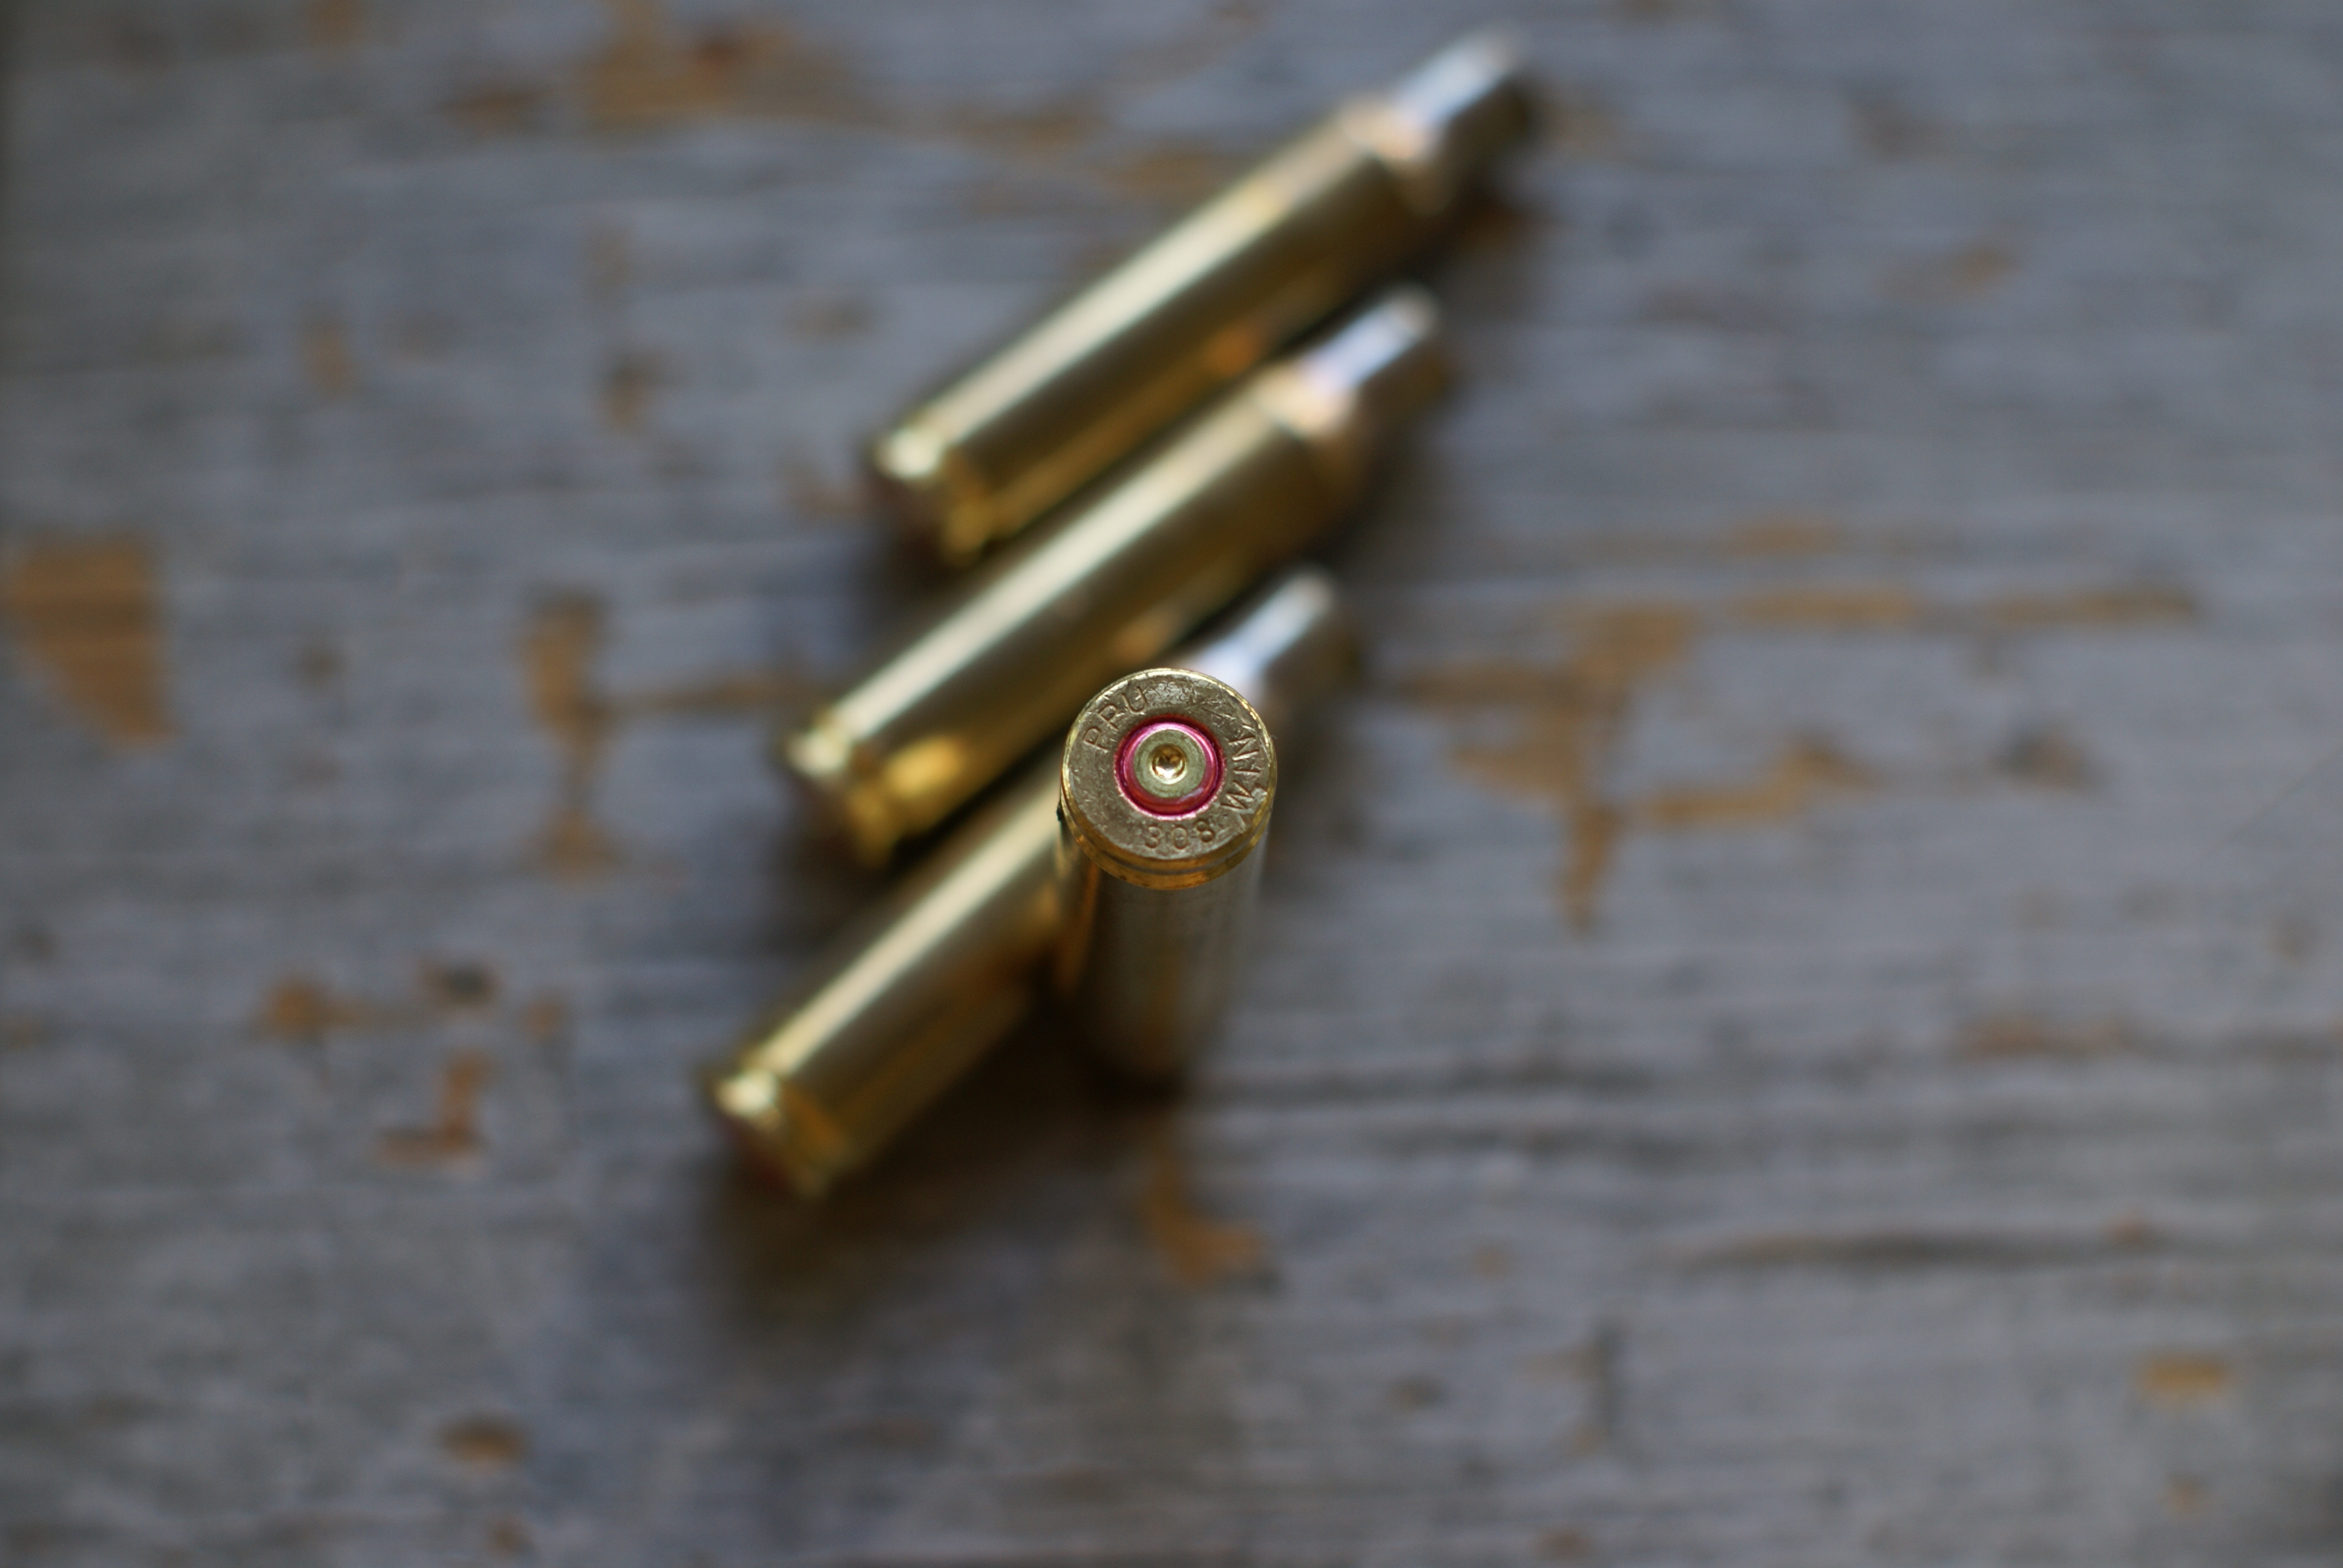
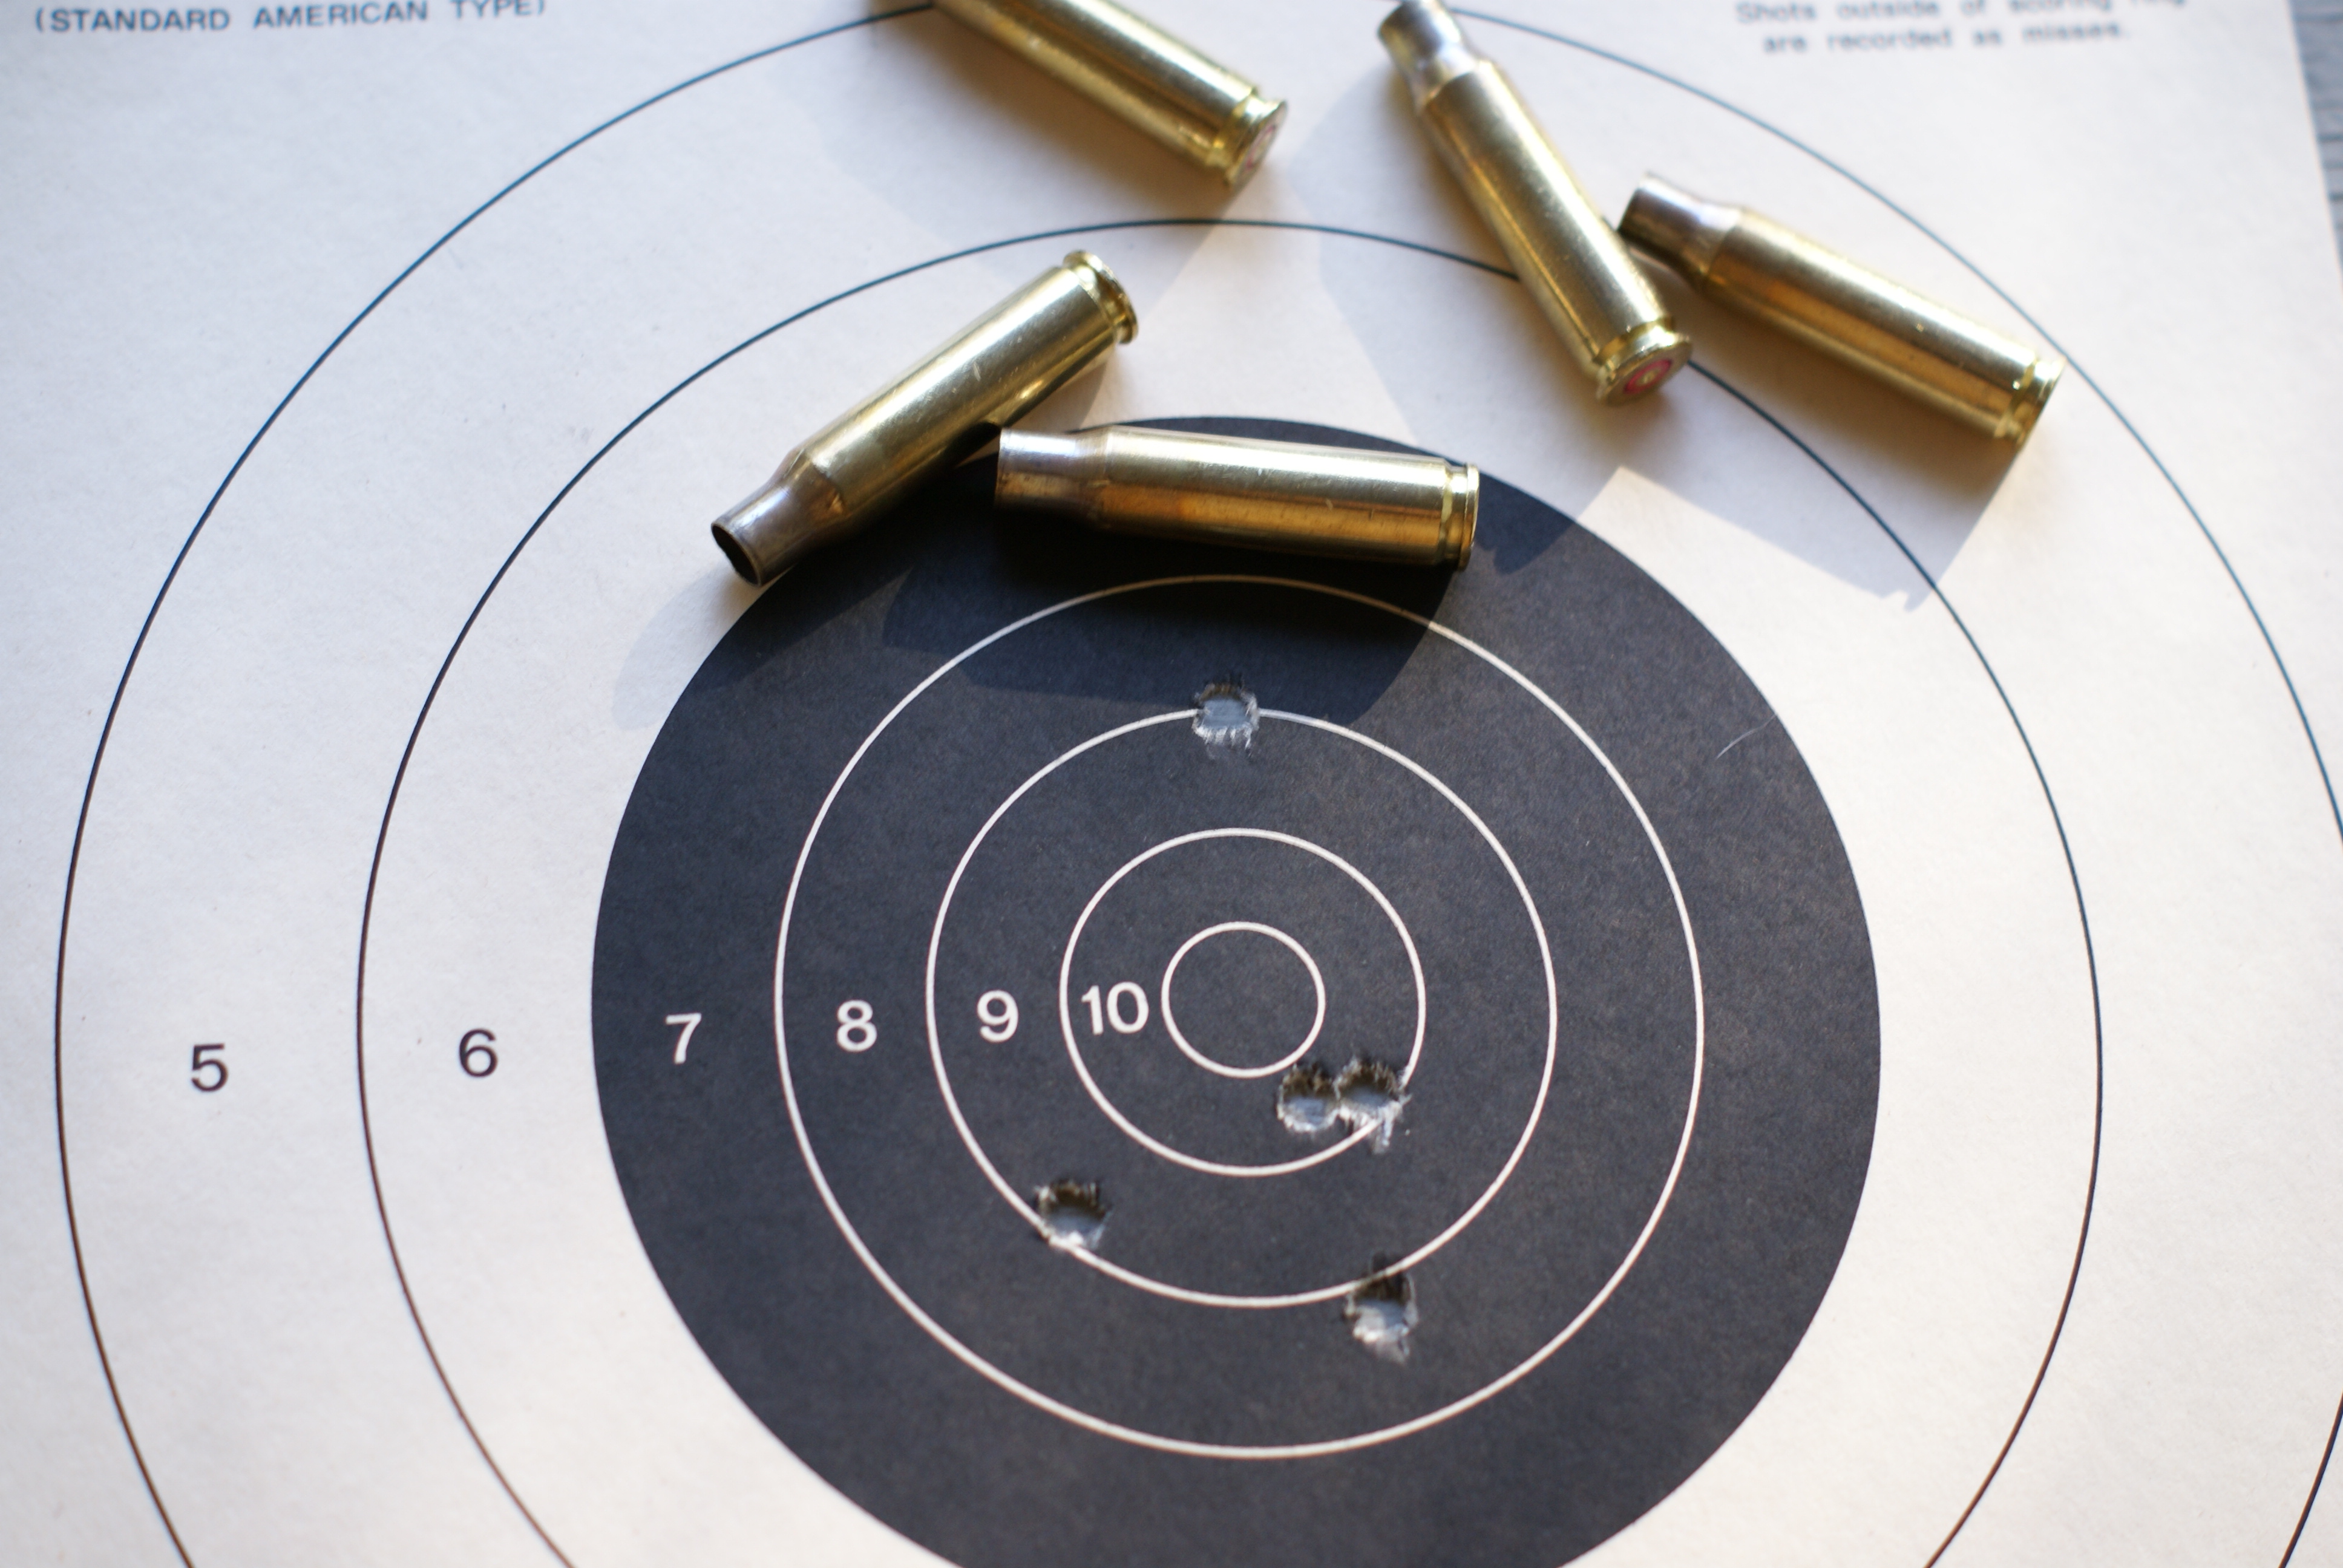
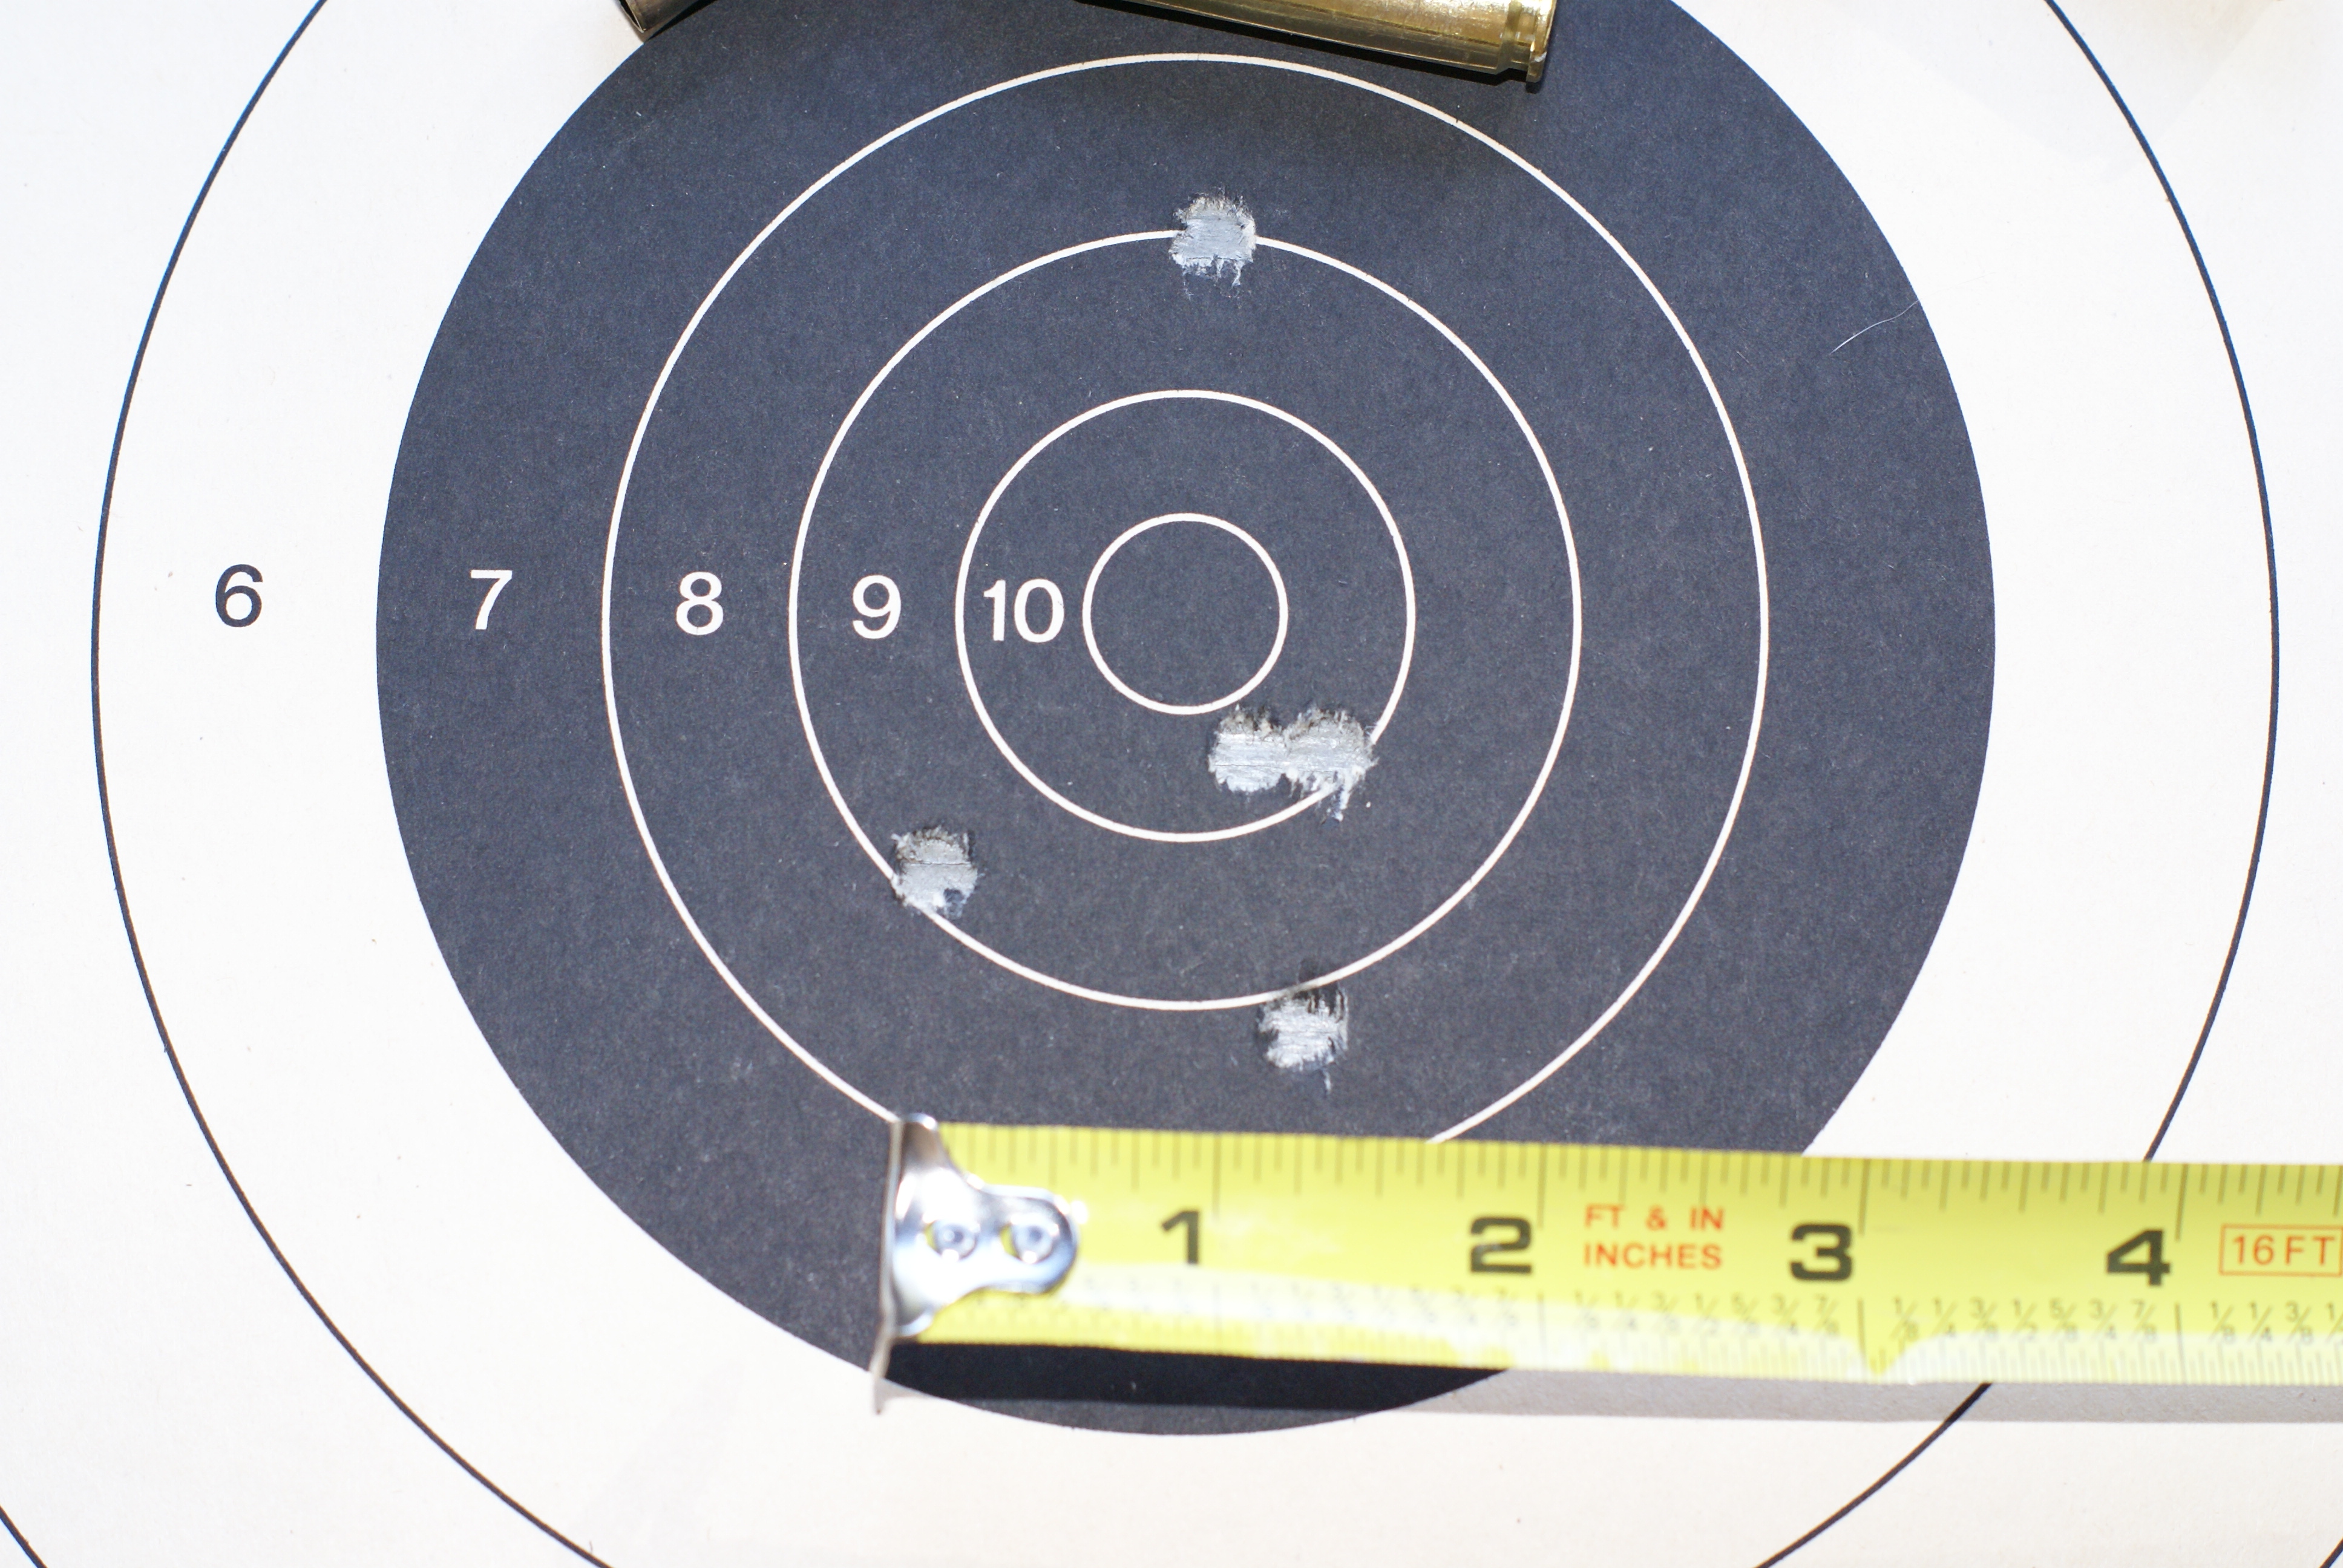
The overall accuracy improved as well. The target serving as a baseline was shot at 100 yards with national match sights (no optics) prior to installing the Wolff spring kit. The slow-fire string of five shots averaged 1.5″ with four rounds creating the group, and one flier making the vertical measurement 2.75″. The comparison target was also a string of five shots (slow-fire) at 100 yards with the rifle’s sights. The grouping was tighter, with all five rounds measuring in at 1″. The ammunition used for both targets was CBC 7.62 NATO M80 ball.
Thanks to this spring kit, I now have a rifle that is capable of 1 MOA accuracy (in my hands). It may have already been that accurate from a precision rifle rest, which is fine. However, I never use those products when shooting or hunting, so to me; the practical accuracy is how well I can get the groupings together (benched for testing). And that’s what counts.


If you own a M1A/M14 series rifle and want to improve on it, I would highly recommend these products for it. It’s amazing how a spring change can make a big difference in ergonomics, accuracy, and reliability. Even if you don’t own this series of rifle, Wolff Gunsprings makes products for a large number of rifles, pistols, revolvers, and shotguns, including some models that are hard to find parts for. The products they manufacture are of high quality, available for great prices, and can be purchased individually or in a pack. Come to think of it, I need to get a list going so I can replace all of the factory springs with ones from Wolff.
Thanks for reading,
-Rhody
You must be logged in to post a comment.